This high-end DIY is almost too good to be true! I have seen similar artwork at prices I can't afford. I saved $100s of dollars. Upon a sale, I snagged a 36″ x 48″ stretched canvas for less than $9 at Michaels (they’re still pretty affordable anyways). This inspired me to paint the artwork style I’ve been looking for. The art piece is neutral, minimal, large, textured, and simple to make. You can use it as a base to layer more art pieces too.
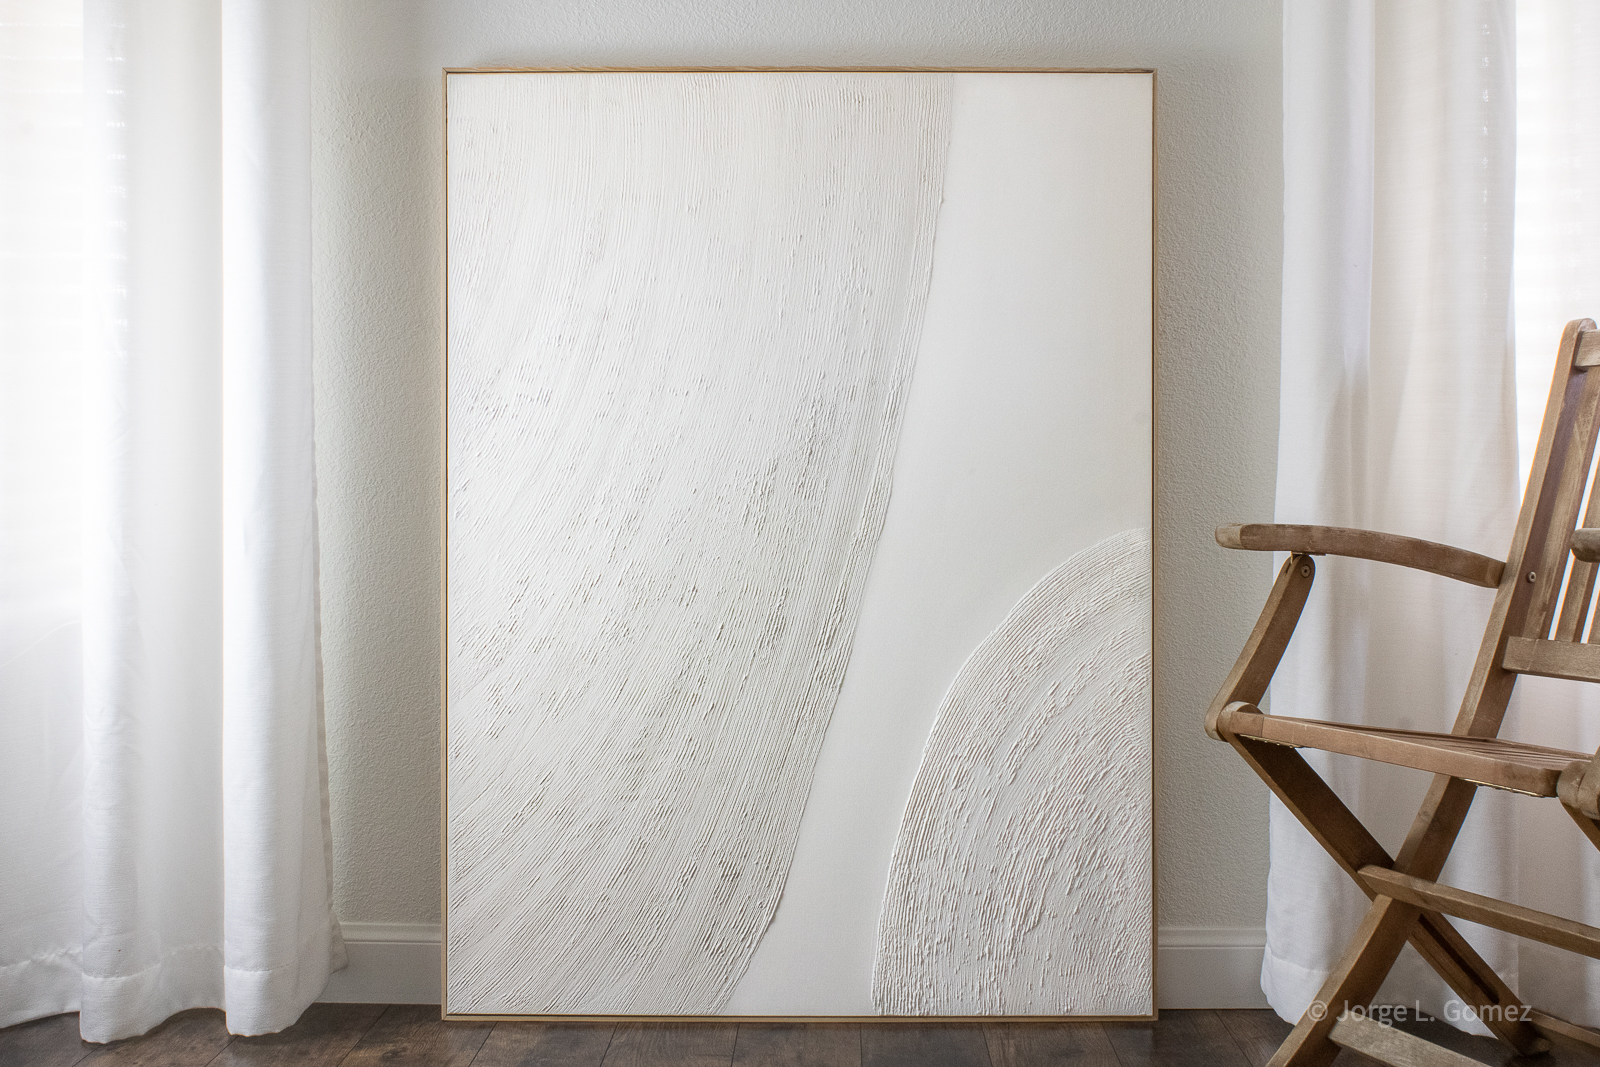
NOTE: I am not an expert at painting or making frames. This is what I learned on the fly and seemed to work for me. Don’t be afraid to try out something new. These instructions are for creating a 36″ x 48″ art piece, but you can scale up or down.
Affiliate links may be used in this post, which means I'll receive a small commission if you purchase through my link. There is no additional cost to you. You can read the full disclosure here.
HOW TO PAINT THE CANVAS
Art Supplies:
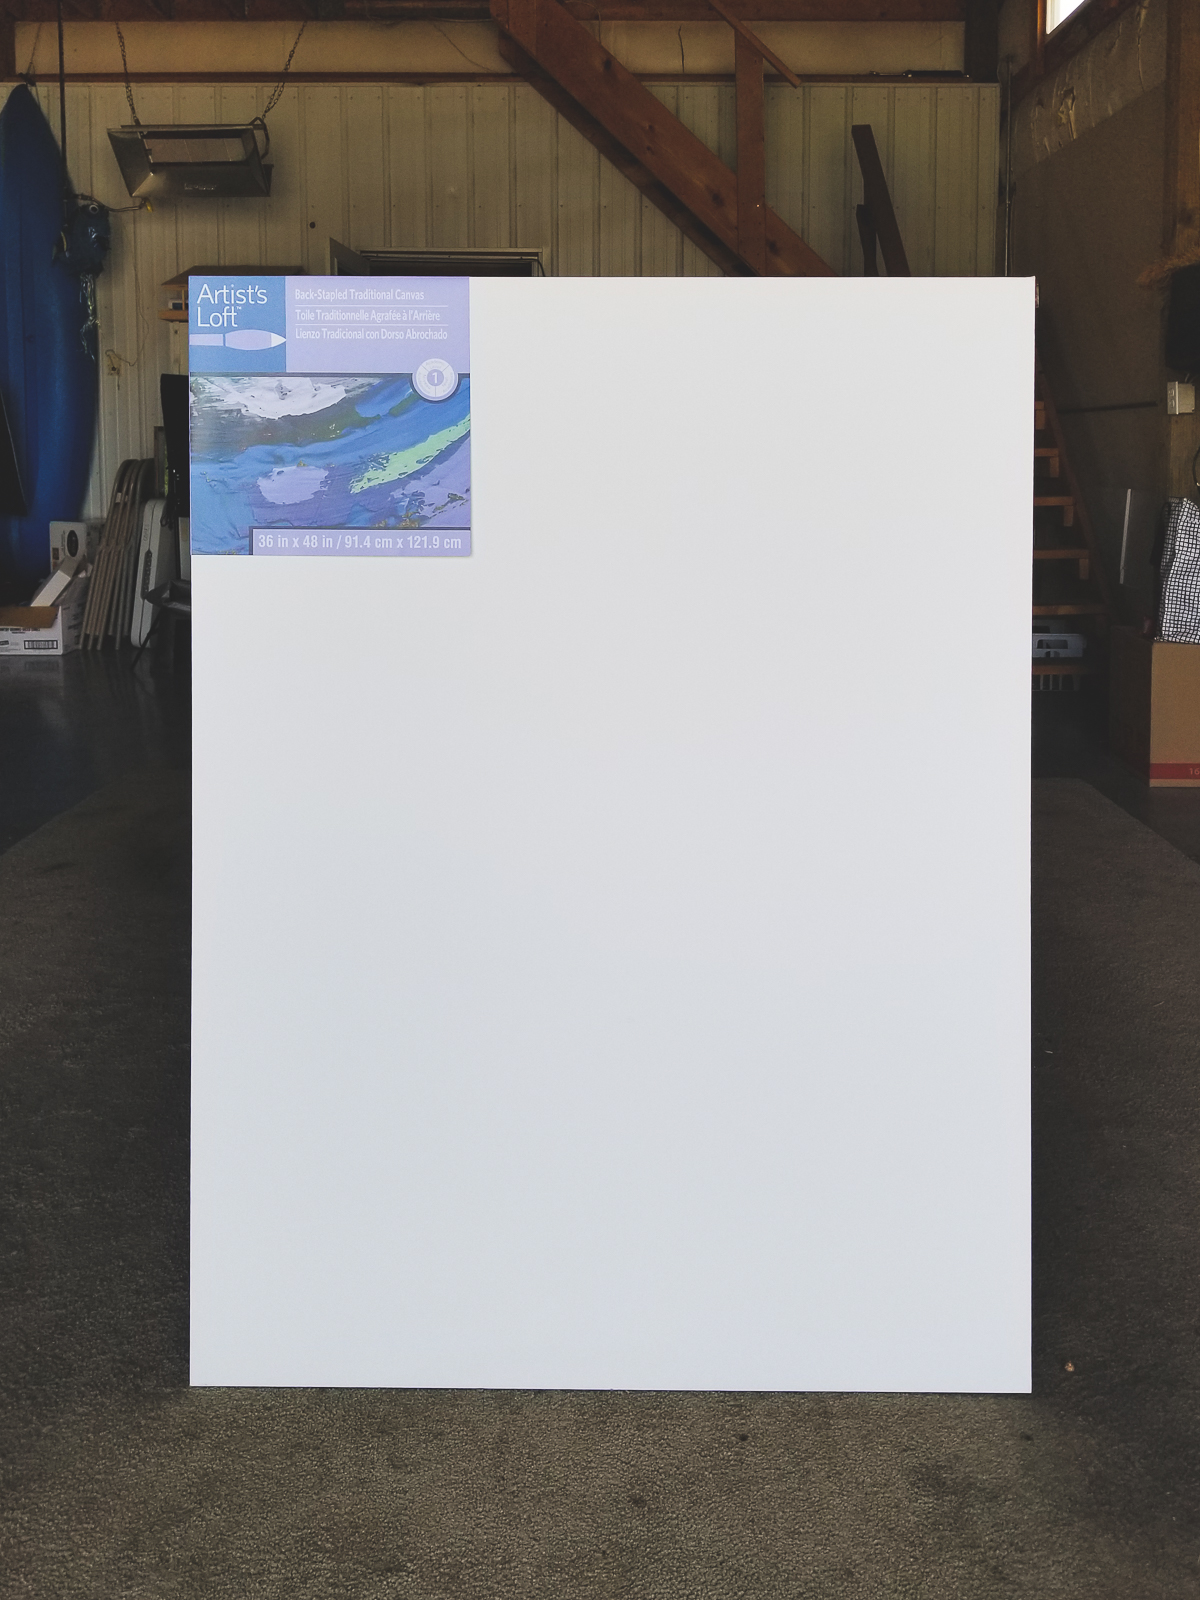
- 36″ x 48″ stretched canvas, I bought mine on sale from Michaels
- white acrylic paint
- brown acrylic paint, to add a warm tone to the white paint
- water, to thin paint the consistency
- brushes, 2 inch chip brush is fine
- white joint compound, pre-mixed
- putty knife
- wide tooth hair comb (optional)
- trowel for texture (preferred)
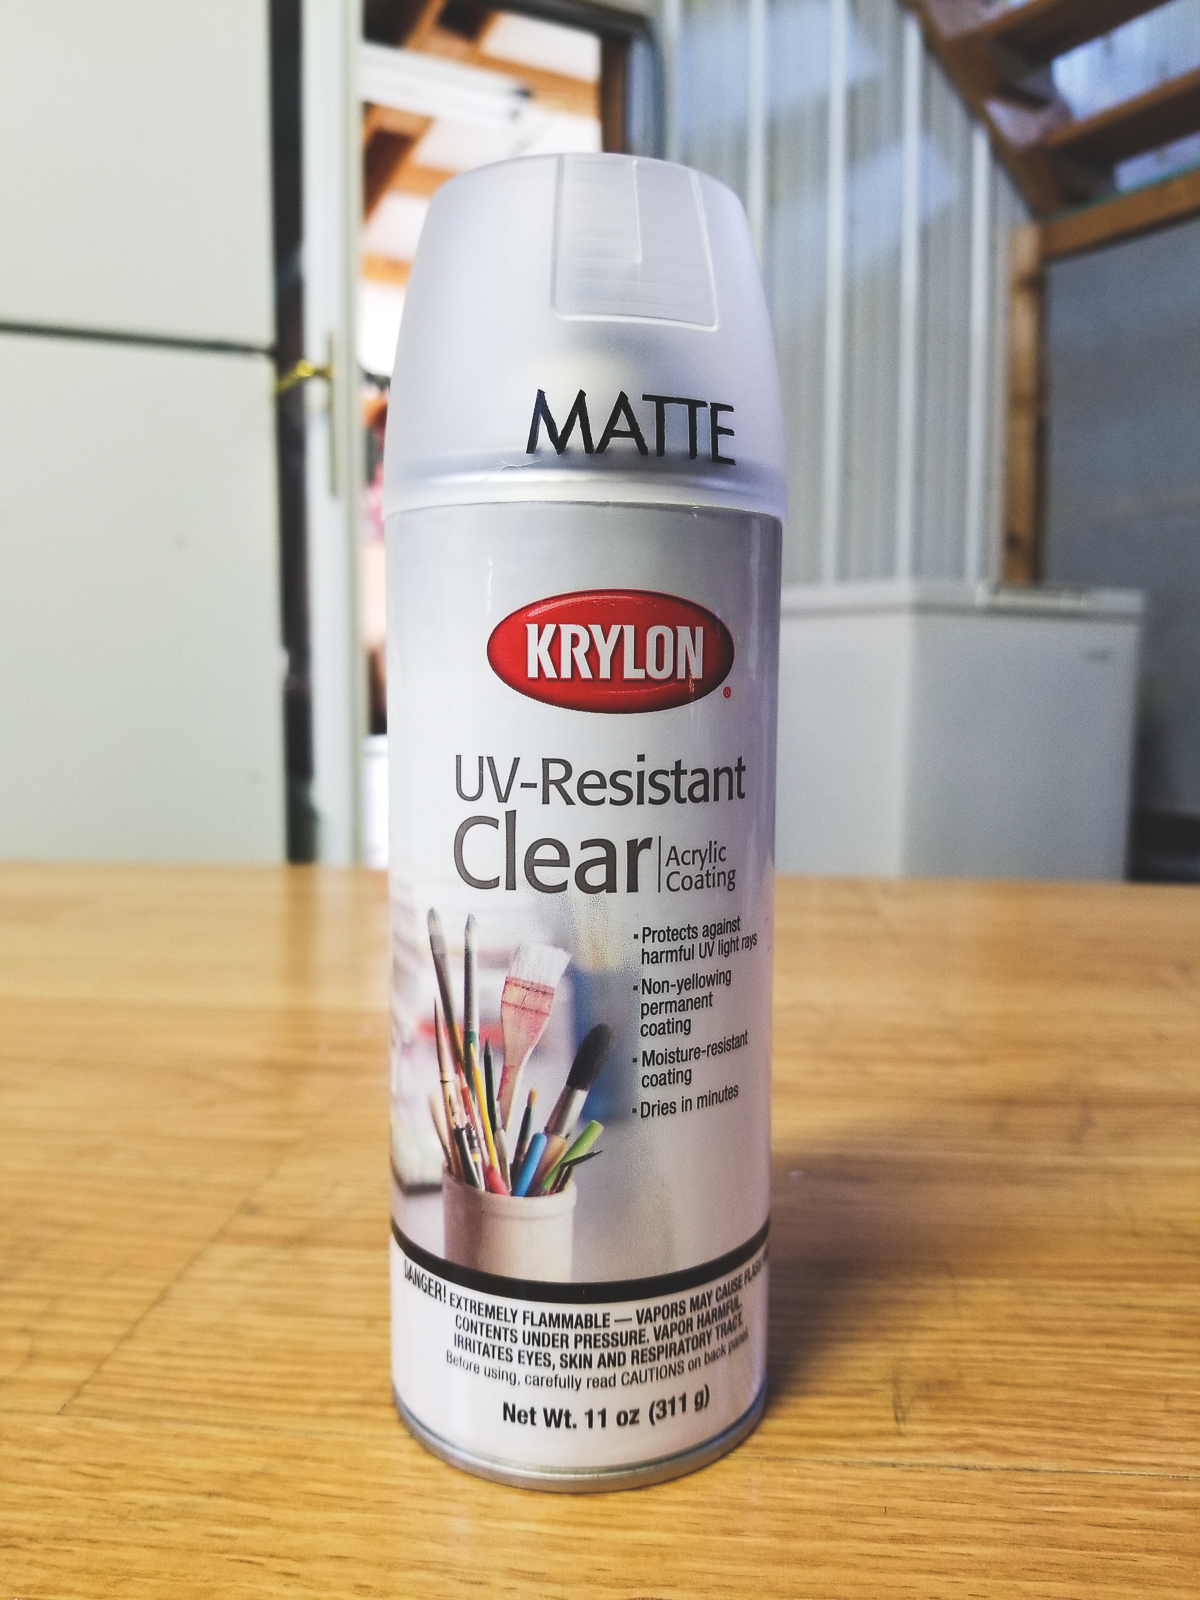
- UV-Resistant clear matte art sealer
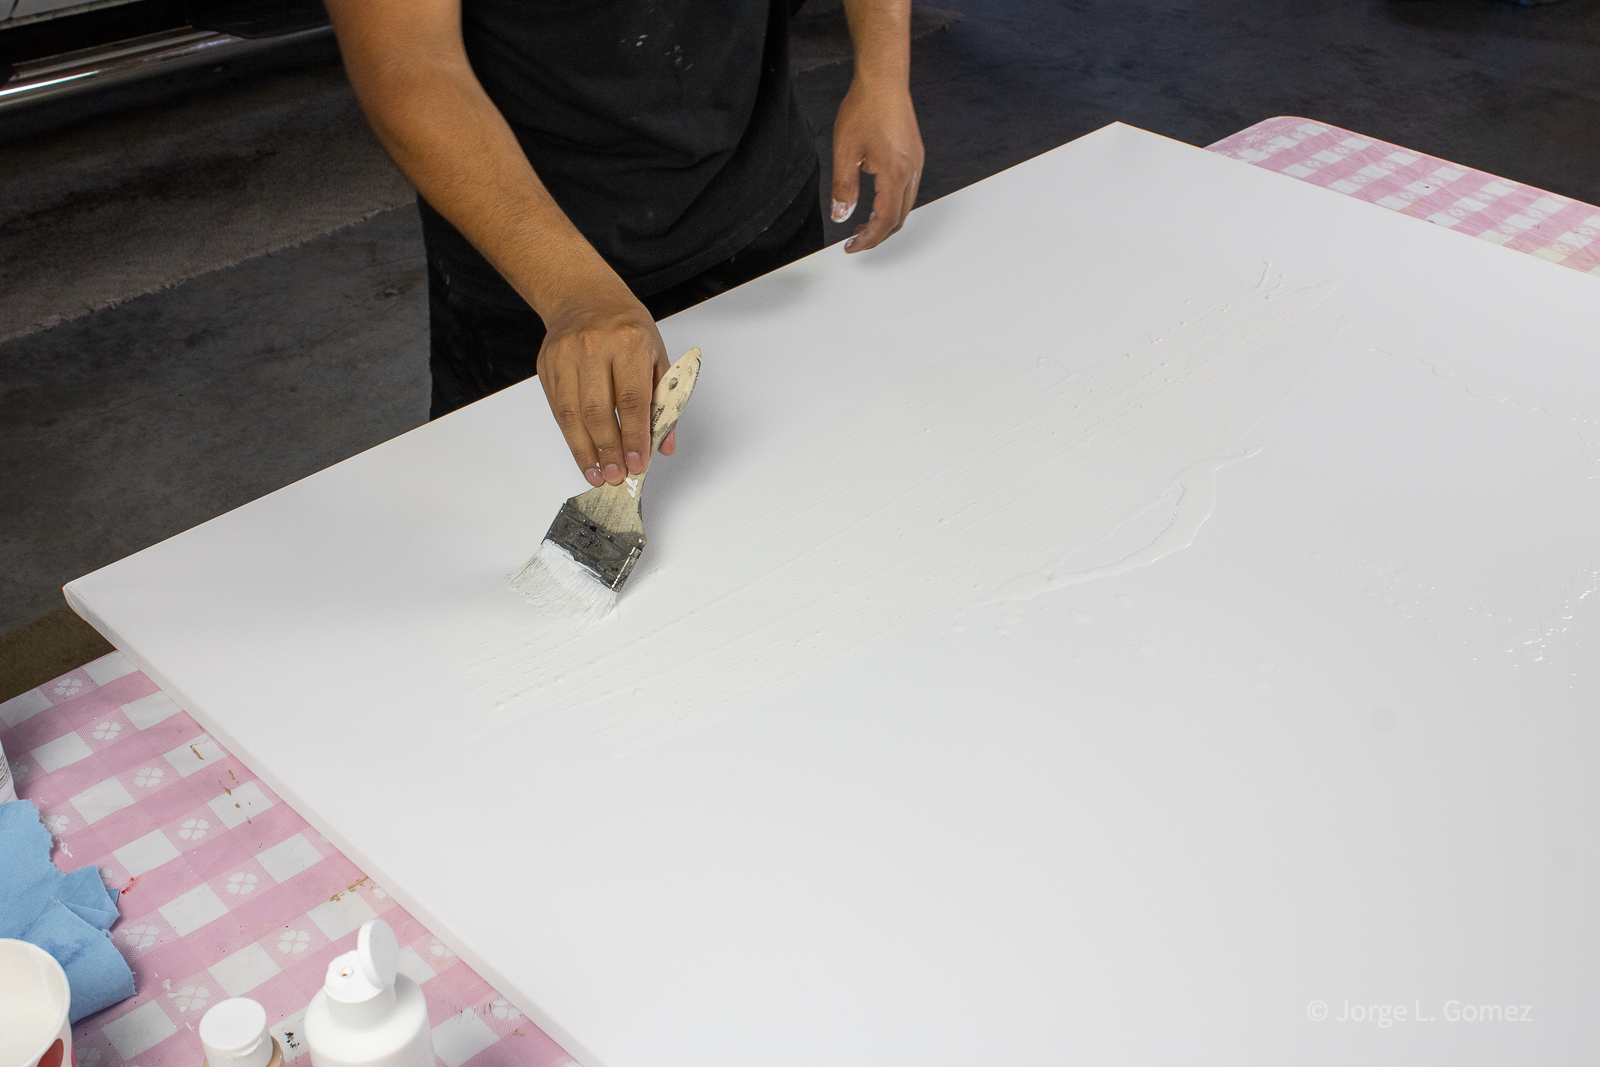
Step 1: Base paint the canvas white.
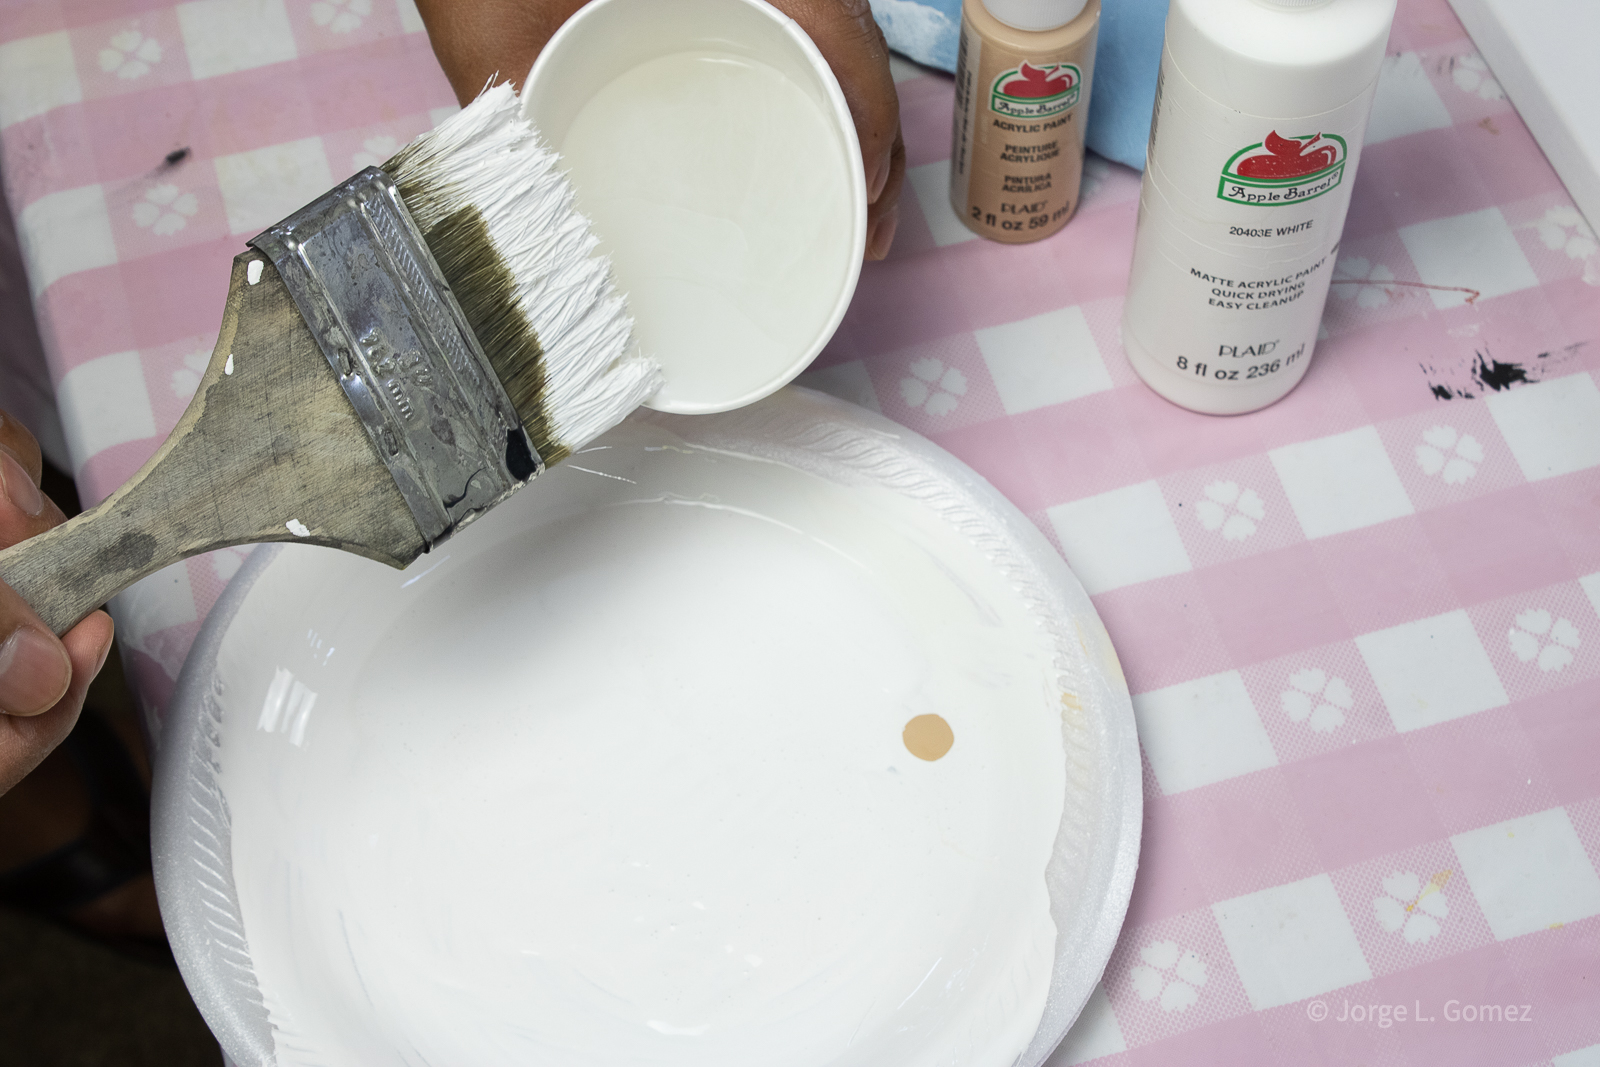
Paint the canvas white. This will give you more control on the tone of the white and ensure ‘clean and blank’ canvas. I decided to mix two drops of brown to the white paint. This will create a bit of warm contrast against the textured surface and make the painting pop more. I added a bit of water to the paint mix to spread paint easier. Let dry.
Step 2: Add texture.
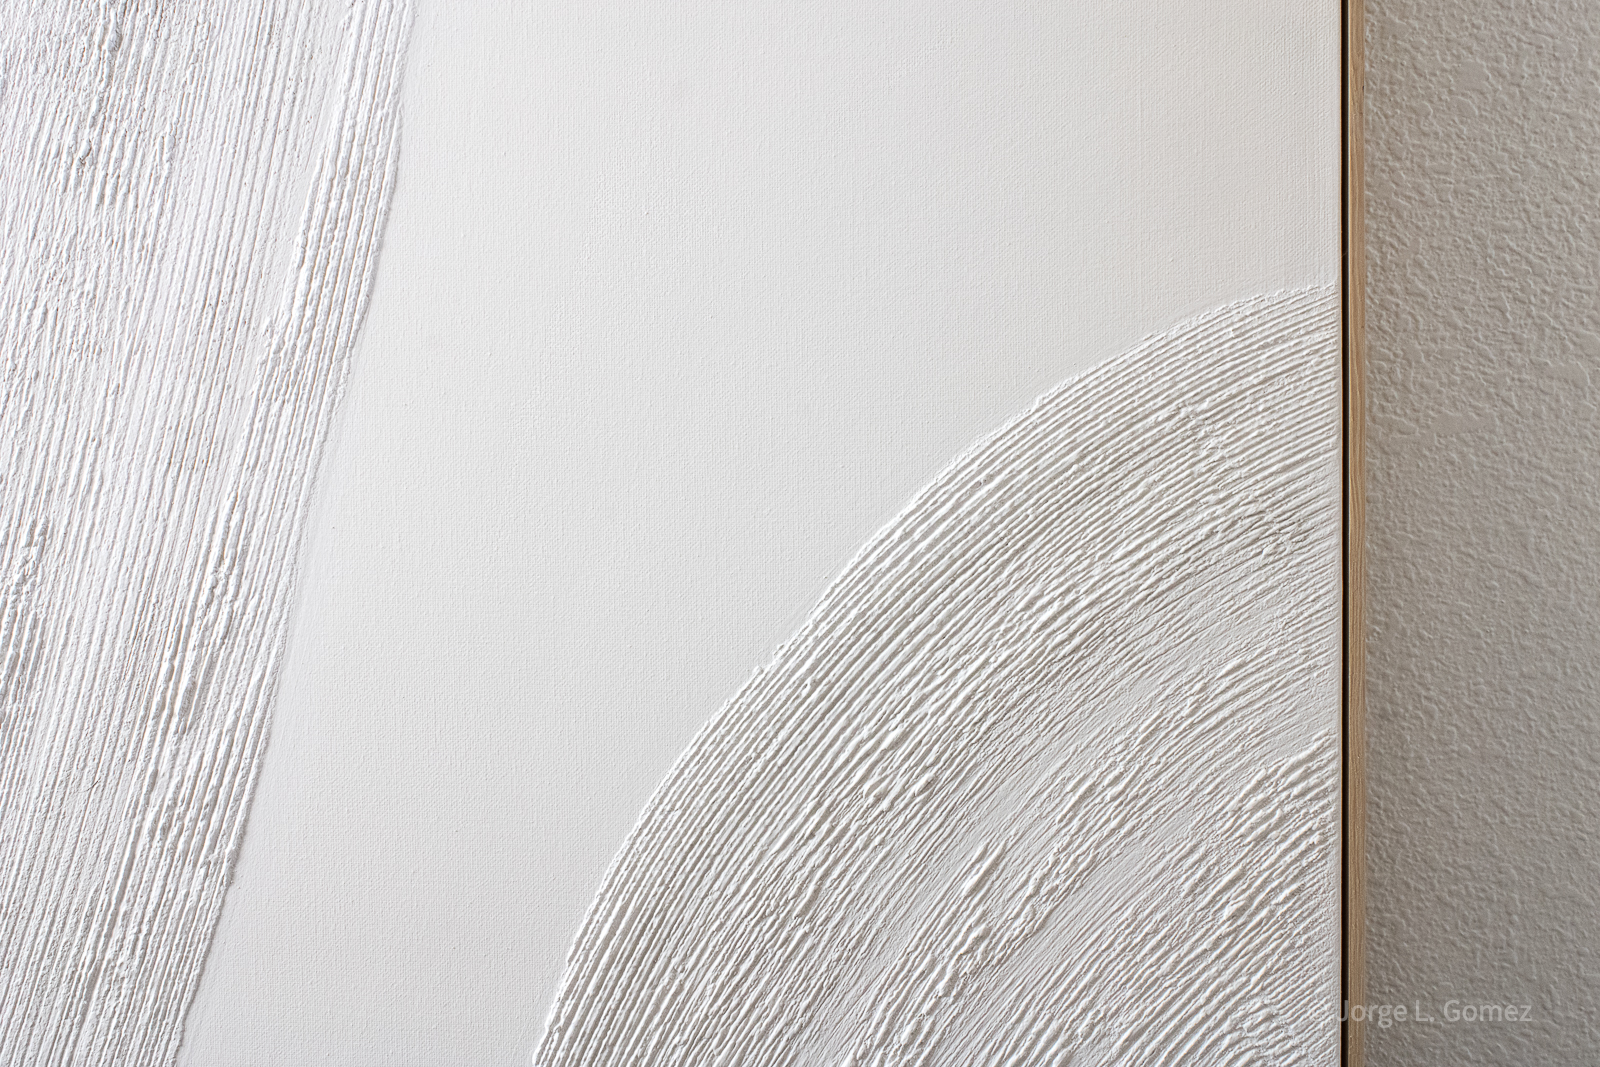
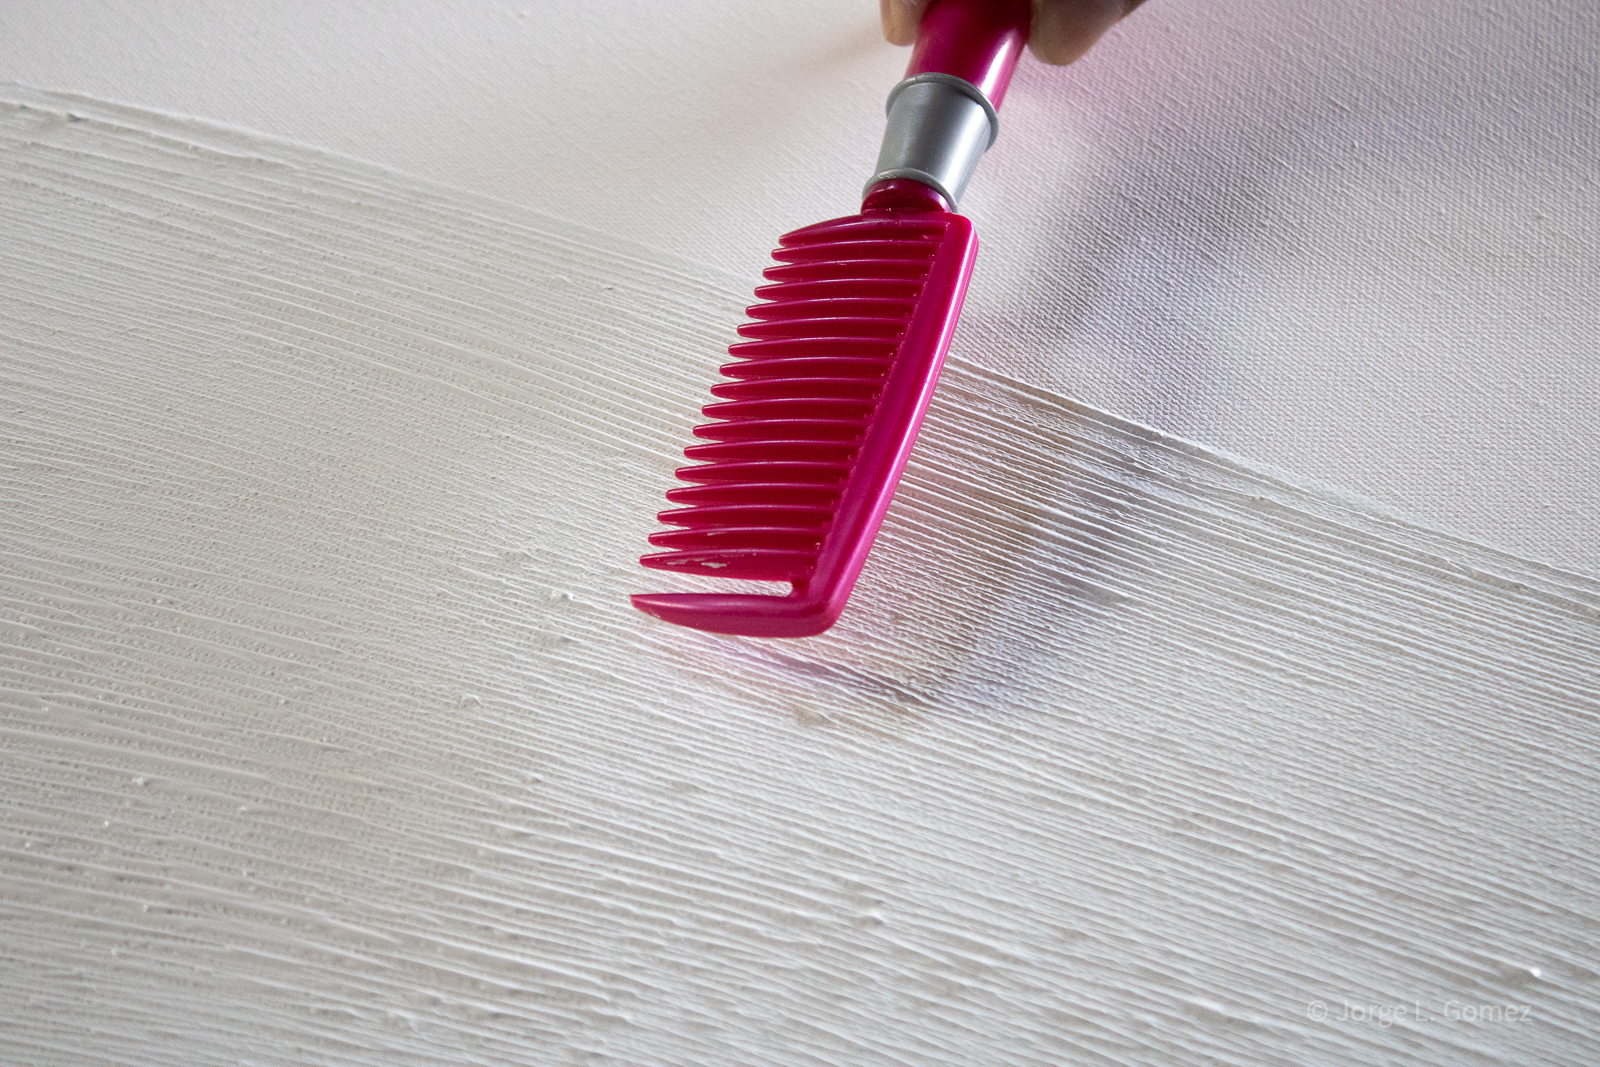
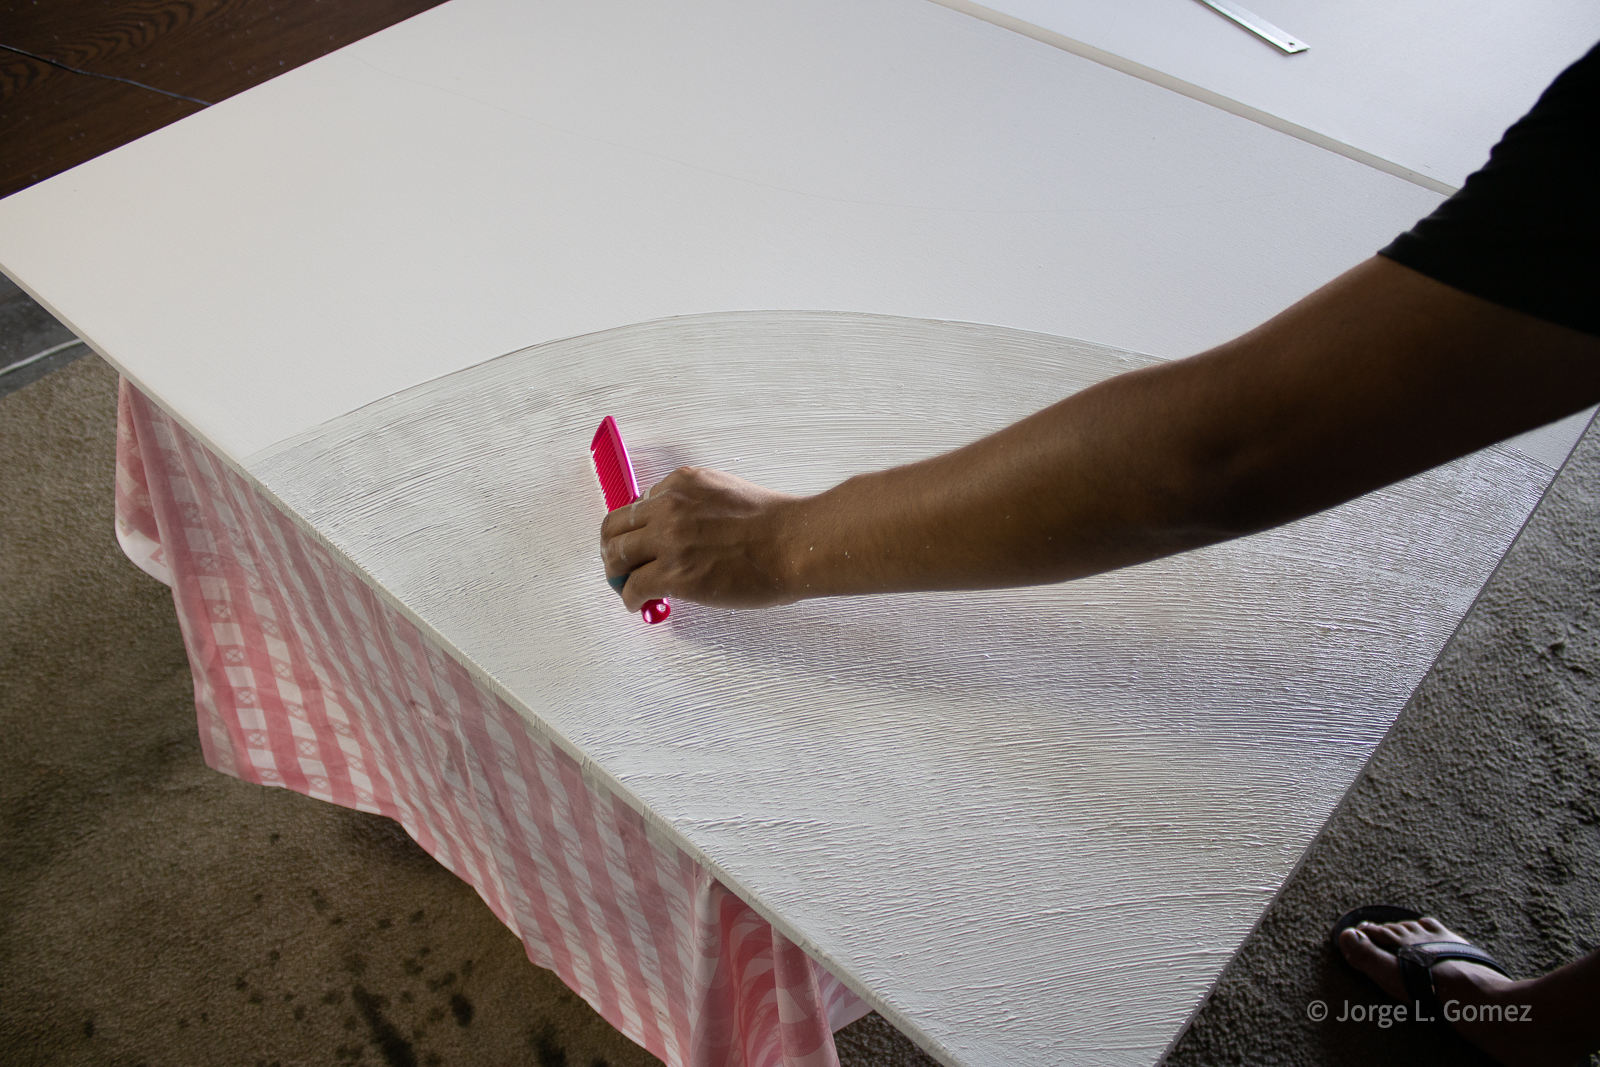
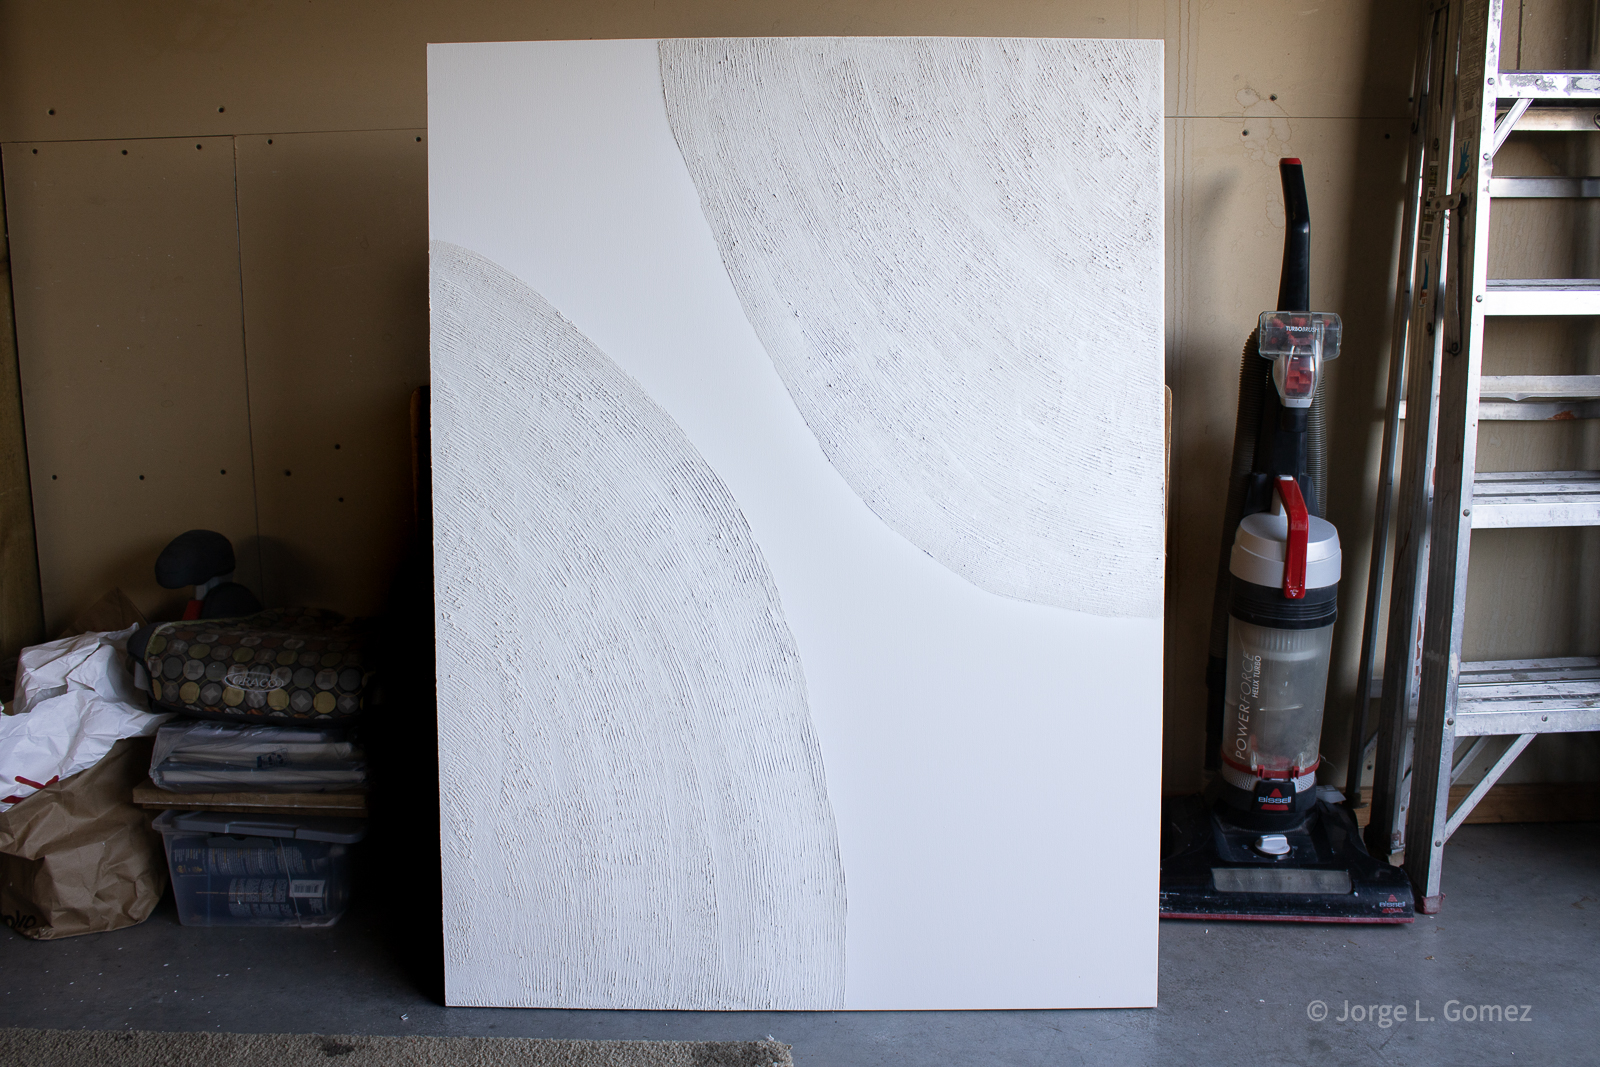
This is the fun part! Draw out lightly the region you want to add texture to with a pencil. Apply the joint compoint to the designated area with the spatula. Spread evenly around, leaving a thin layer. Use your comb and draw contour lines around the region. TIP: Clean the comb frequently with an old wet rag to have cleaner lines. Let the compound dry per instructions (at least 1-2 hours).
Step 3: Paint over the dry texture.
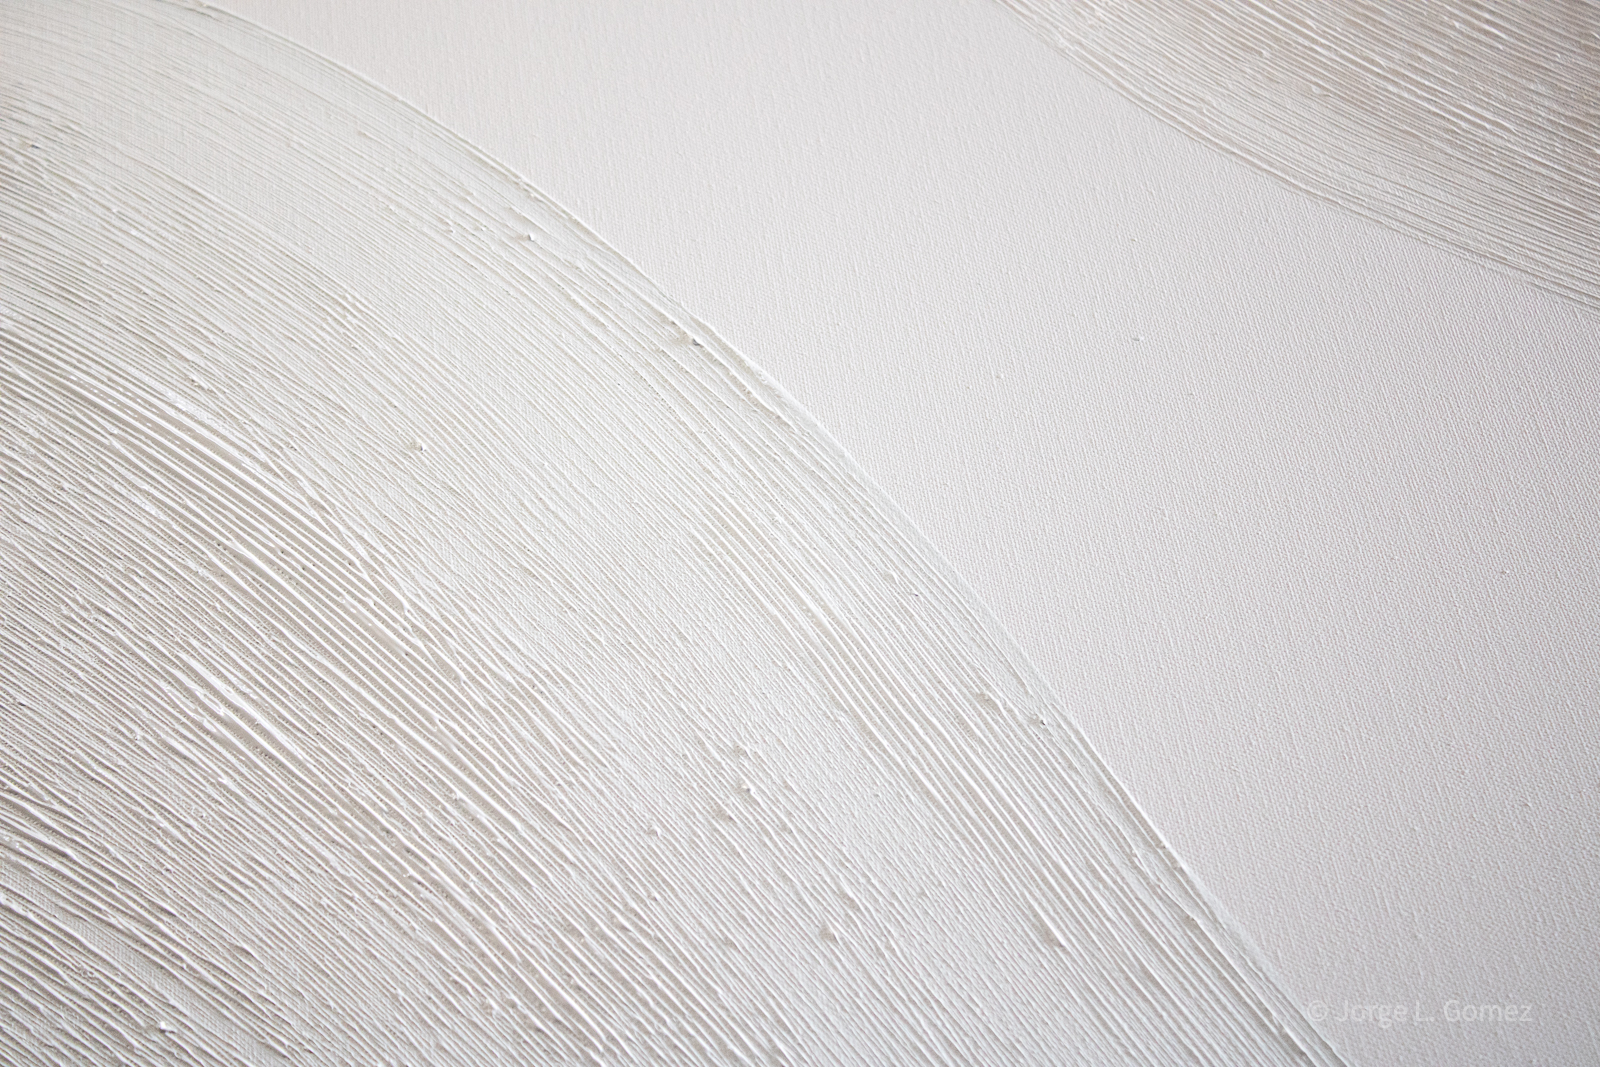
The joint compound may dry an off-white color, so decided to paint it a bit more white. I mixed about 2 cups of water and 1 tsp of white paint. Then, I white-washed over the texture by lightly painting until I got the desired white tone.
Step 4: Apply matte clear coating to protect the painting.
HOW TO MAKE THE FLOATING FRAME
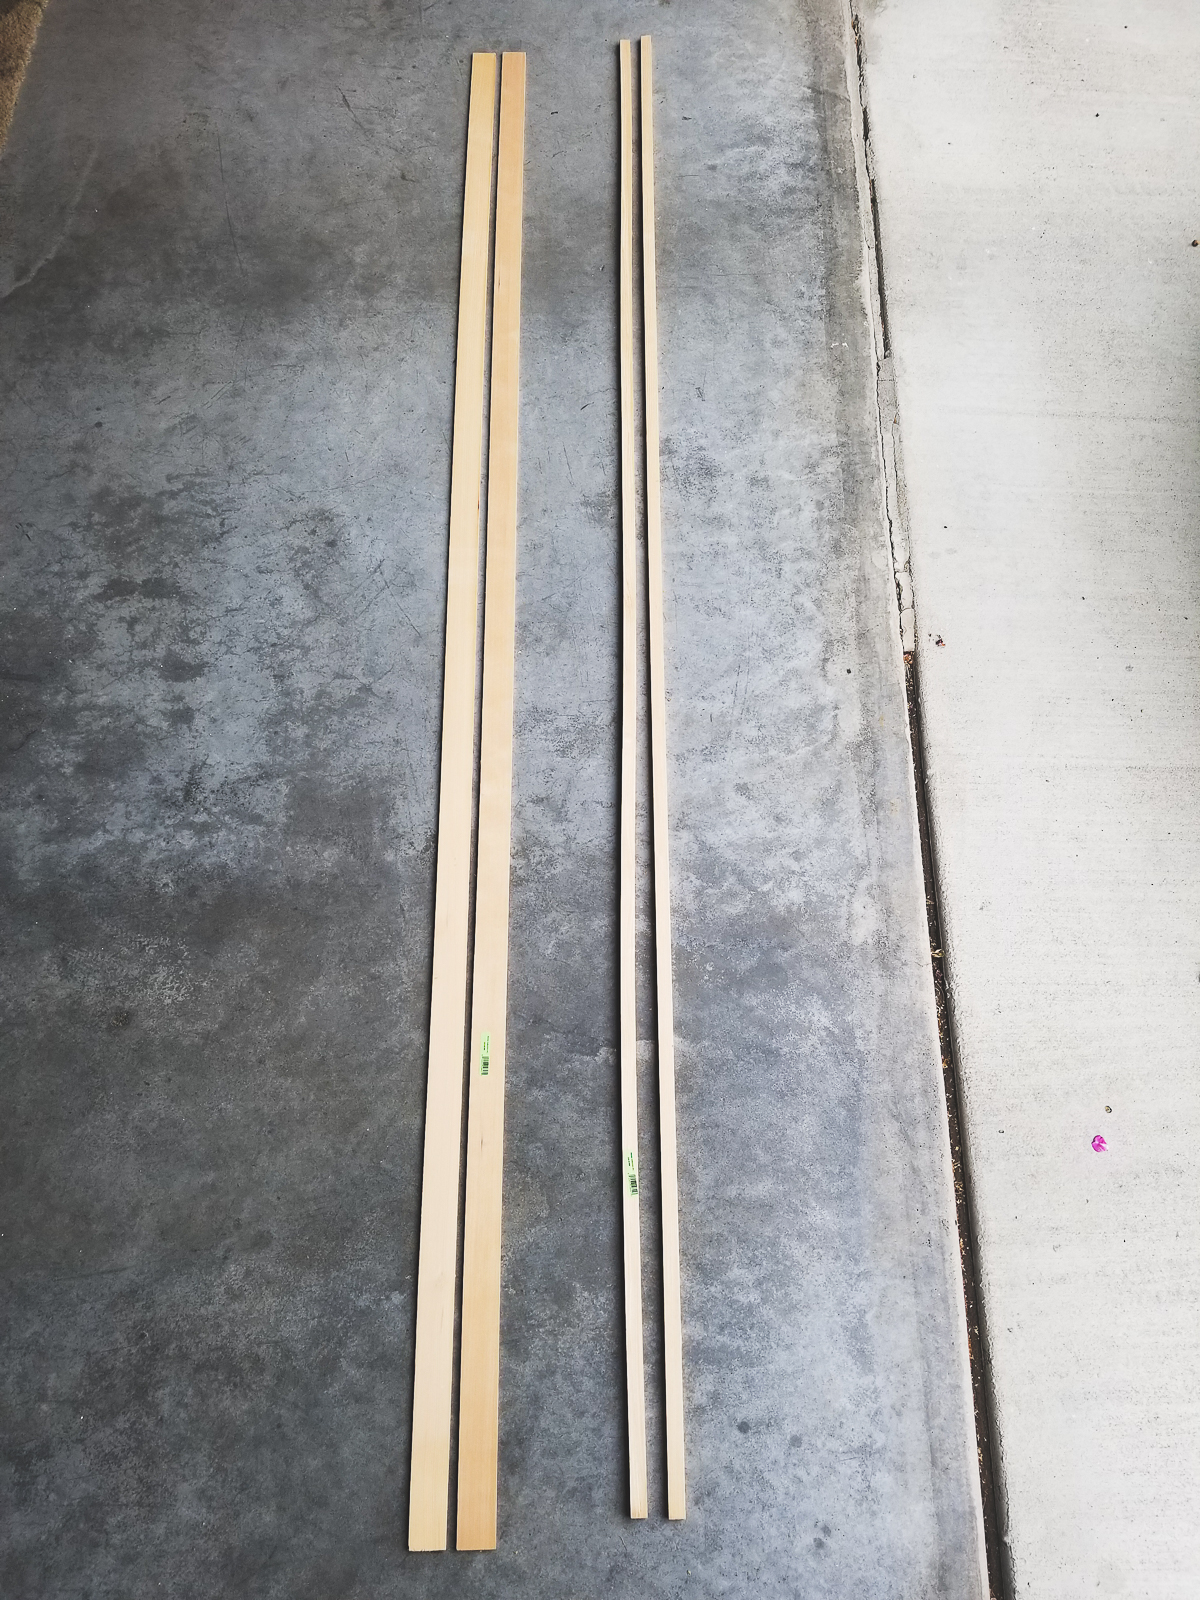
Frame Supplies (for a 36"x48" artwork):
- 3/4-in x 8-ft Hemlock Wood Square Moulding (x2 boards)
- 1/4-in x 1-3/4-in x 8-ft Clear Hem-Fir Traditional Lattice Moulding (2 boards)
- Elmer’s Glue All (not the School Glue)
- small clamps (about 6 clamps)
- miter saw or miter box
- spacers - I used a couple 8.5 x 11 pieces of paper and folded them down to the desired thickness
- masking tape
- ratcheting band clamp
- brad nailer
- wood stain and finish (optional)
- sawtooth picture hangers
Step 1: Glue two boards together.
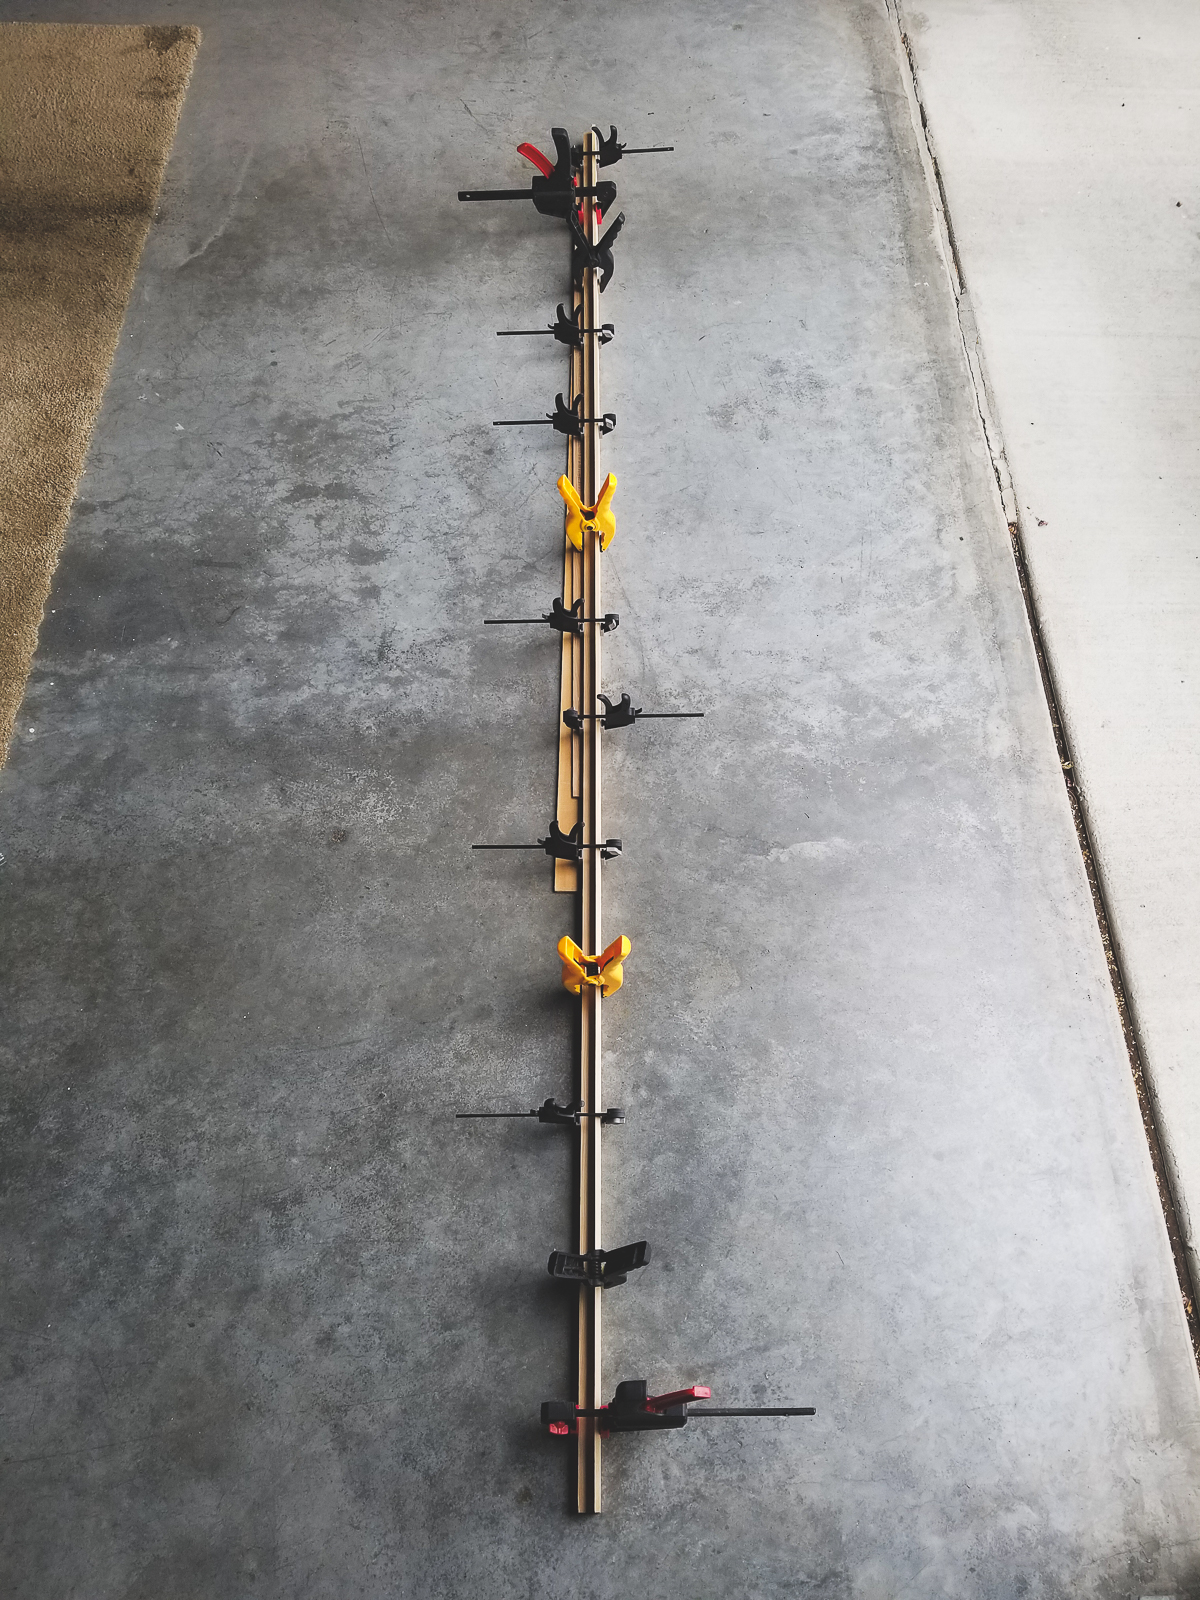
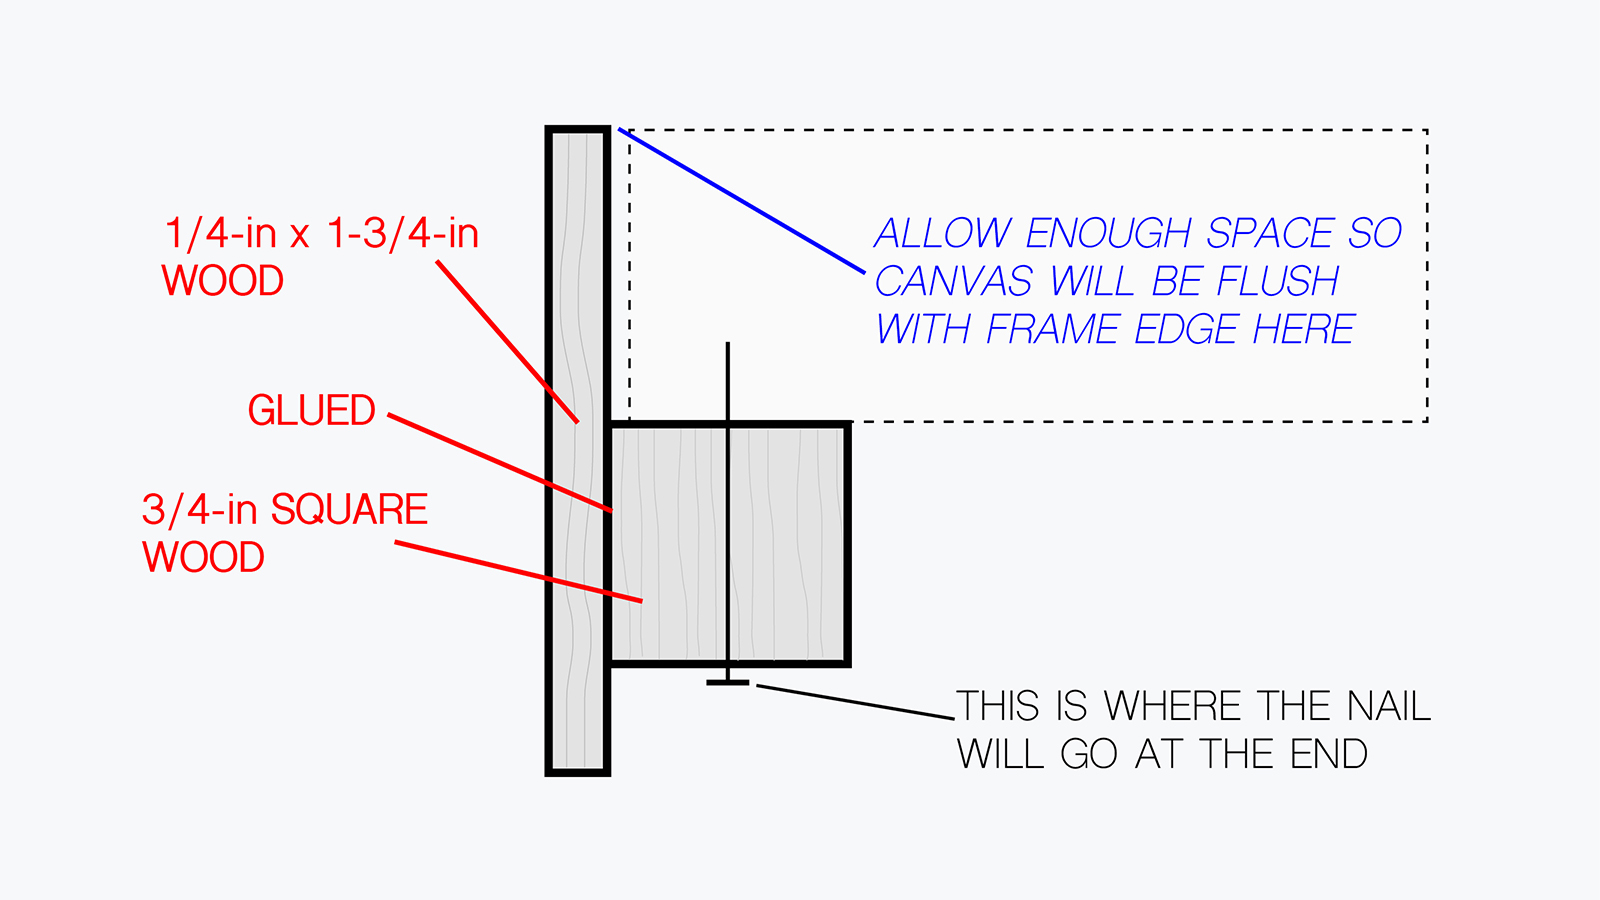
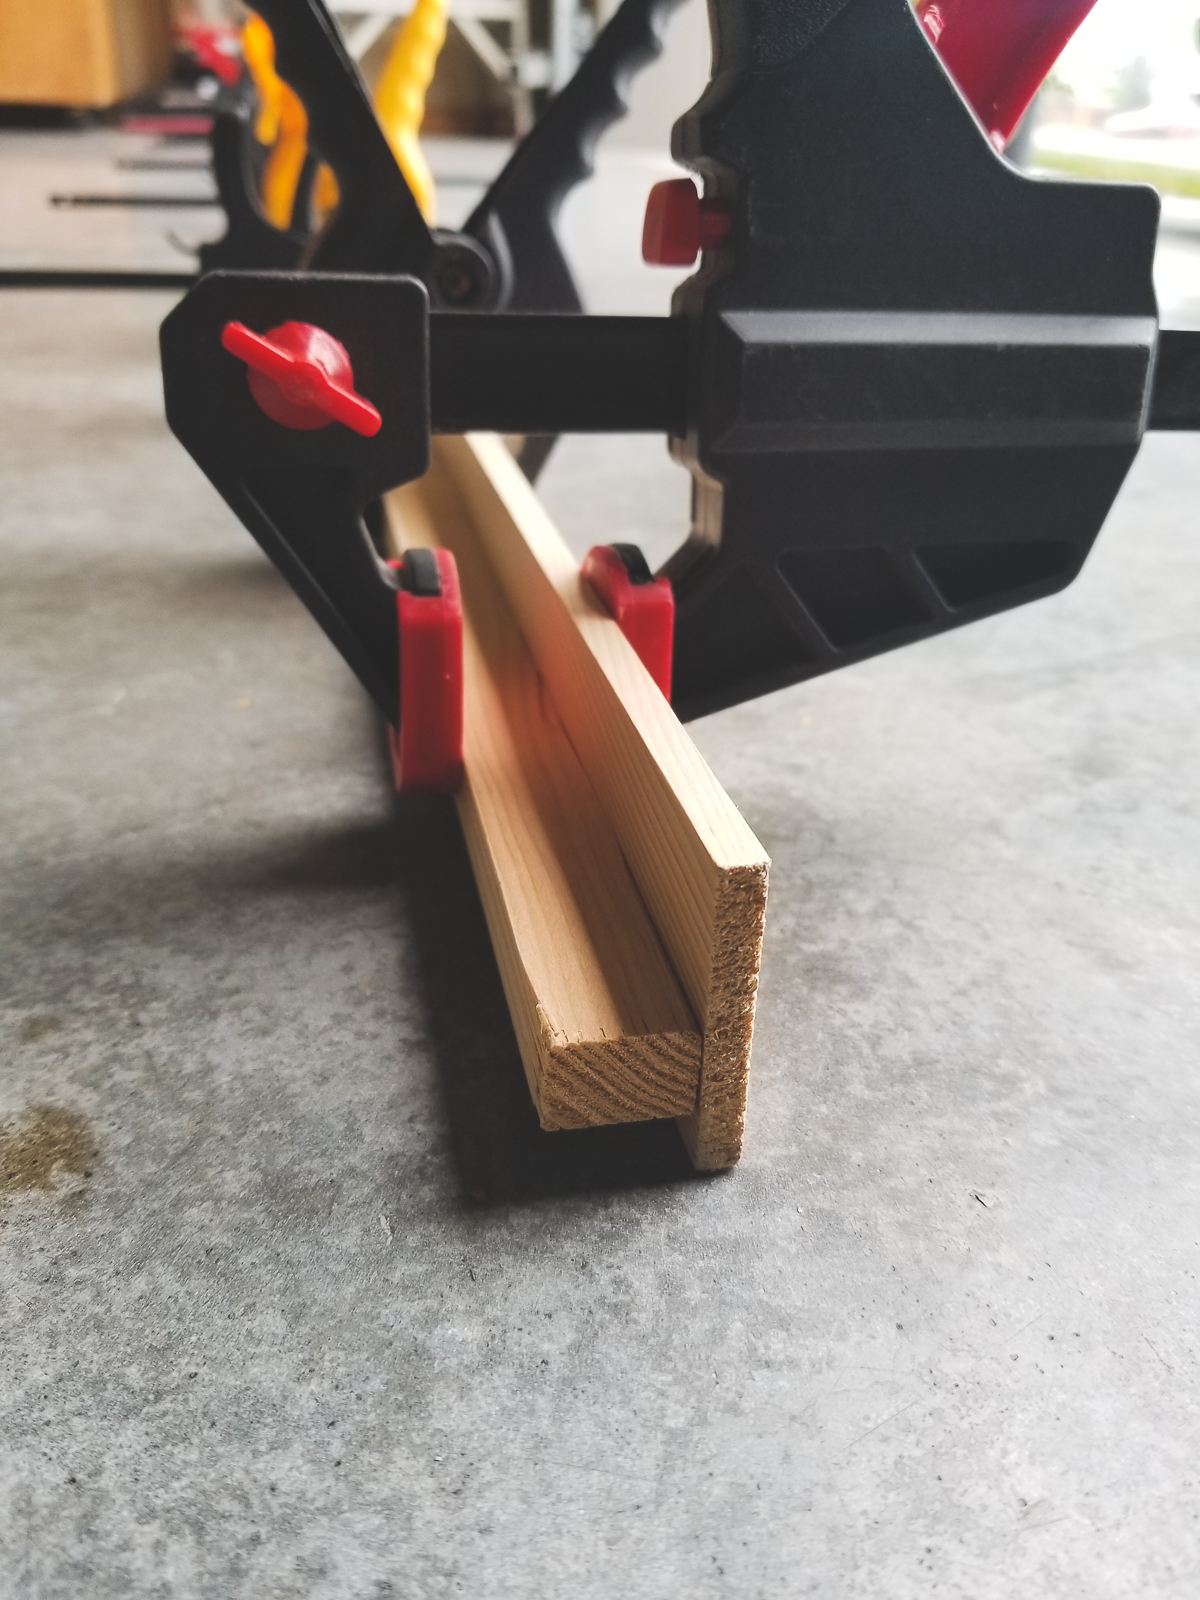
Glue the square and rectangle board then clamp together to hold in place (see diagram). Let dry for at least 3 hours. Remove clamps and repeat for the 2 remaining boards. The spacing might vary. It will depend on the thickness of the canvas. Ideally you want the edge of the canvas to be flush with the edge of the frame.
Step 2: Cut and miter.
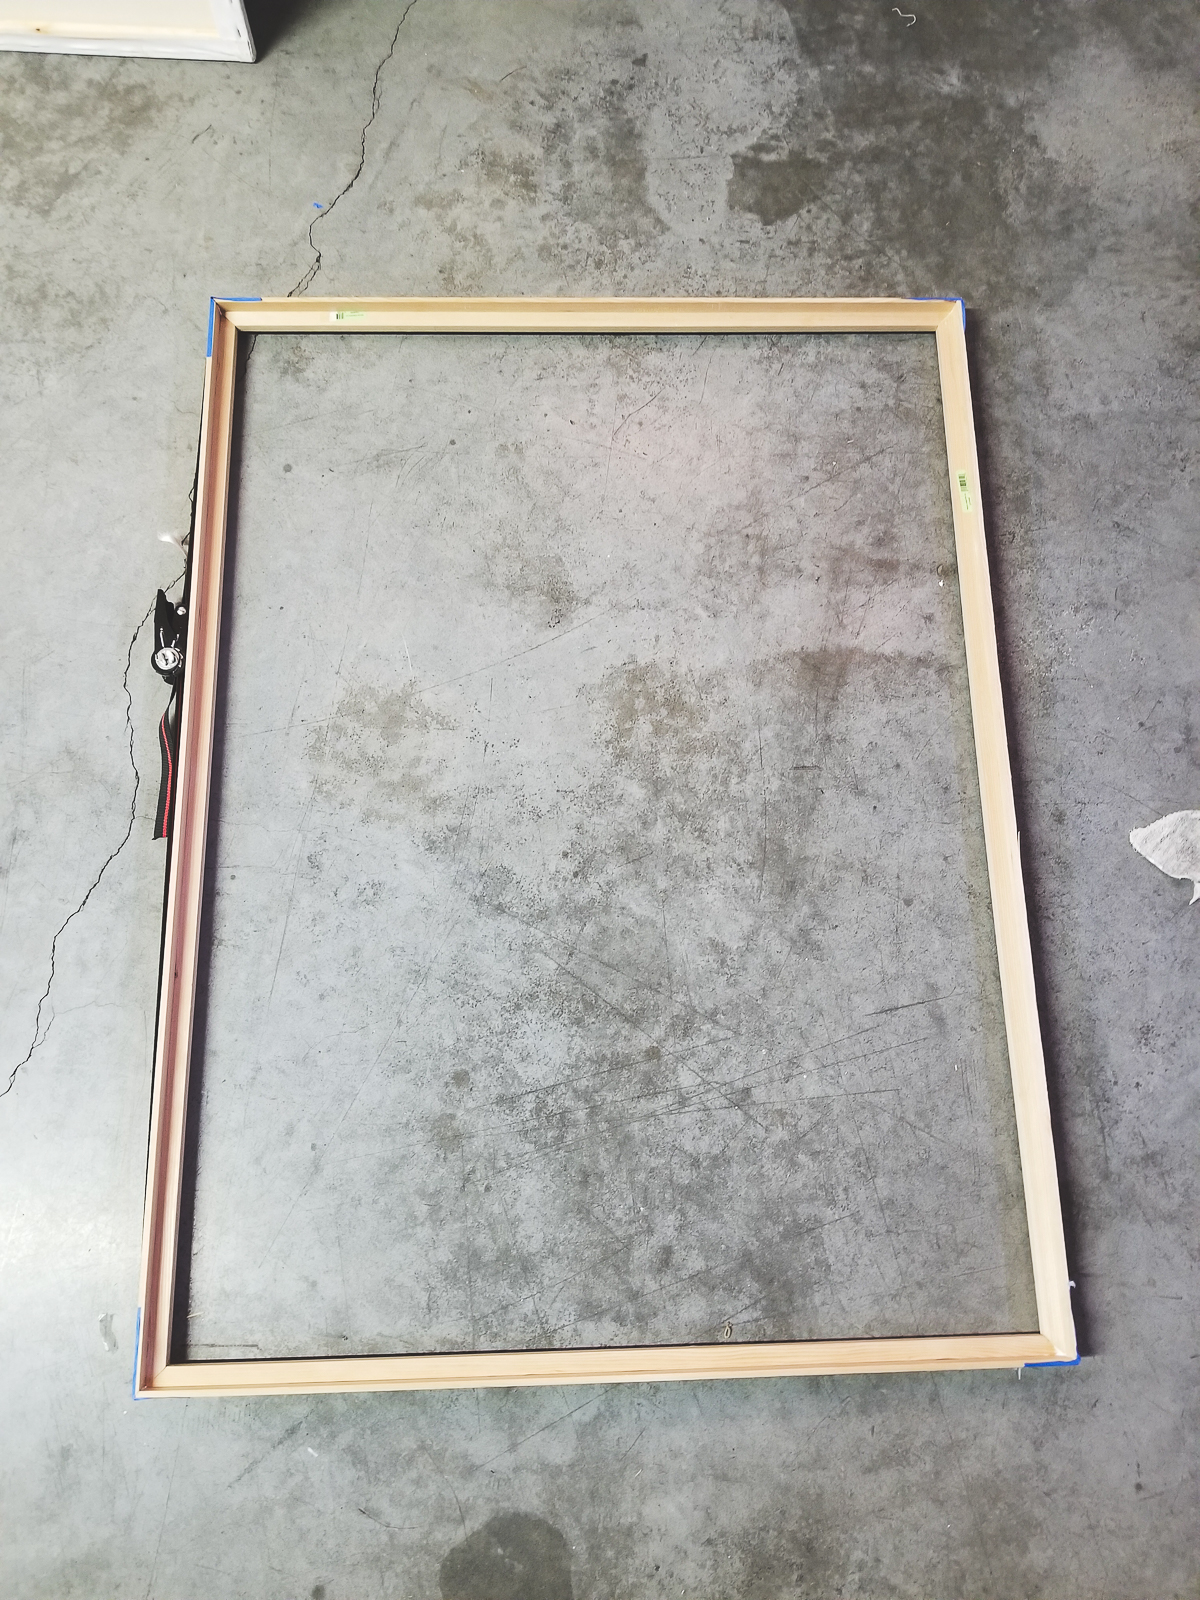
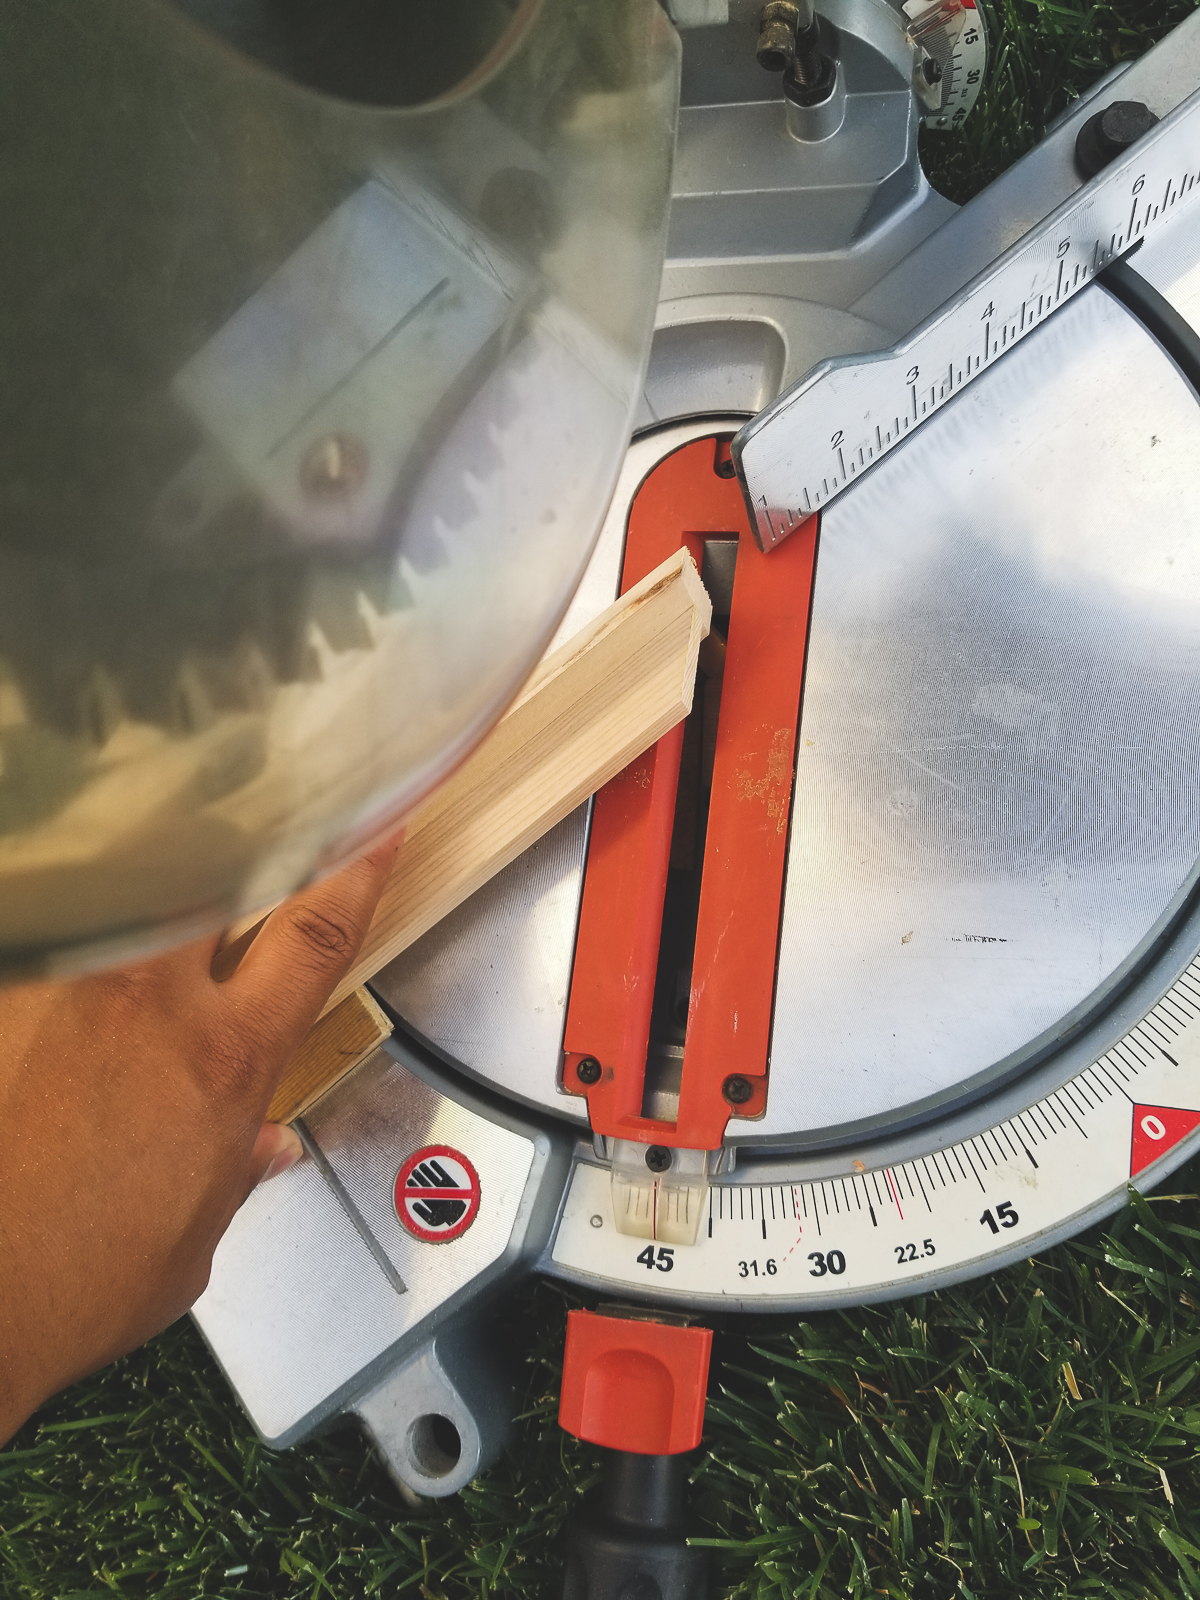
This part is crucial, so work carefully to ensure the frame will turn out perfectly. Measure and cut your boards from the outer edge to be 1 inch longer than your canvas length(see diagram). REMEMBER: all sides will need to be a bit longer than the canvas dimensions to achieve a floating effect. If it's too long, cut away slowly. Make the outside of the frame is flat against the miter wall (see diagram). Lay the frame out on a flat surface.
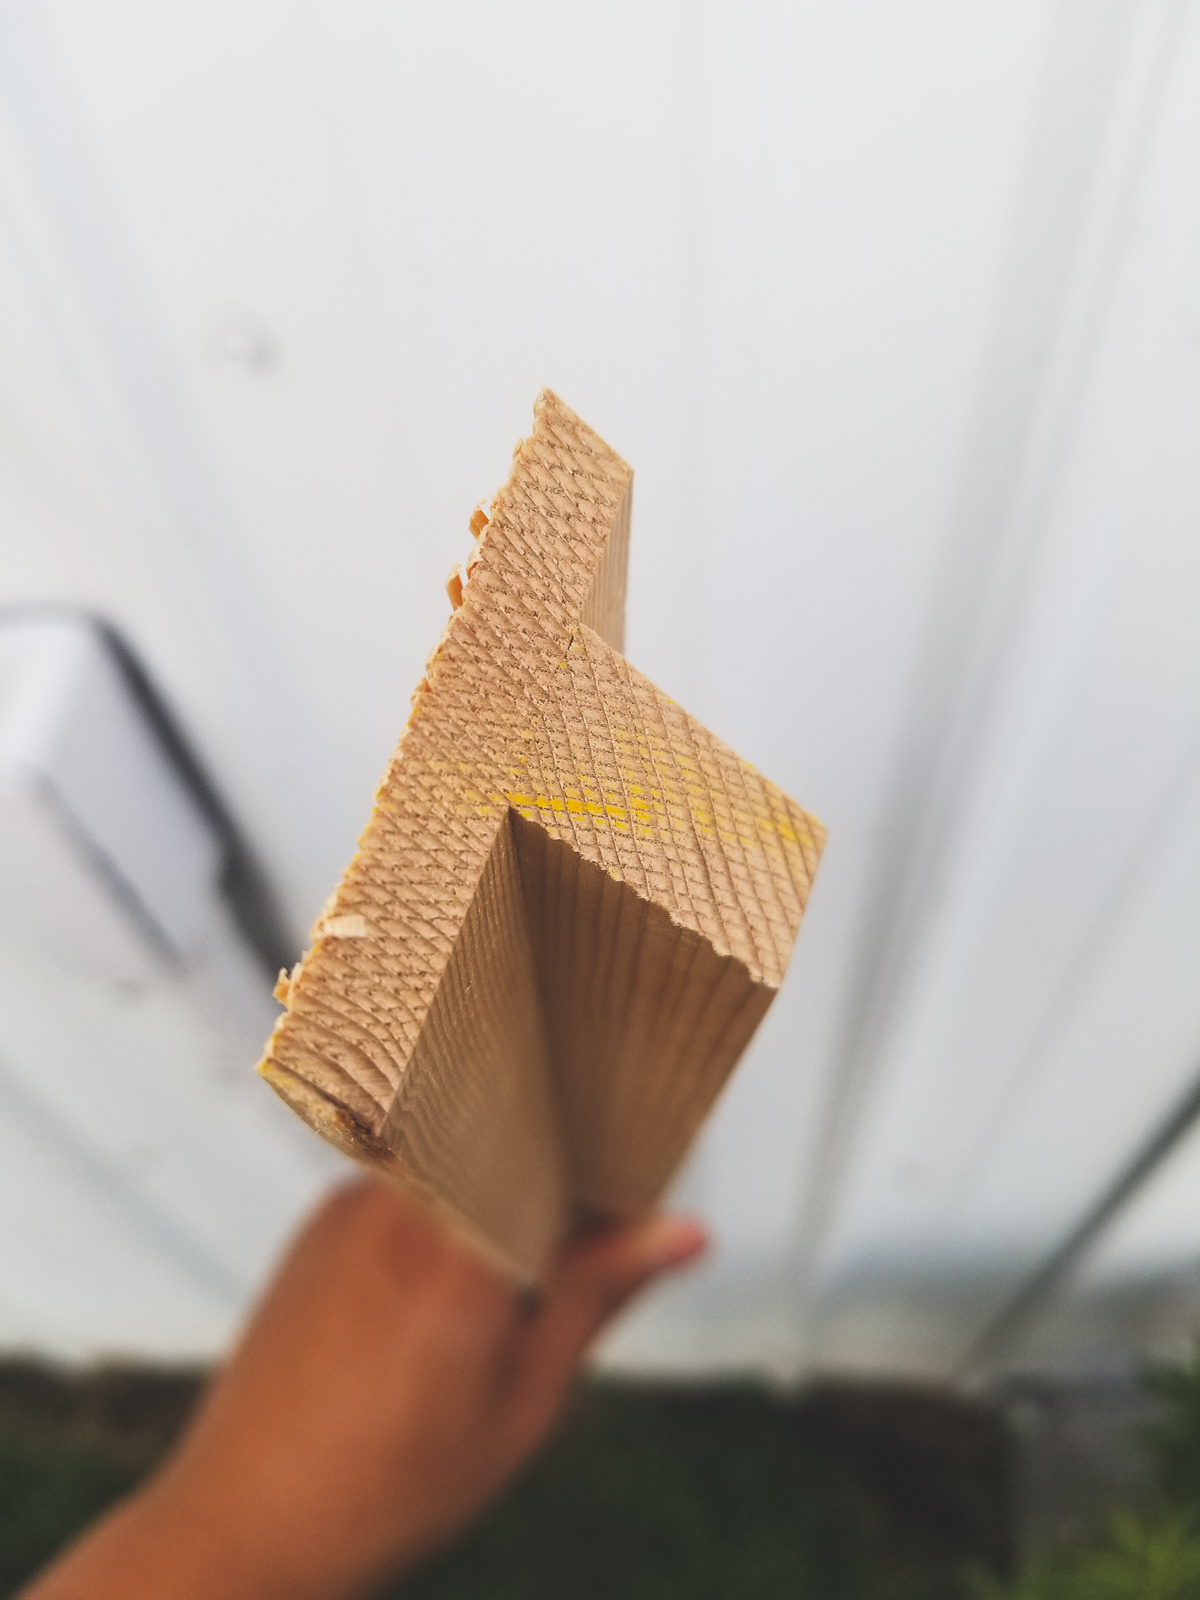
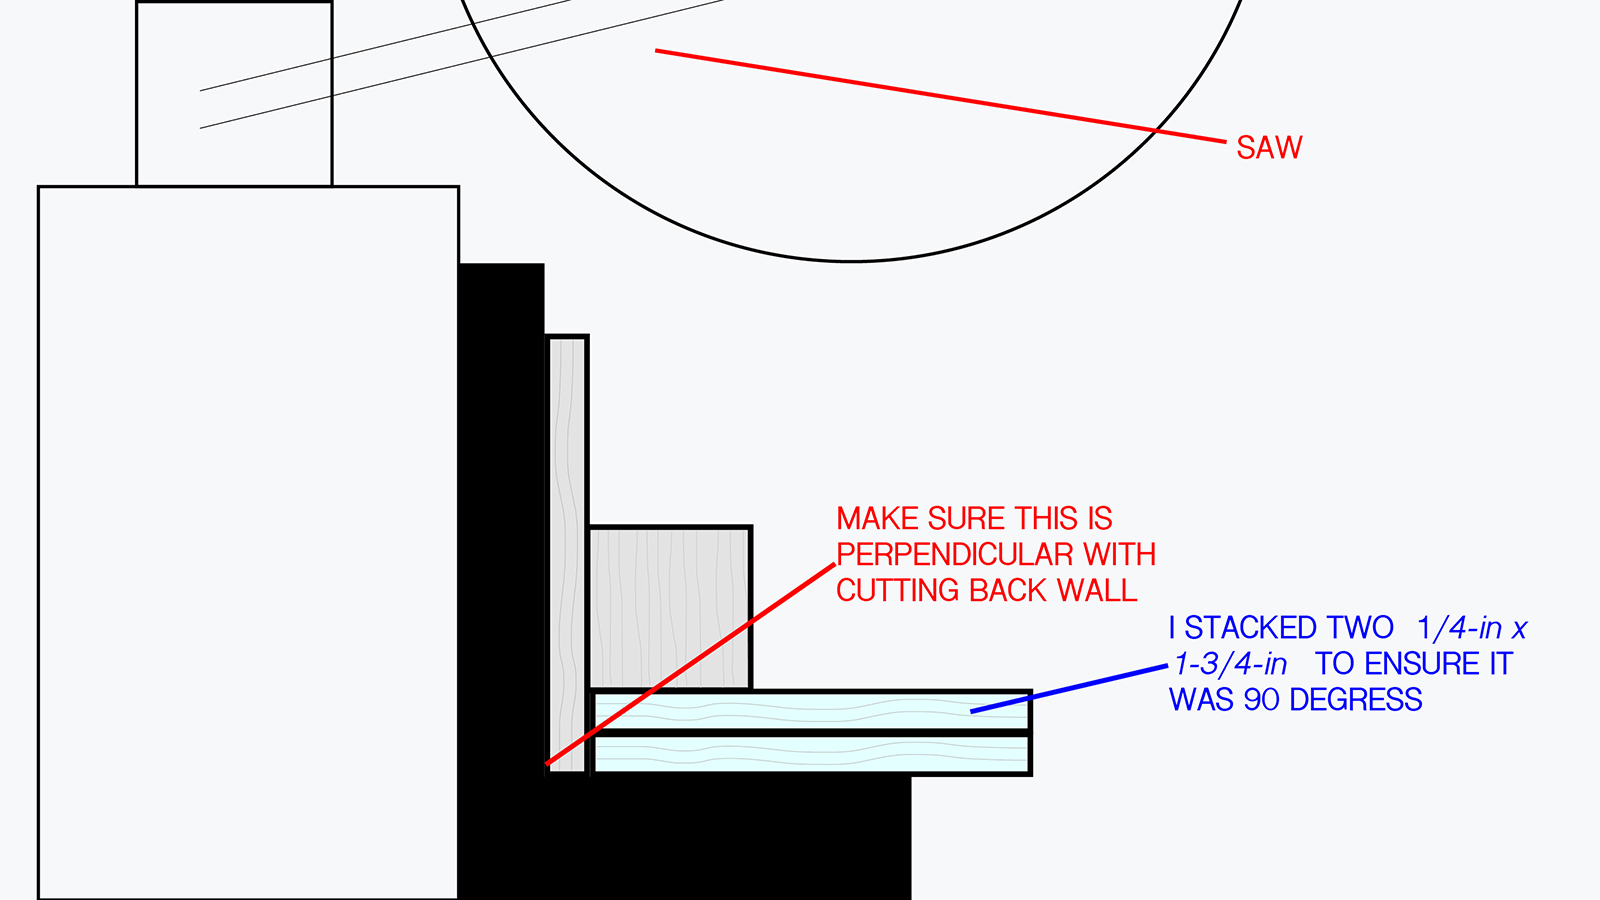
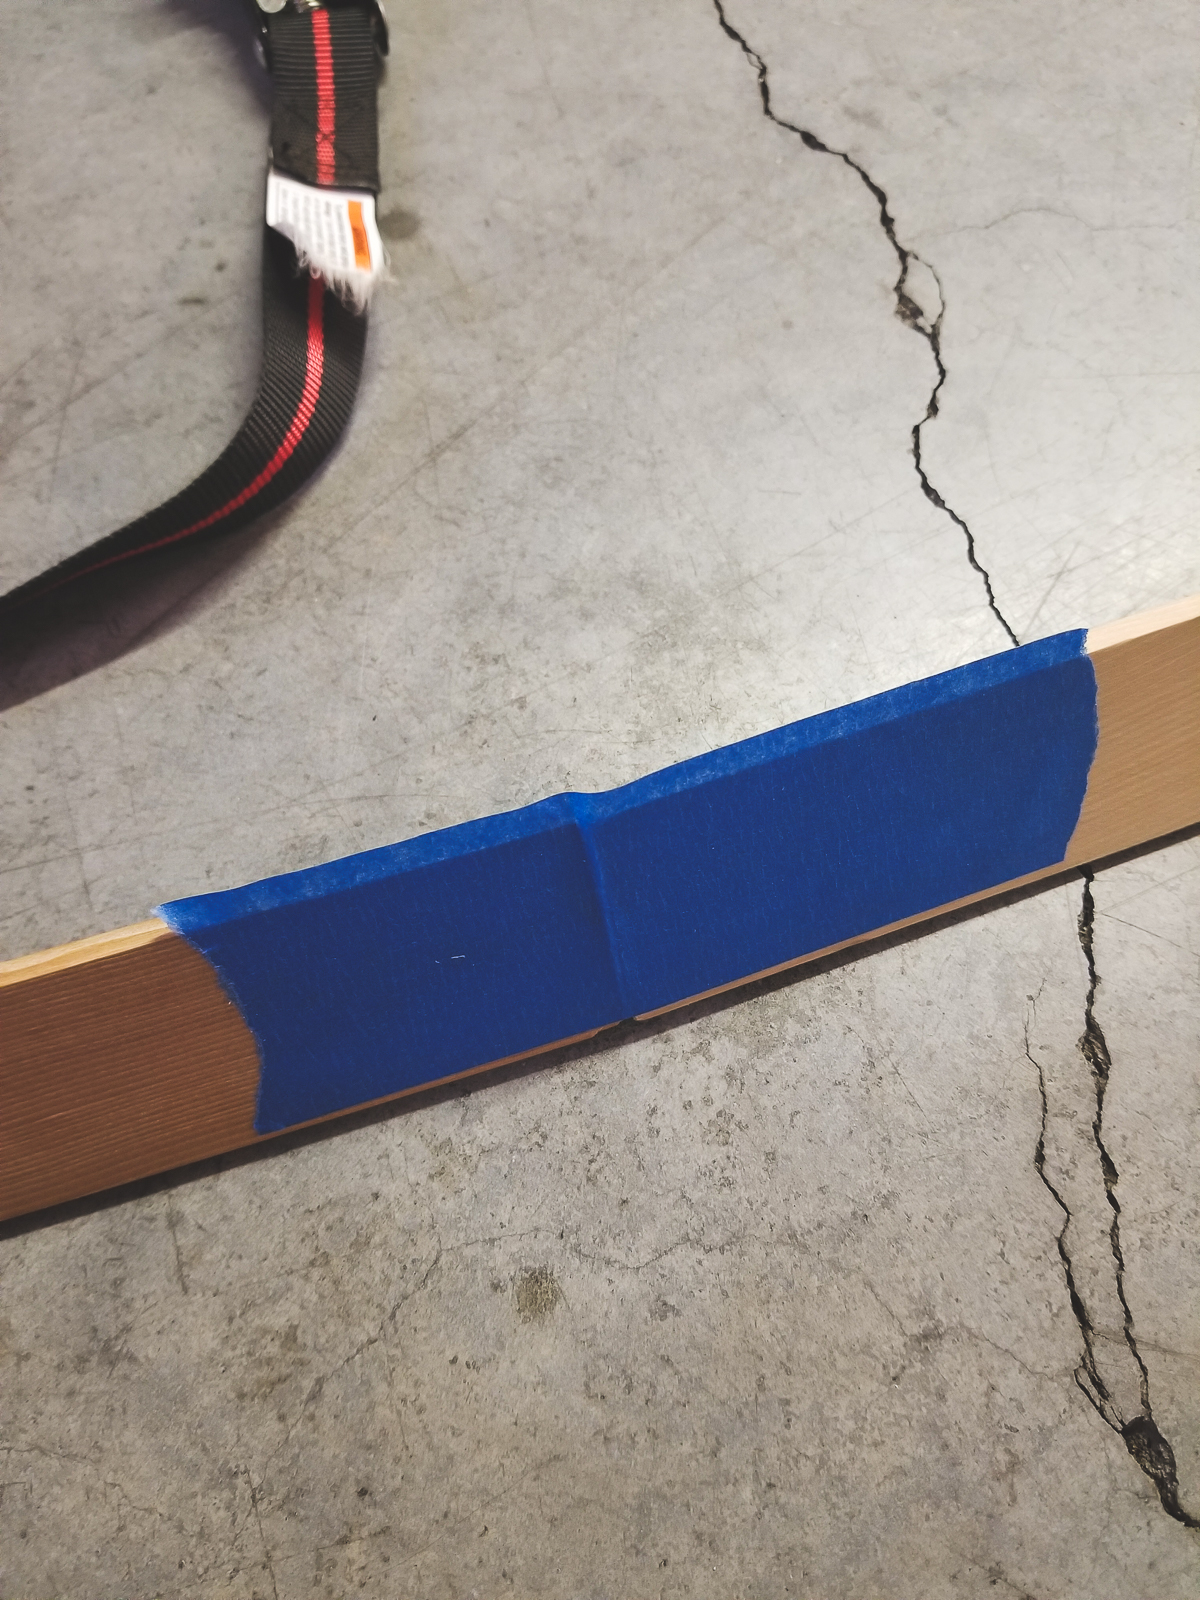
Use masking tape to hold the edges together when testing the fit of the frame.
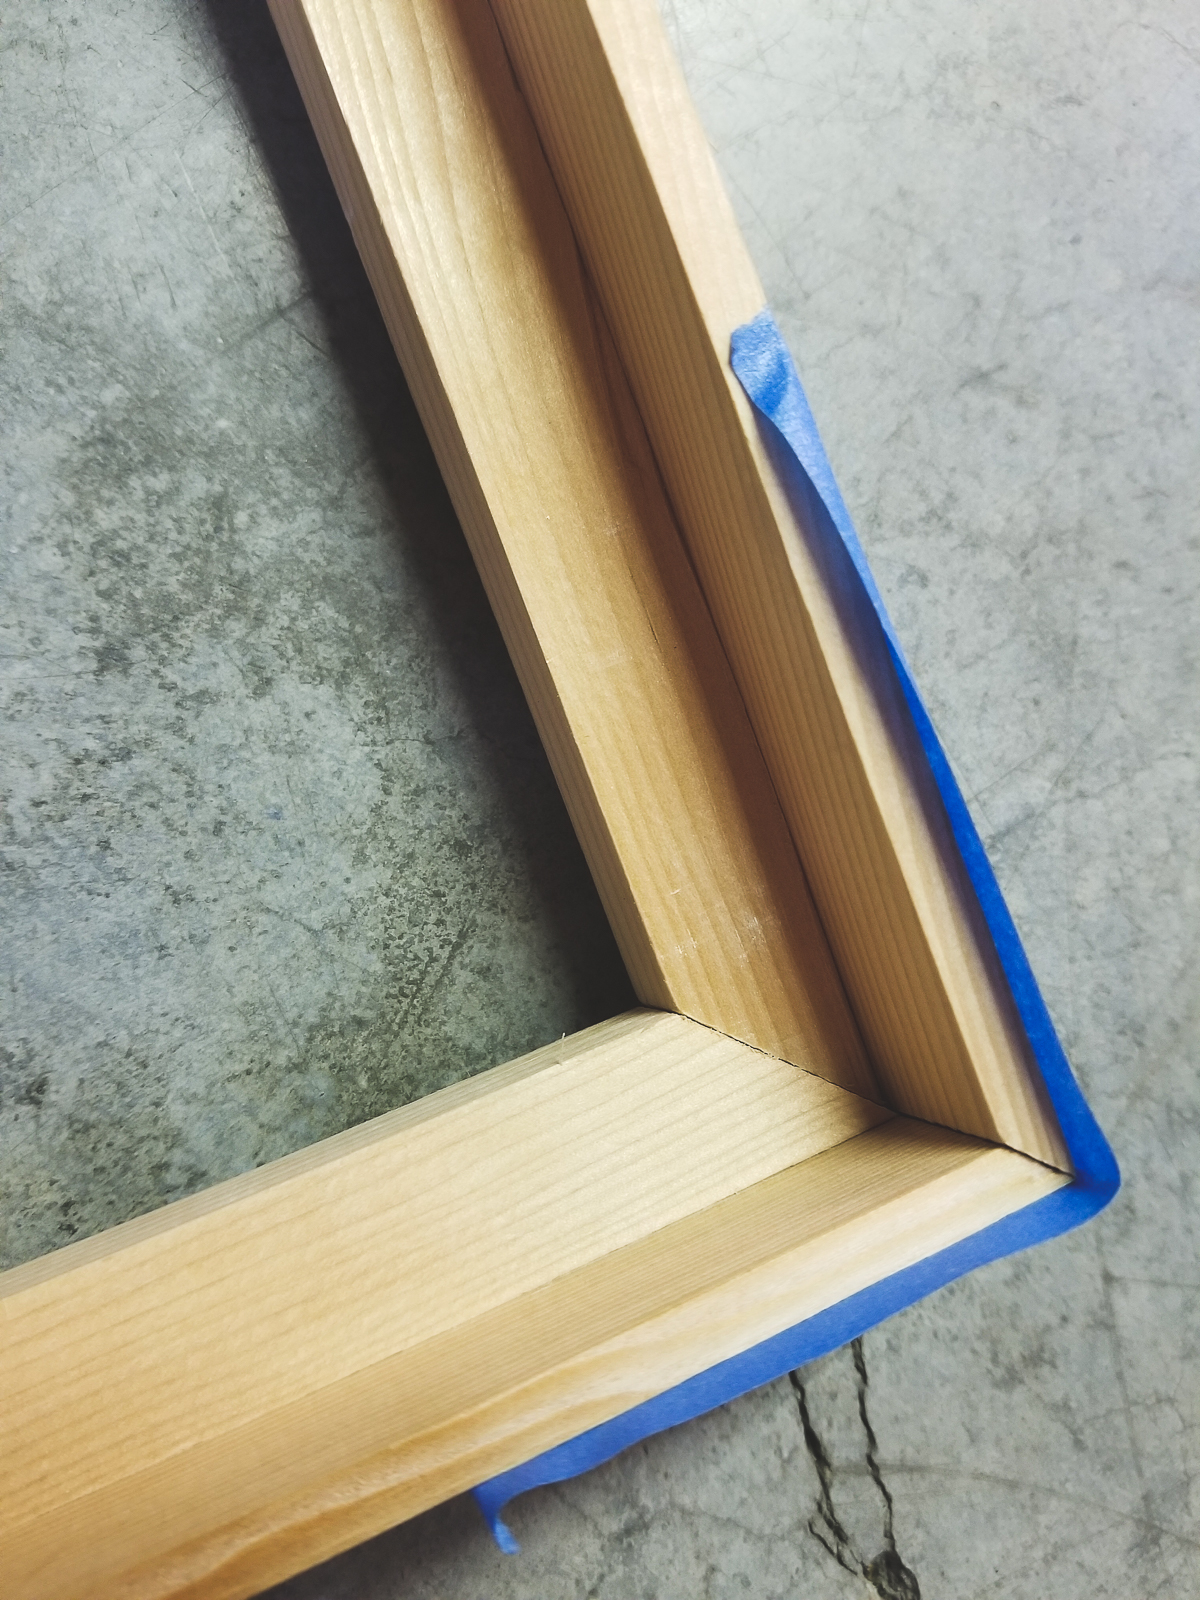
Insert the canvas to test the size. Place spacers to check spacing (I used folded pieces of paper to determine the space between the frame and the canvas). This will create the “floating” effect.
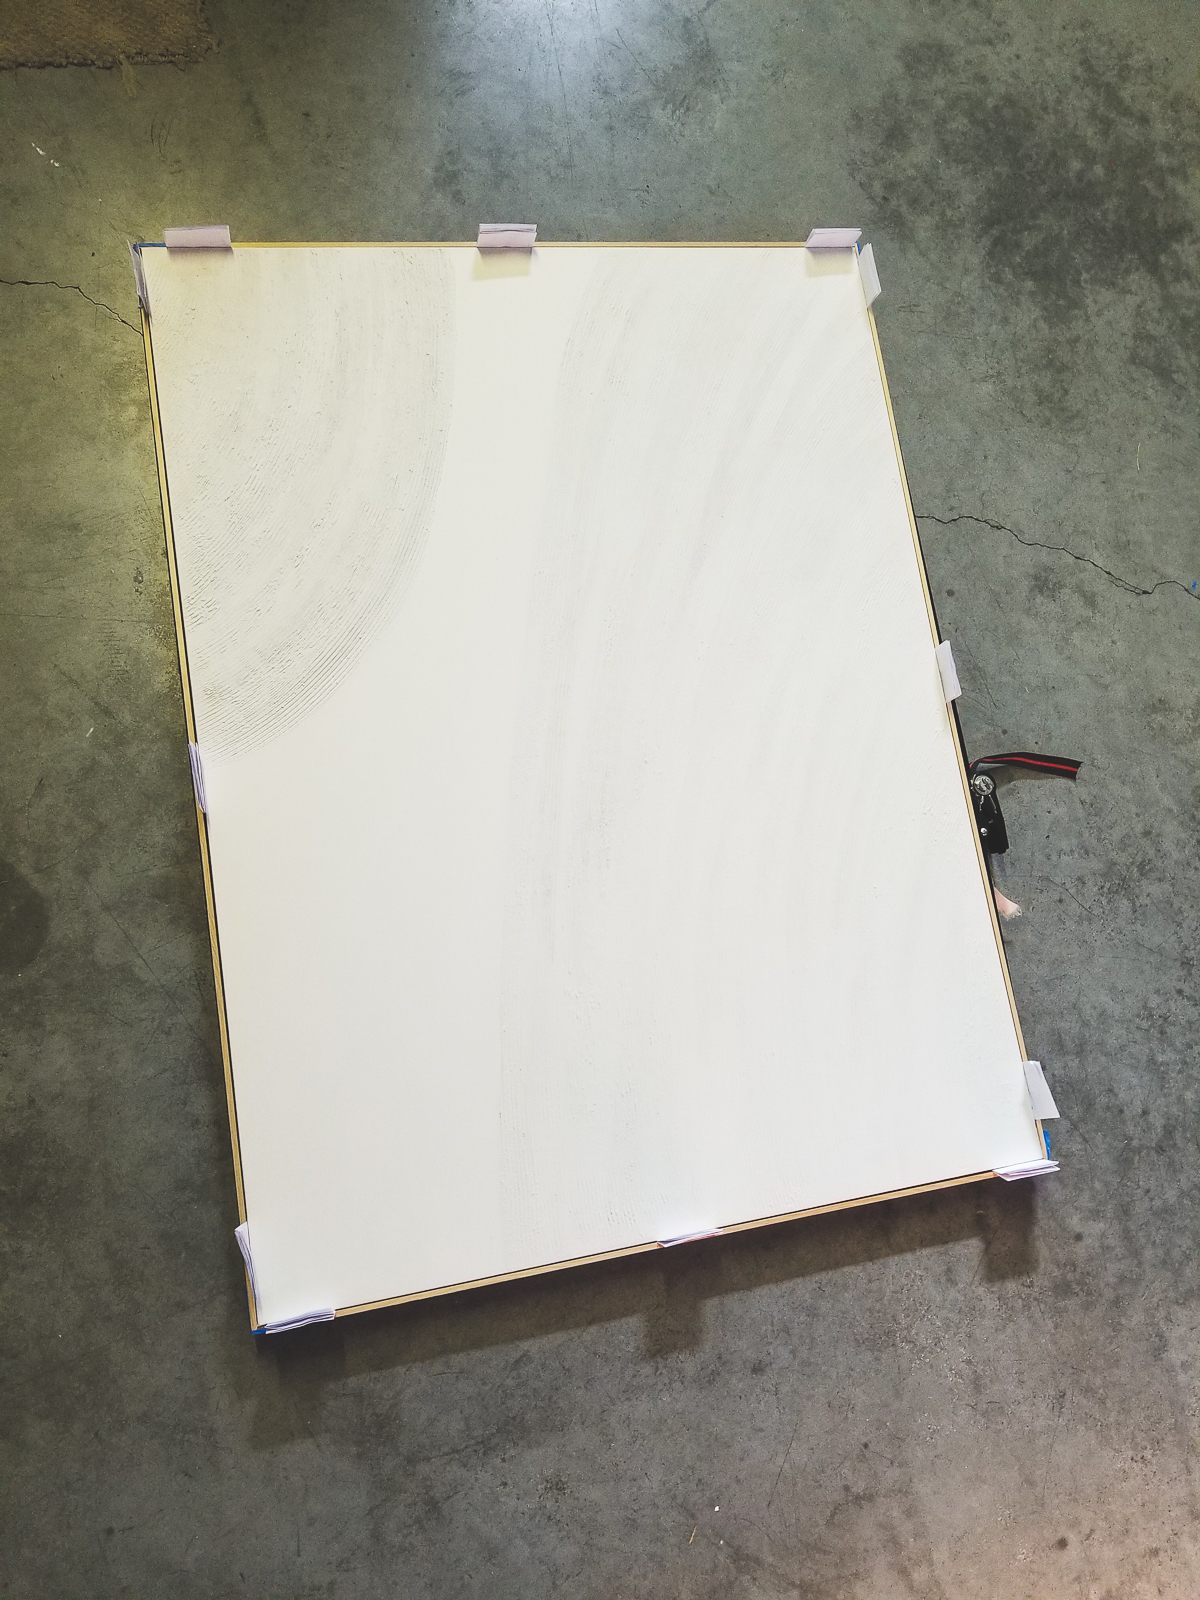
I suggest using the ratcheting band clamp to tighten the frame and TRIPLE check the canvas fits properly with the spacers (folded pieces of paper).
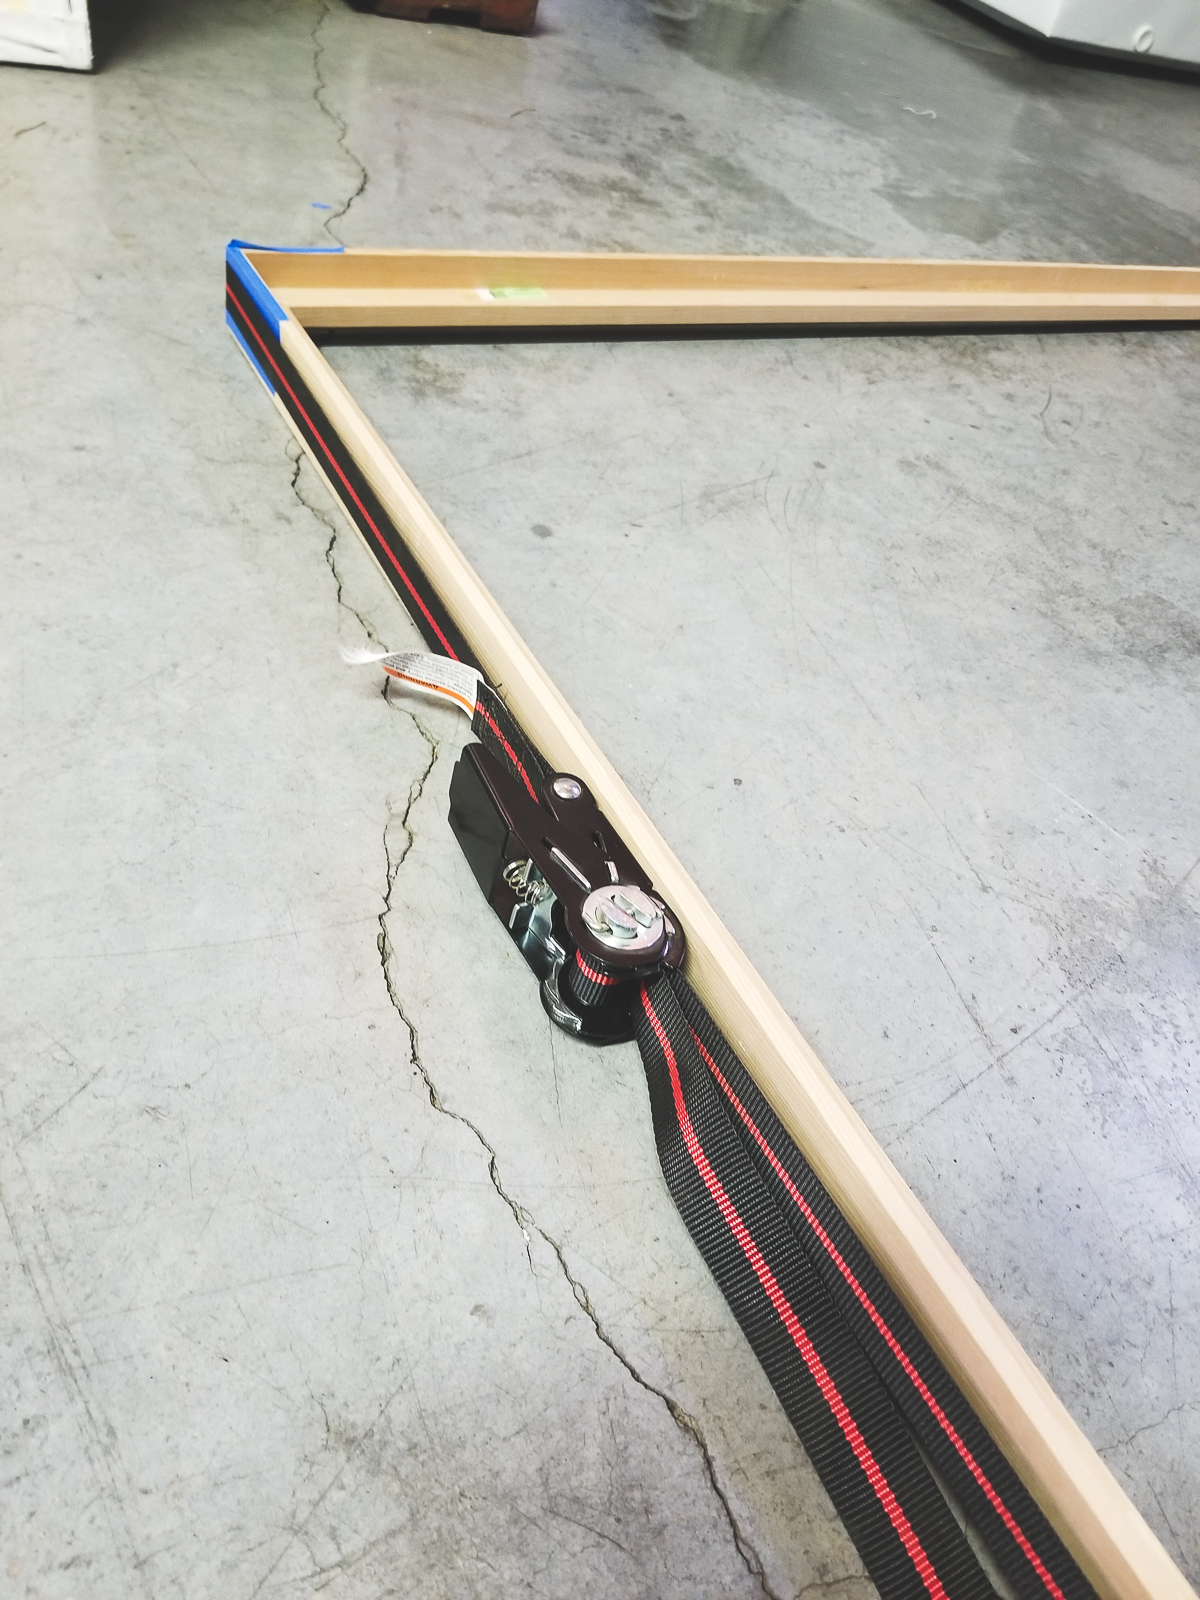
Step 3: Glue it up.
Almost done! Now that your frame fits as desired, we need to glue up. This part is time sensitive because the glue will dry. Make sure you are comfortable using the ratcheting band clamp now. Follow these steps in a timely manner:
- set the canvas aside for now
- put Elmers glue on the mitered edges
- join edges with tape
- carefully insert canvas and spacers to get a tight fit
- use ratcheting band clamp to tighten
- let dry at least 5 hours
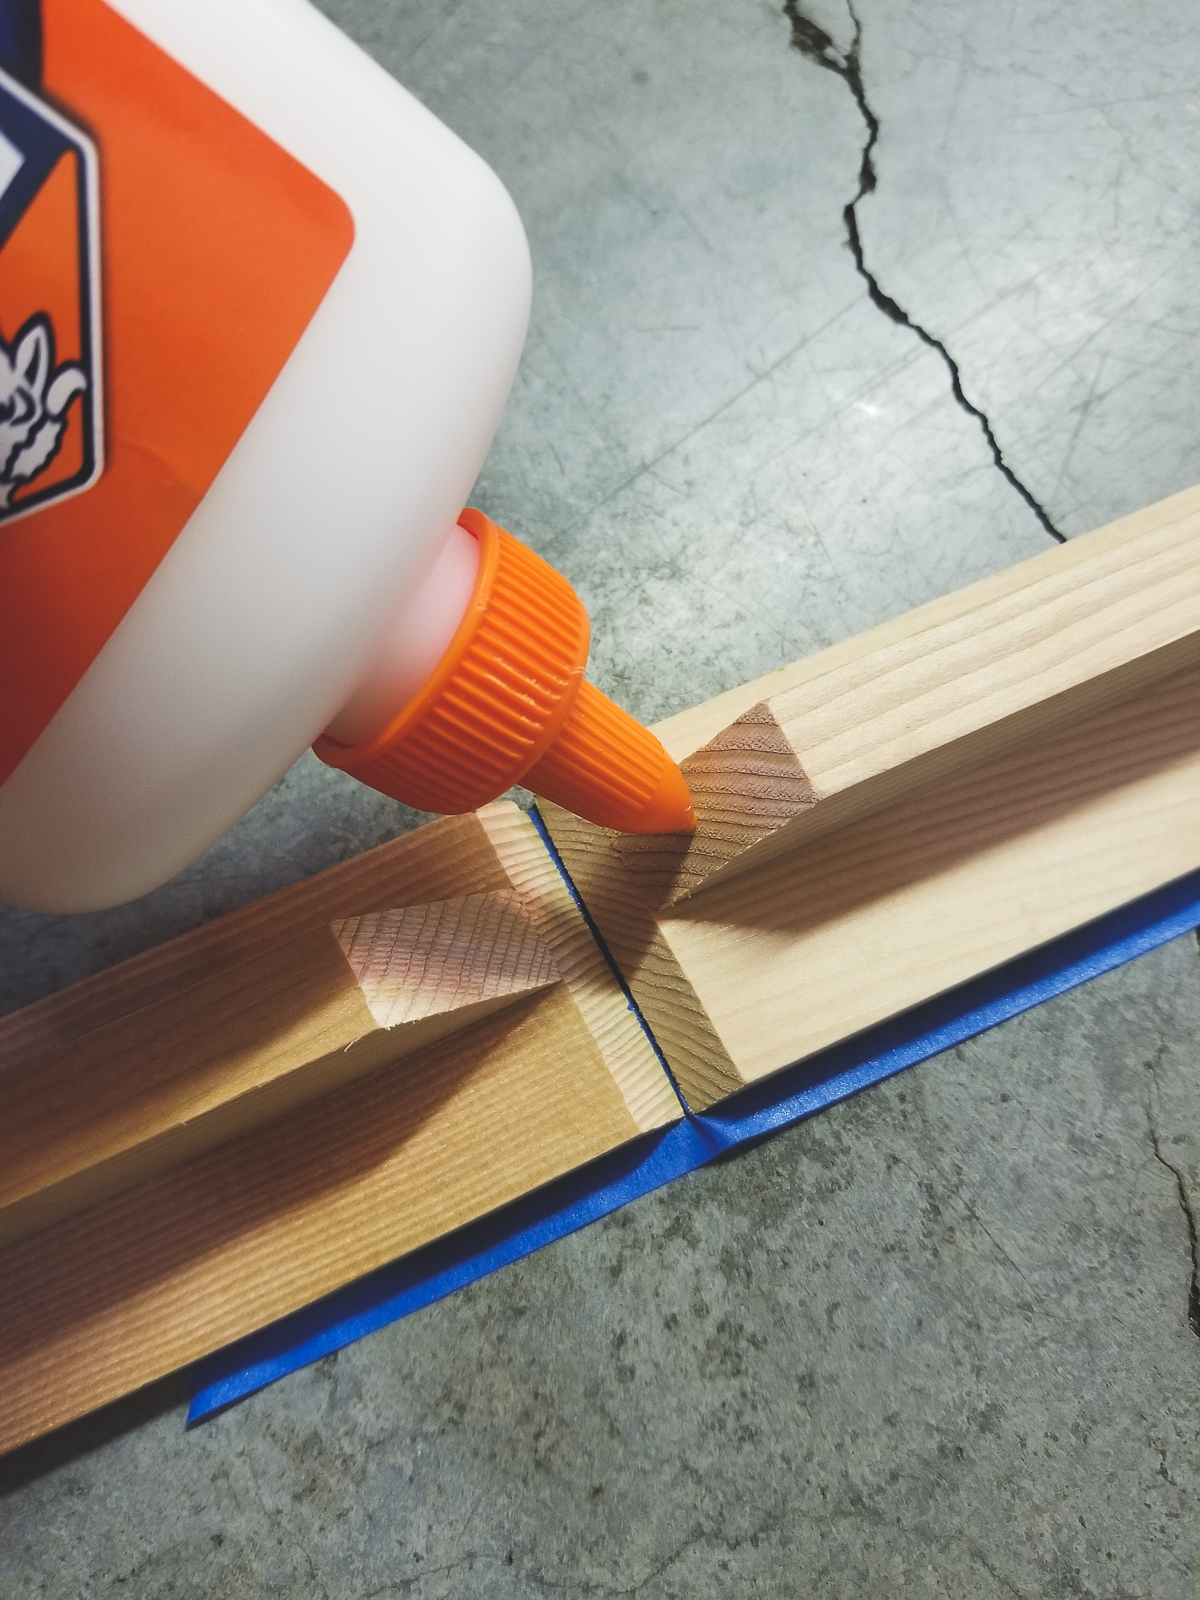
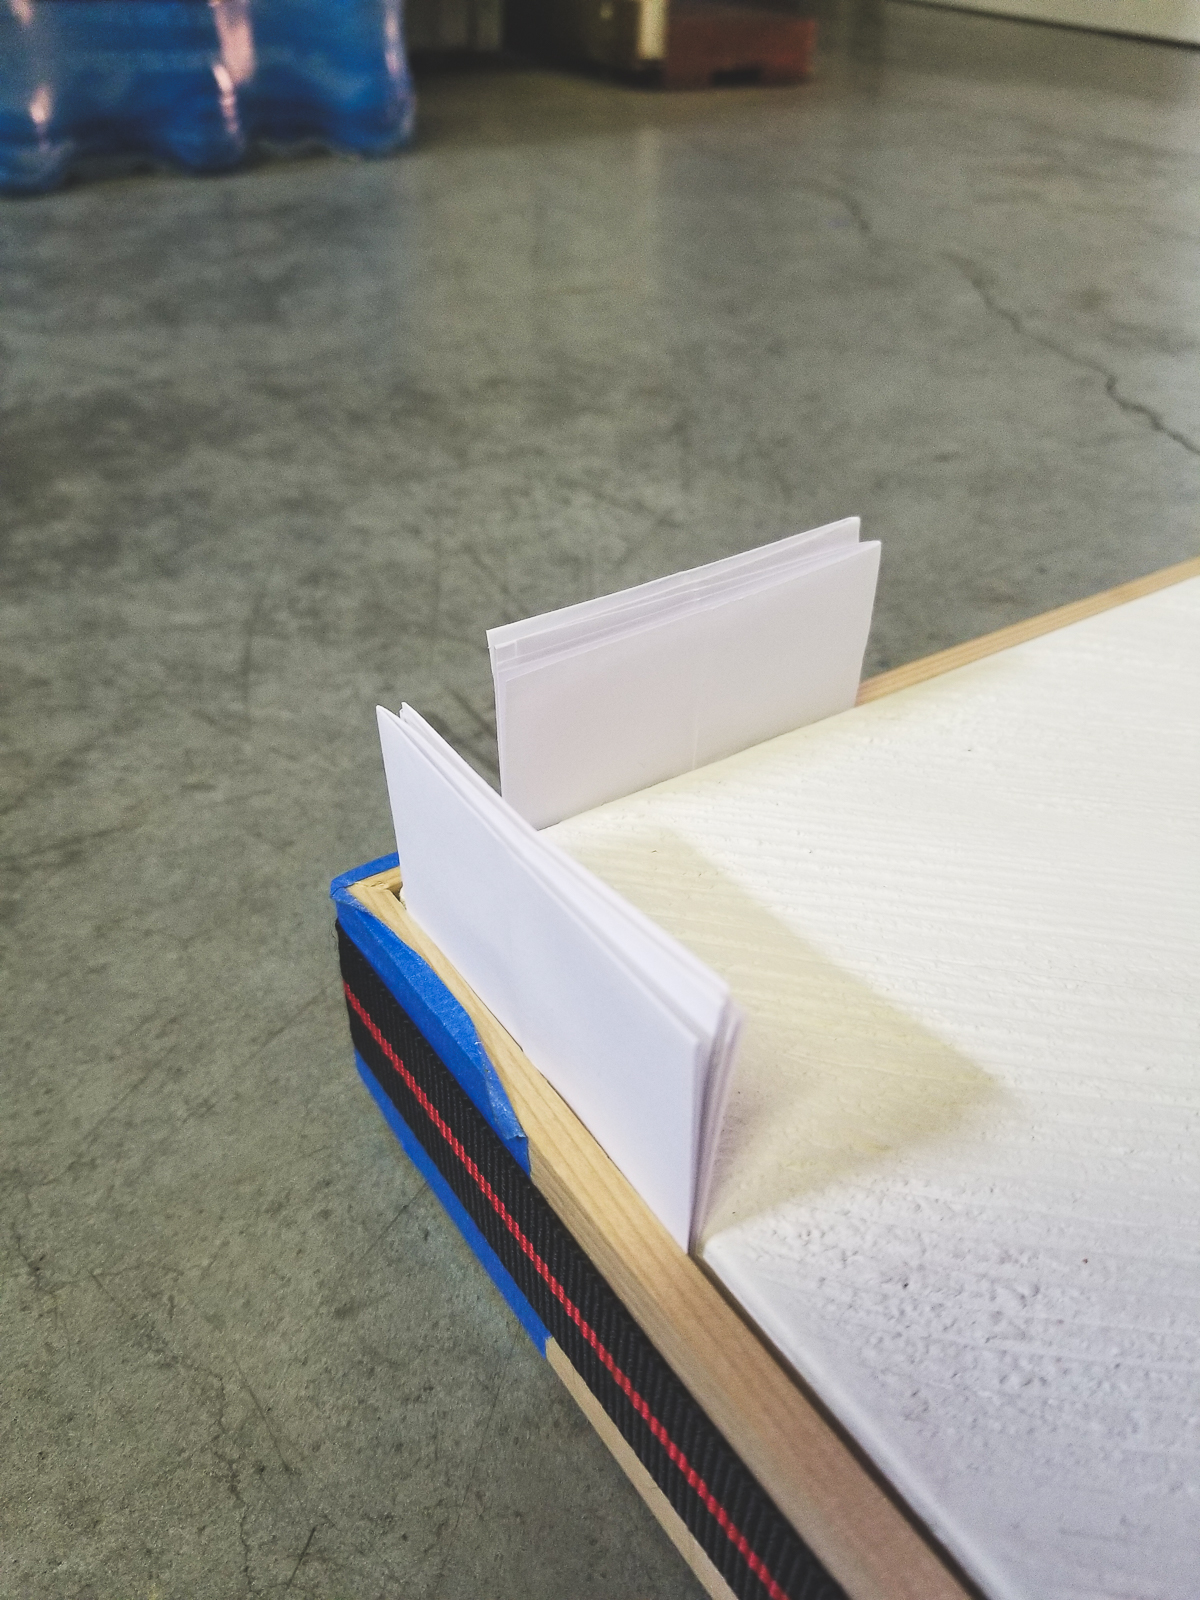

Step 4: Attach the artwork.
Now it’s time to whip out the nail gun. Haven't used one before? Don't worry, these are easy to use. I have Ryobi one that is battery powered. You don't need an air compressor for this one! (I left the wood staining for last to avoid removing the ratcheting clamp, just in case…) Ensure the canvas is centered with the spacers.
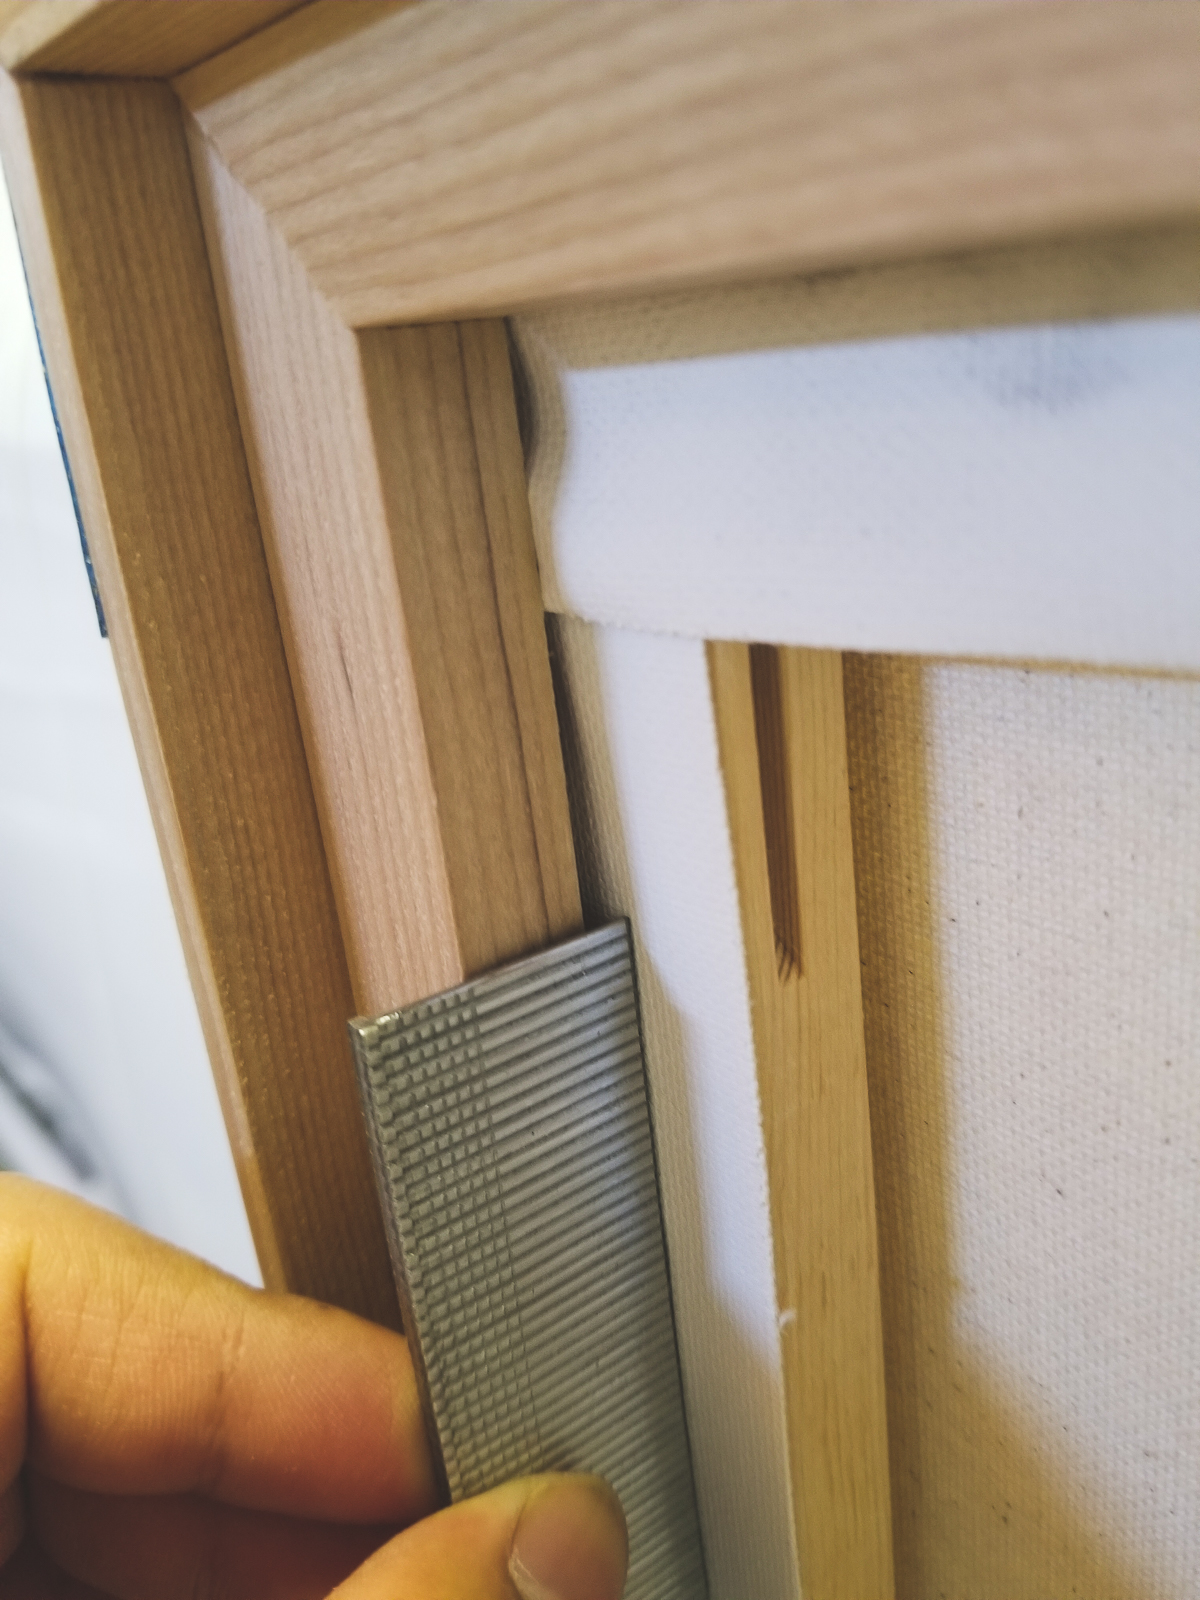
Find appropriate length nails. I used 1 1/4" long nails. You want to make sure they will go through your frame and some of the canvas frame, but NOT all the way through your artwork!
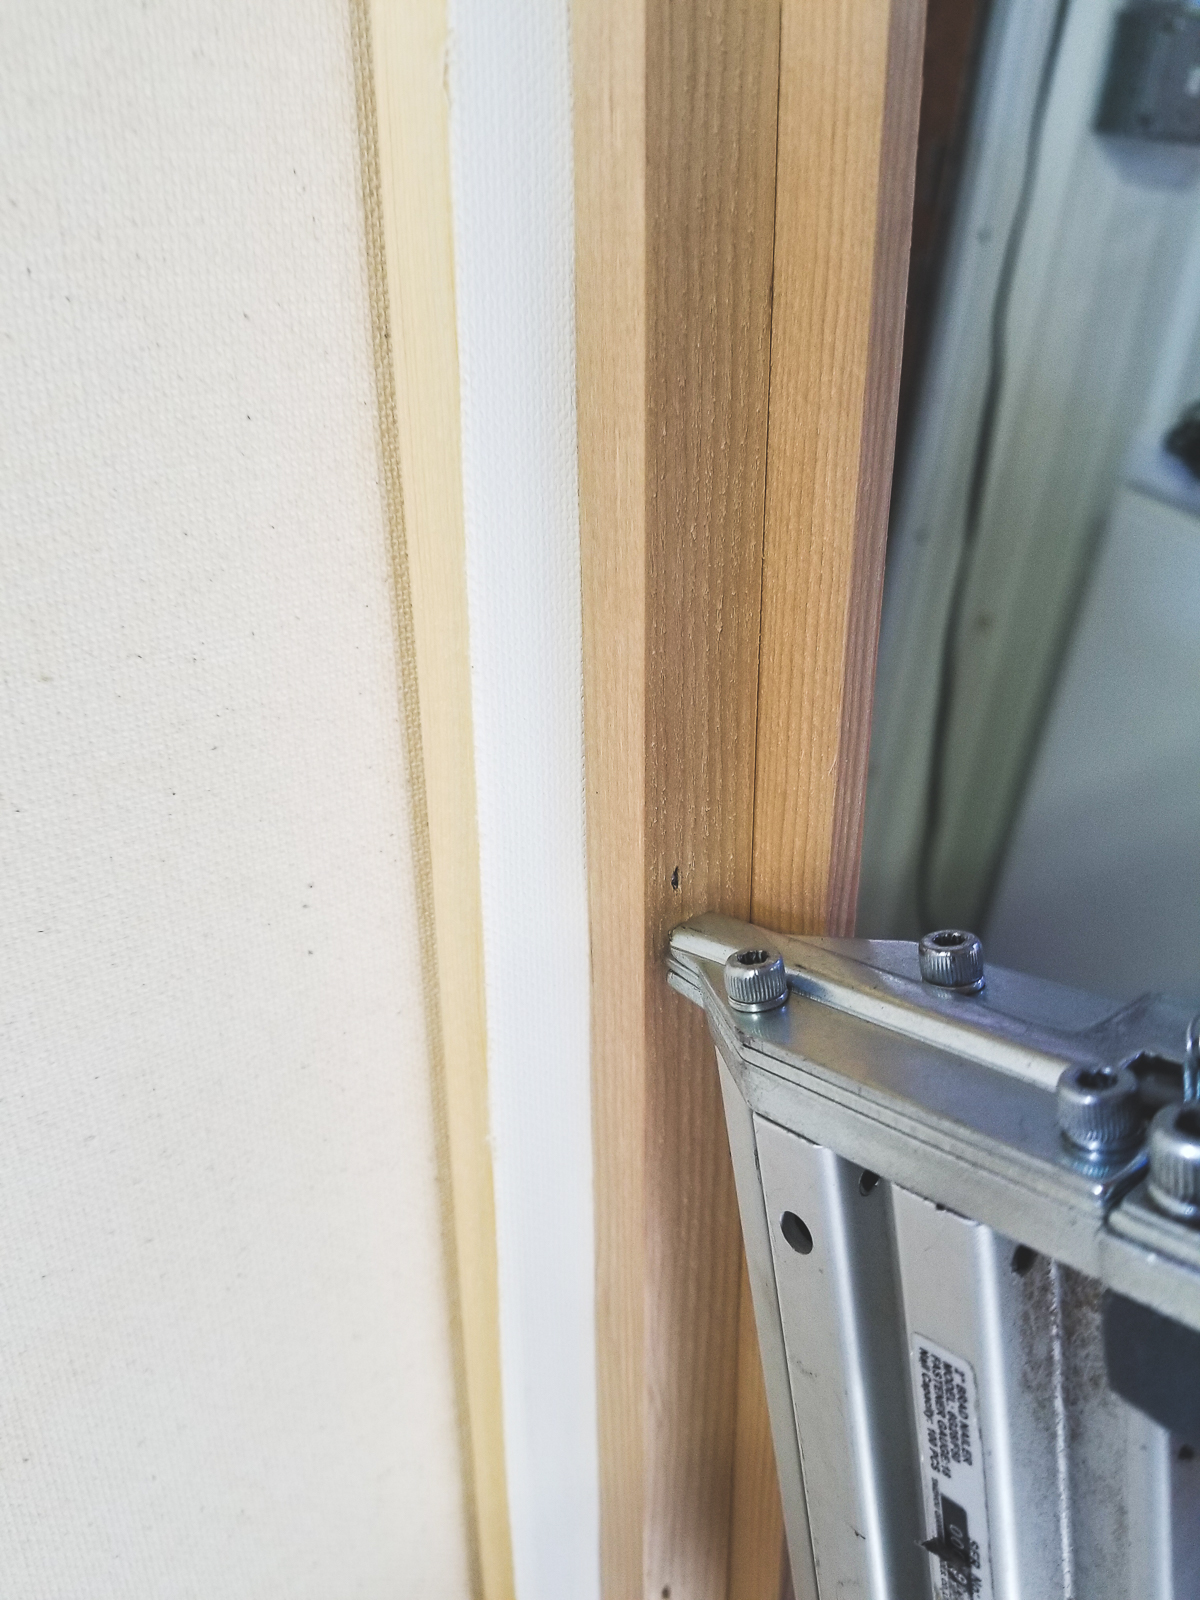
Nail once near each corner and check the front of the artwork to ensure its still centered. Then proceed to nailing every 6 inches.
Step 5: Apply final touches.
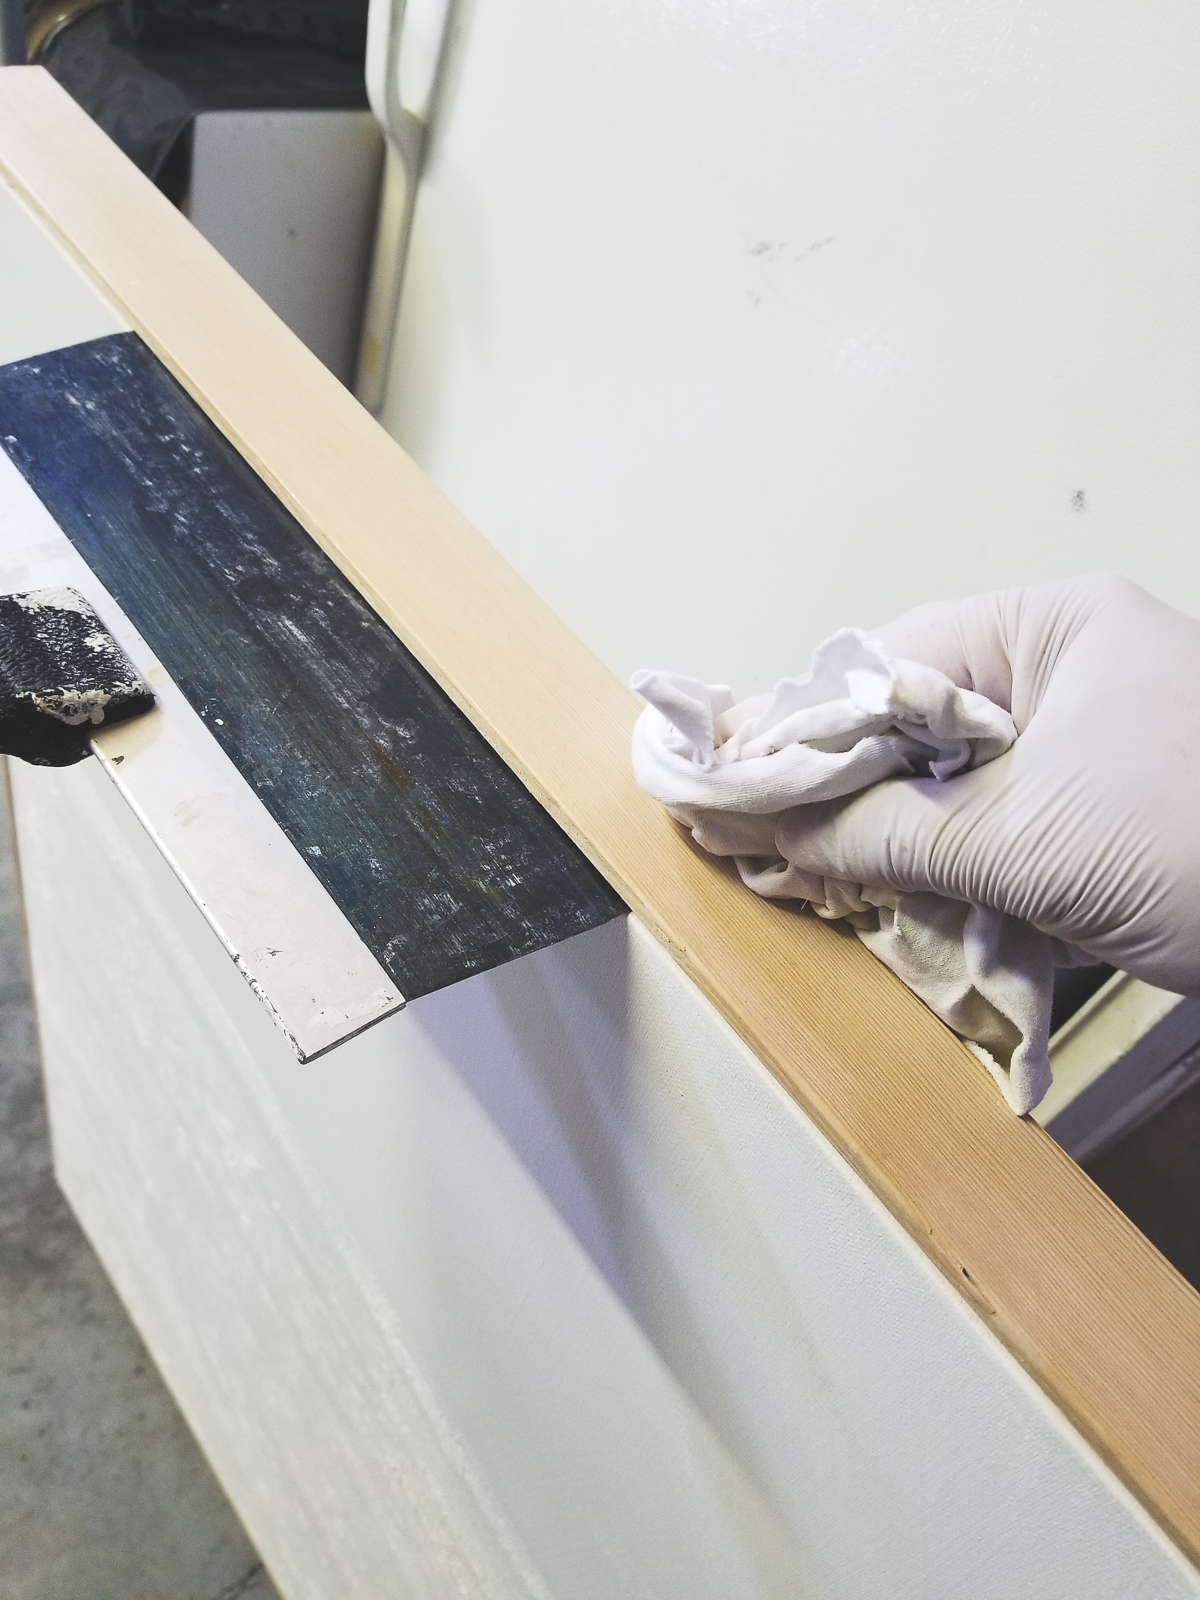
Now it is time to remove the ratcheting clamp and tape. Sand any areas that feel rough or have splinters. Wipe down frame with dry cloth. Apply a layer of finish with an old cotton cloth. TIP: Use a spatula in the crack to protect your art.
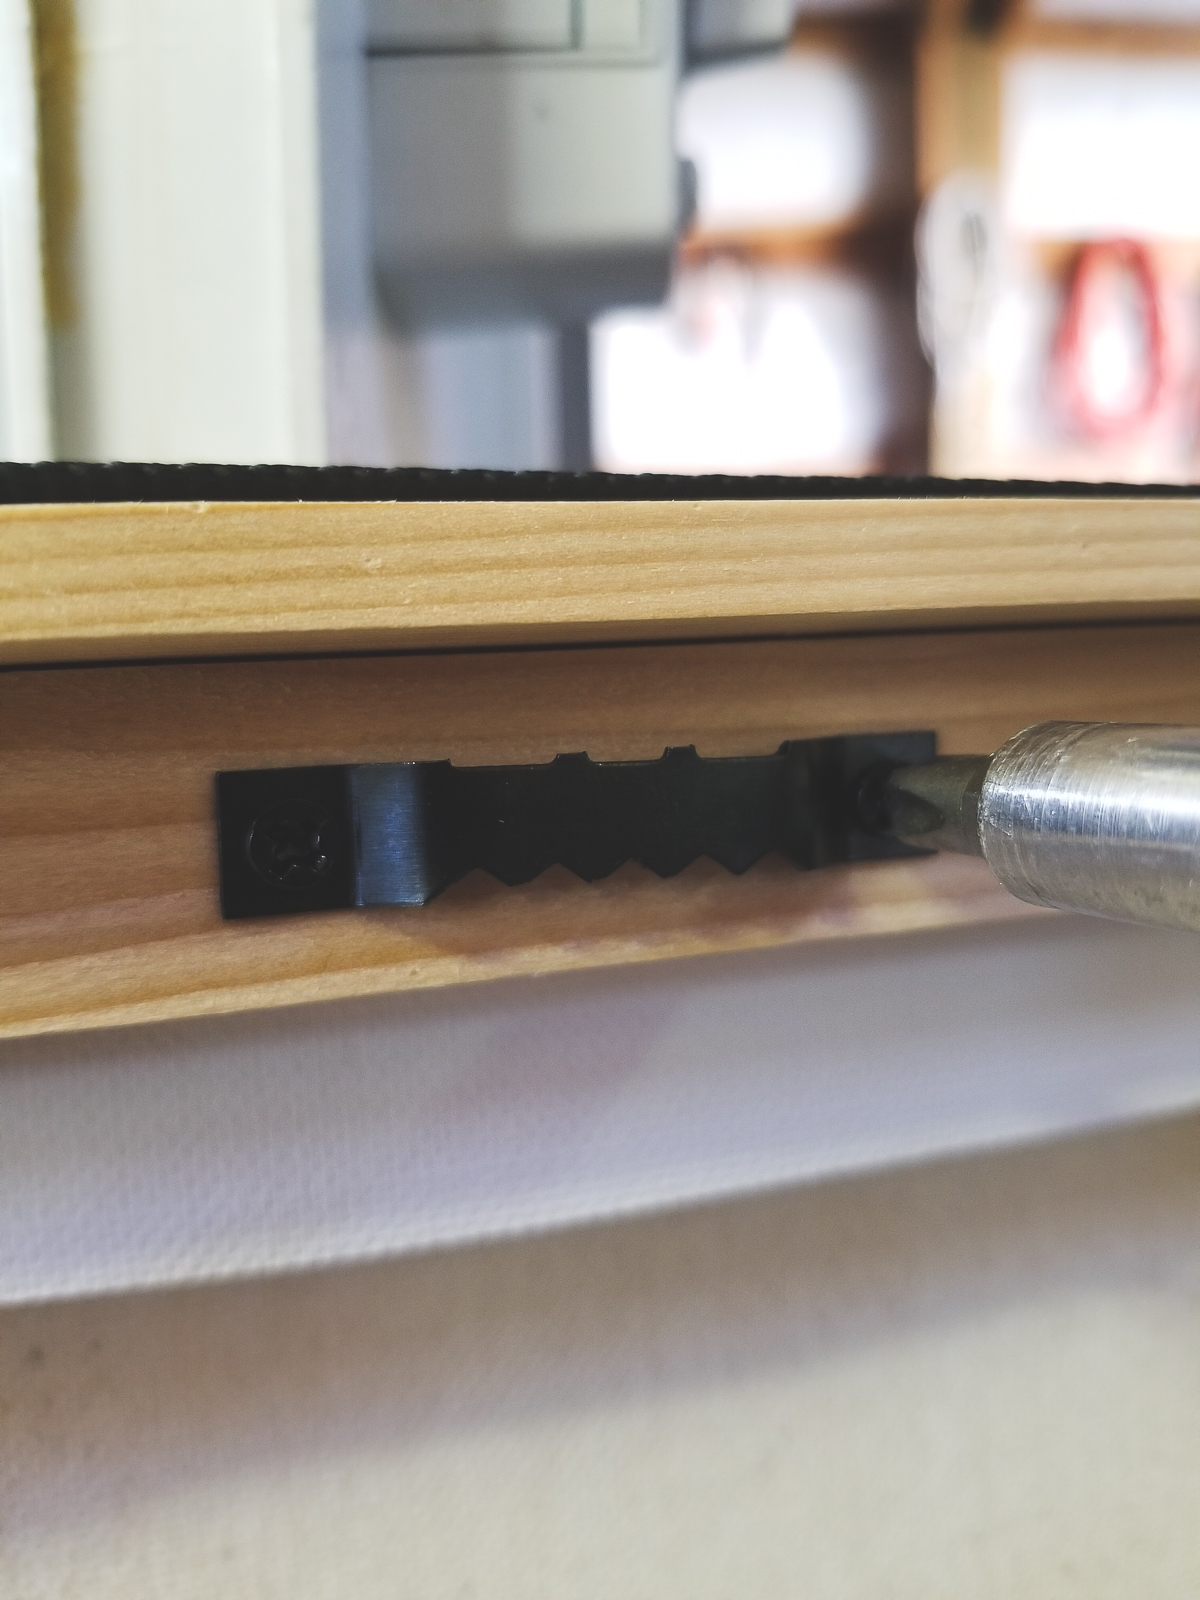
Finally, apply sawtooth picture hangers. I recommend two on each side to be more stable when hanging.
Lastly, it’s time to enjoy your new artwork. Let me know how it turns out!

If you ever make another frame, please do a video. Also, the textured canvas wall art is so popular now, and it would be wonderful if you would do a video on creating the artwork too. It really is hard to find someone like you who does such beautiful, high end, and well made diys. The internet has no shortage of farmhouse diys, so I am thrilled to have found your channel. Thank you for sharing all your projects. You are truly a gifted artist!!!
projects.
Thank you so much Karen! Keeping things simple and refined is what I strive for. I’ve had many people have ask about this wall art (frequently in my video backgrounds). I am planning on making a video tutorial so stay tuned!
I’d love to see a video tutorial too!
Thank you!
That’s a great idea!!