COMMENT AT THE BOTTOM OF THE POST!
Items Needed
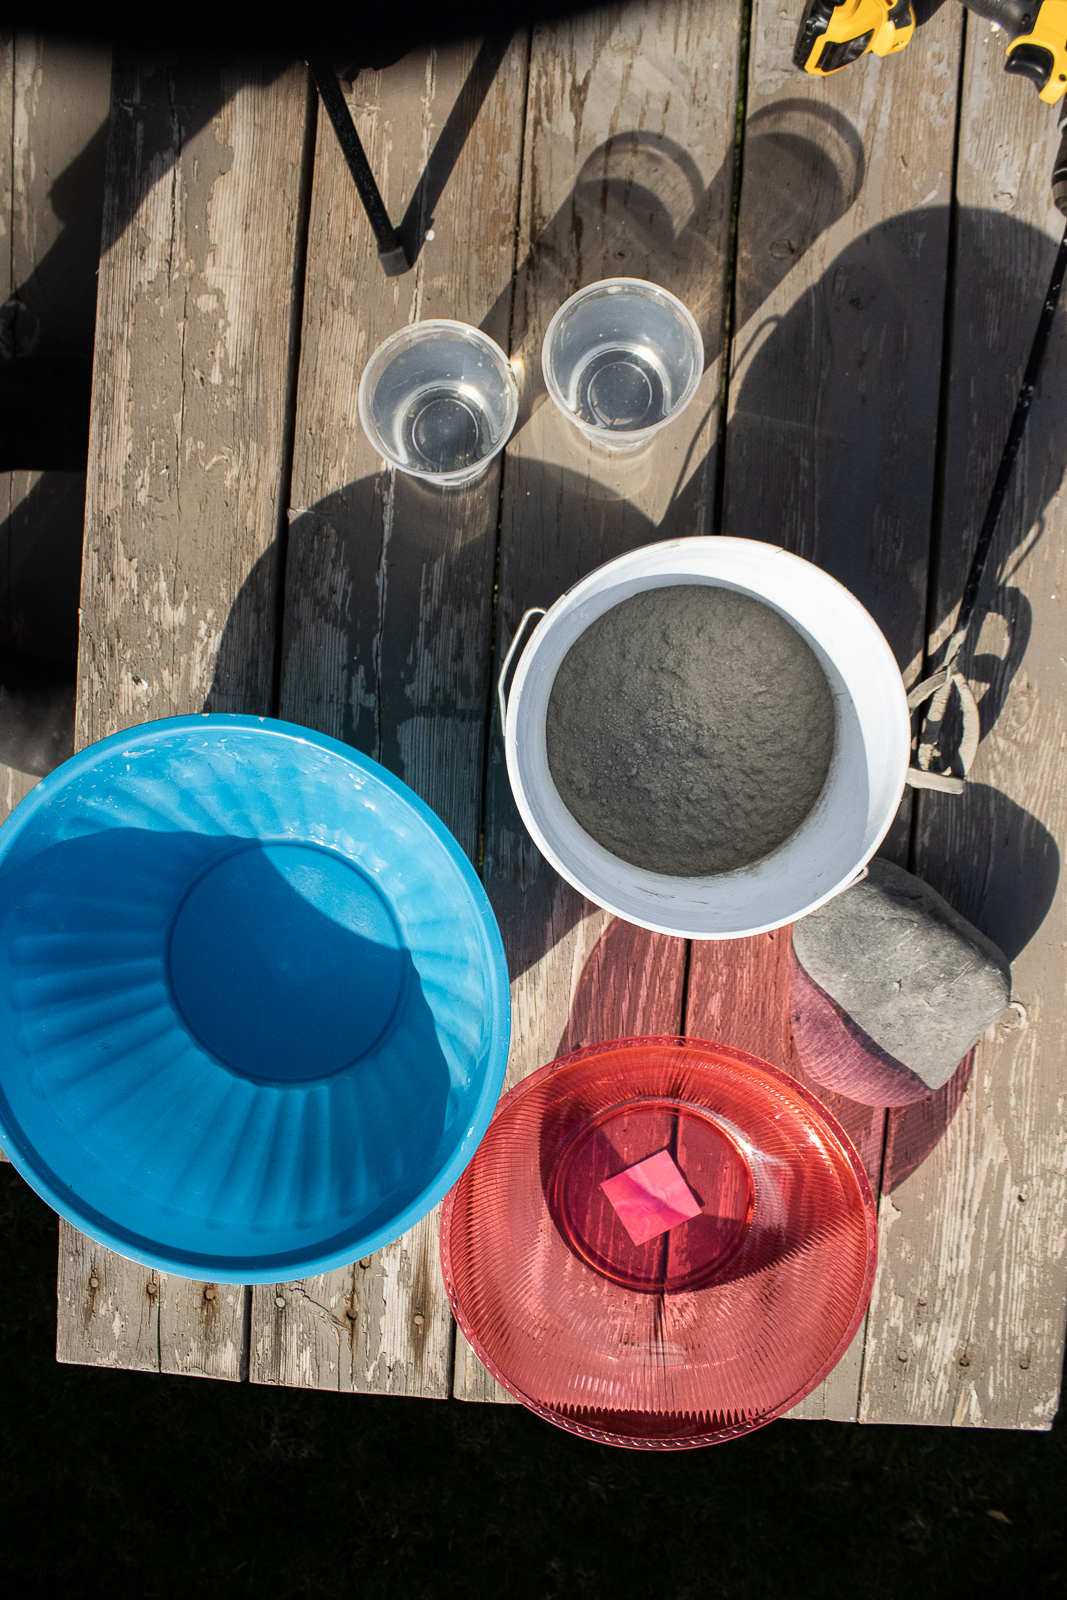
- two bowls (these are from Dollar Tree)
- cement - I love Cement All
- water
- dark paint - I like black and raw umber
- mixing stick or drill attachment
- Sealer - Thompson's Water Sealer
- Safety gear - gloves, glasses, mask or respirator
Affiliate links may be used in this post, which means I'll receive a small commission if you purchase through my link. There is NO additional cost to you. You can read the full disclosure here. Thank you for supporting Casa Refined!
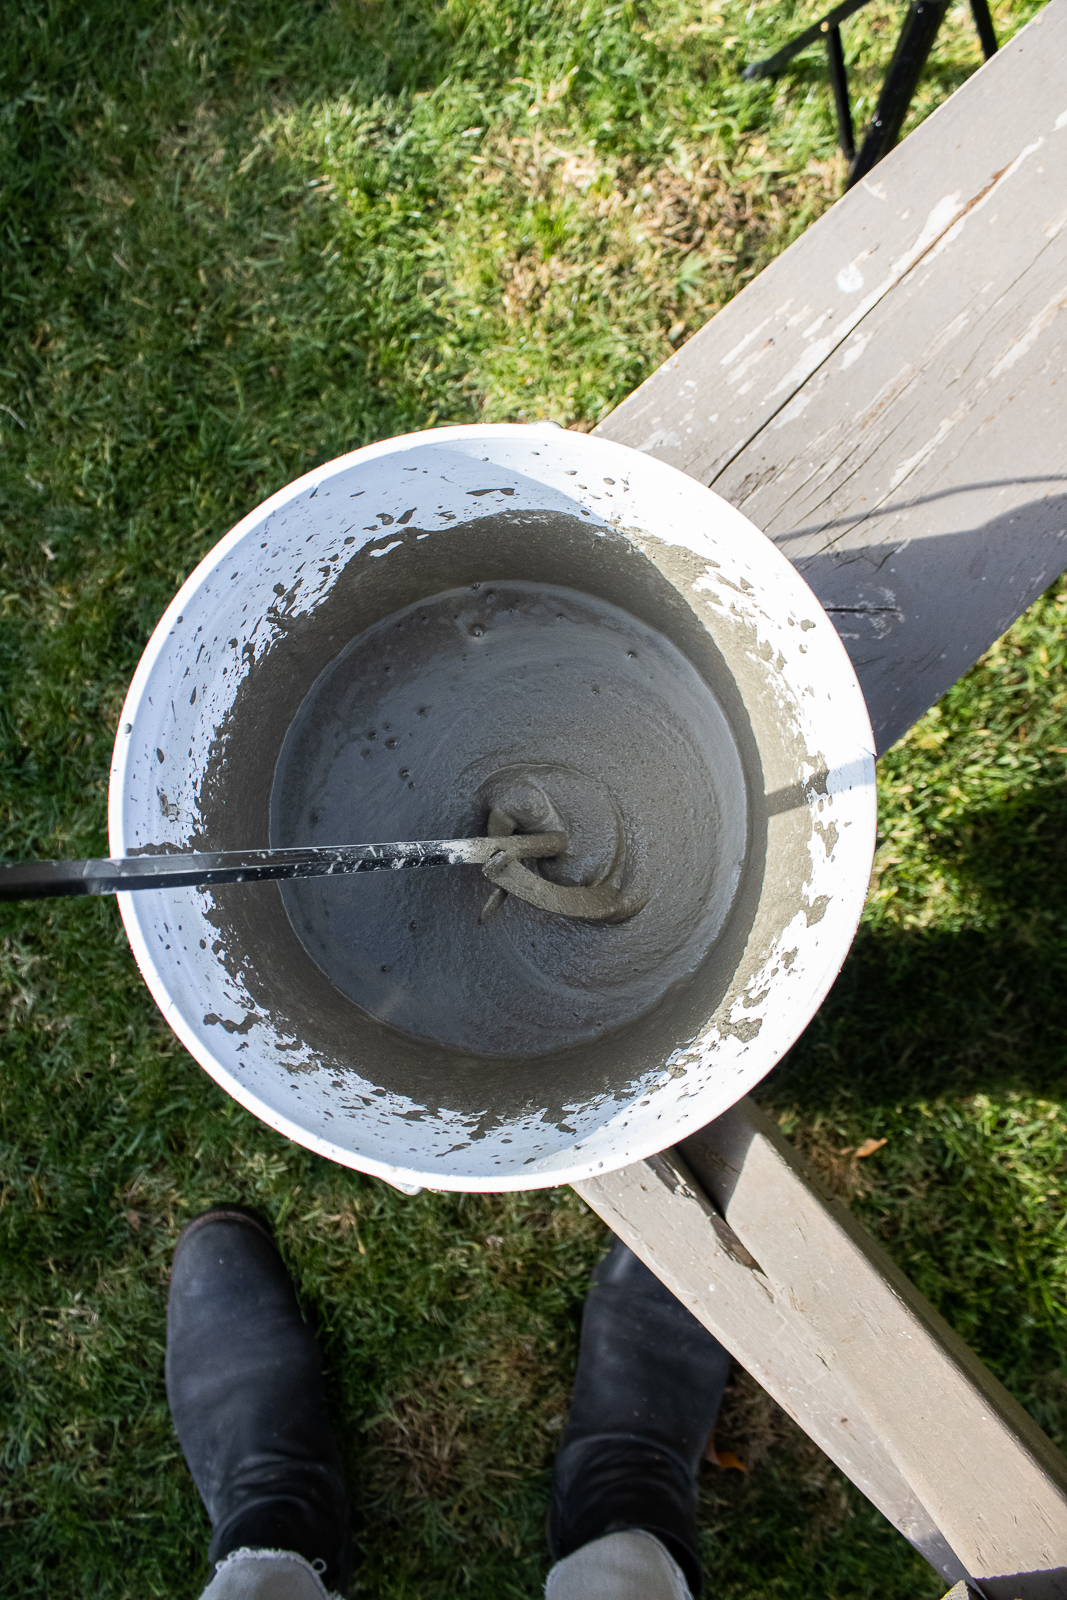
STEP 1: MIX UP CEMENT
Gather your materials and put on your safety gear. You can use any bowl, but I am using these I found from Dollar Tree. Mix up some cement (for me it was about 6 measuring cups) with water. You want a thick pancake-like batter consistency. Cement starts to set fast, so work quickly.
STEP 2: POUR + CENTER
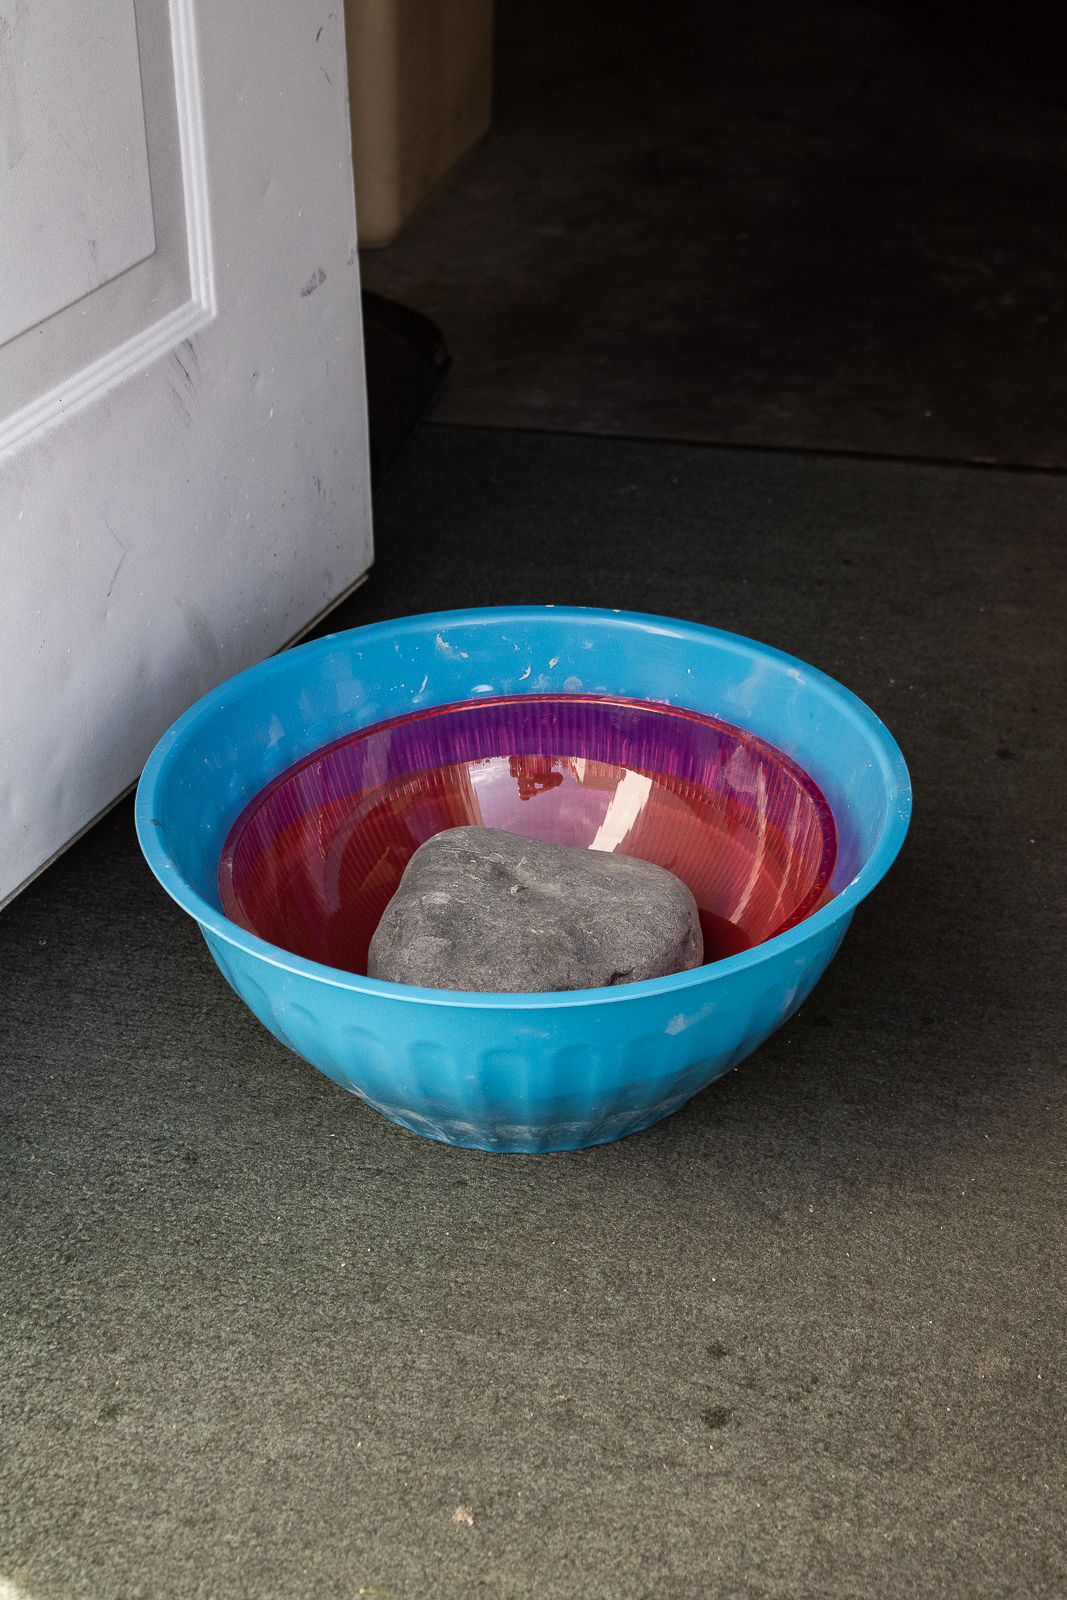
Pour the cement into the larger bowl. Tap for a minute or so to release air bubbles. Place smaller bowl onto and center. Use a heavy time to hold the bowl down. I used a stone. Set aside for a few hours to let set and cure. NOTE: clean up cement outside. Do not pour down the drain!
STEP 3: RELEASE + SAND
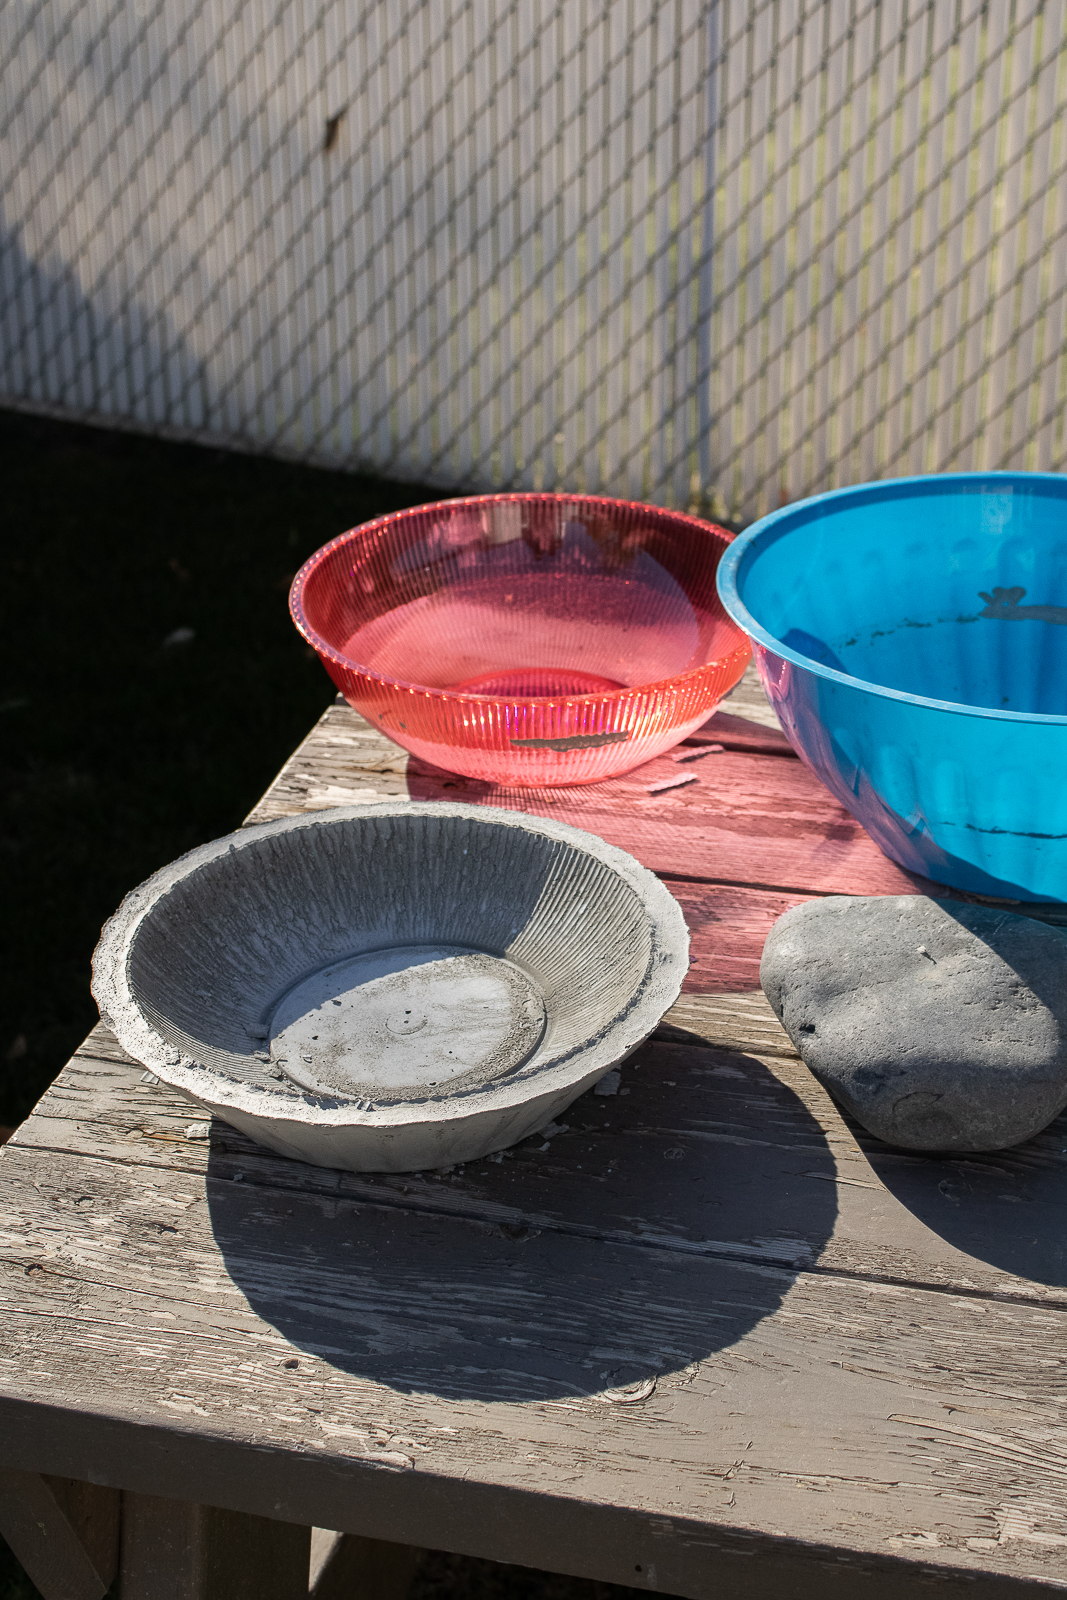
After a few hours (or overnight) it's time to release from the molds. Gently wiggle the molds until the cement bowl pops out. I recommend sanding the edges (I use 80 grit) to soften. Yout can also wet-sand to avoid the dust - just wet the bowl.
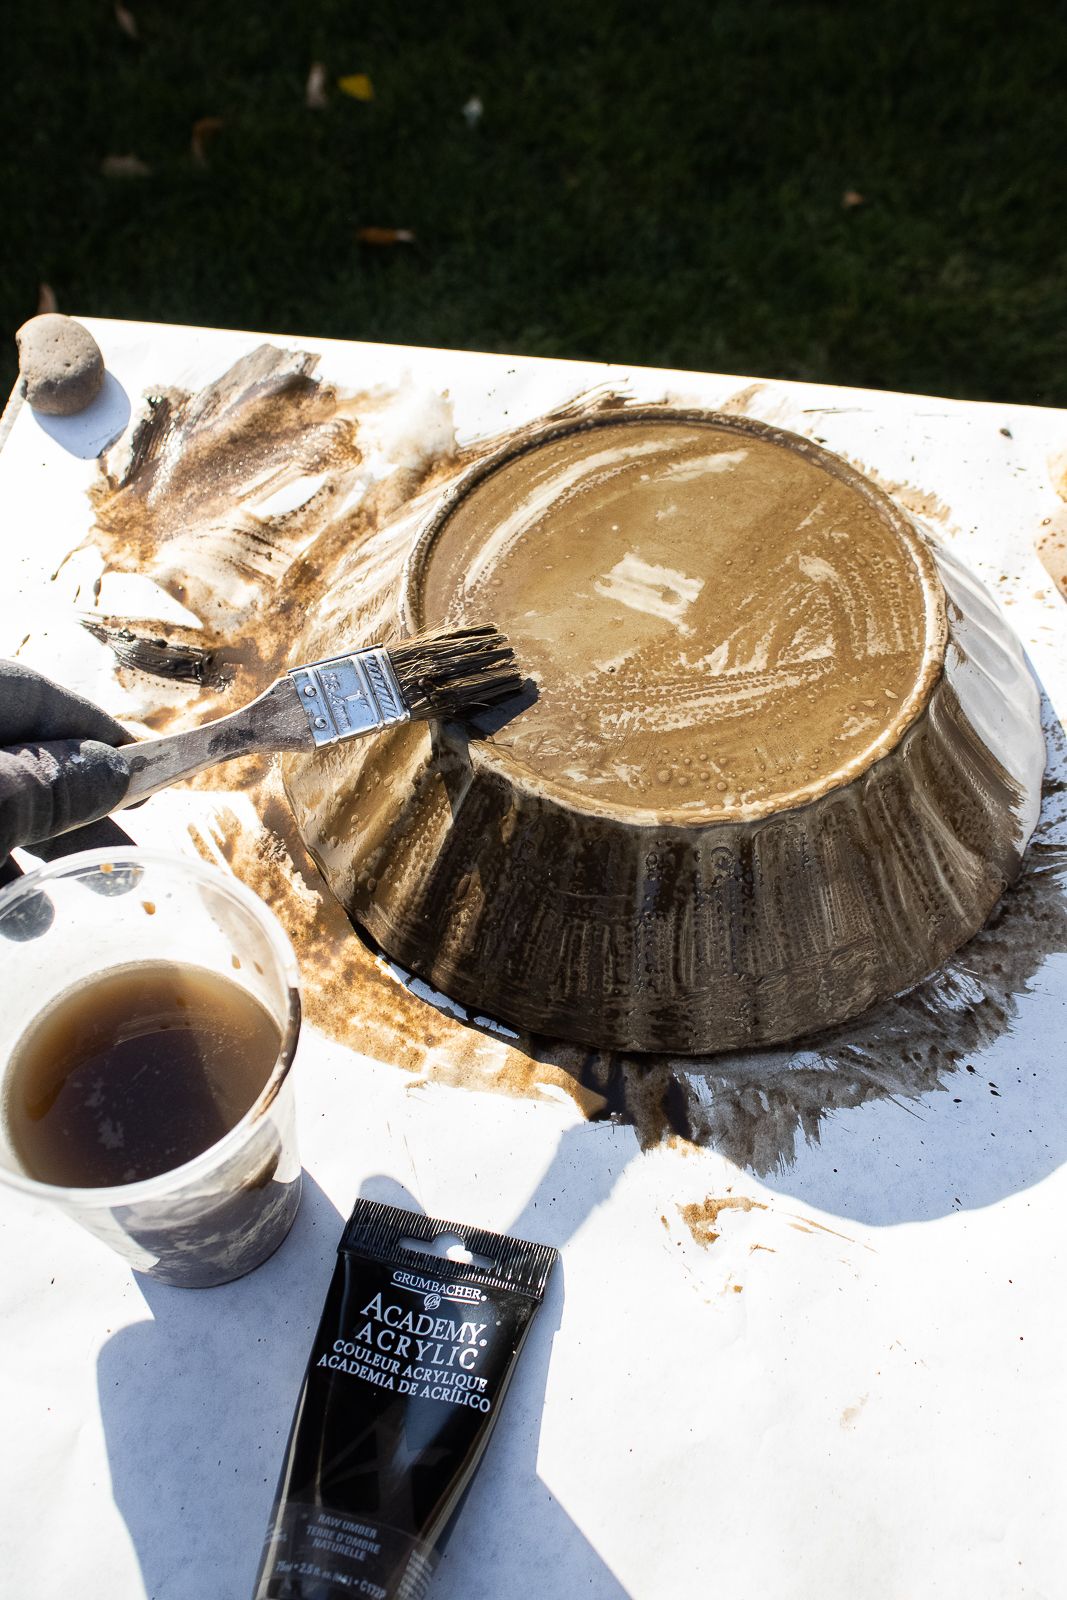
STEP 4: PAINTING TIME
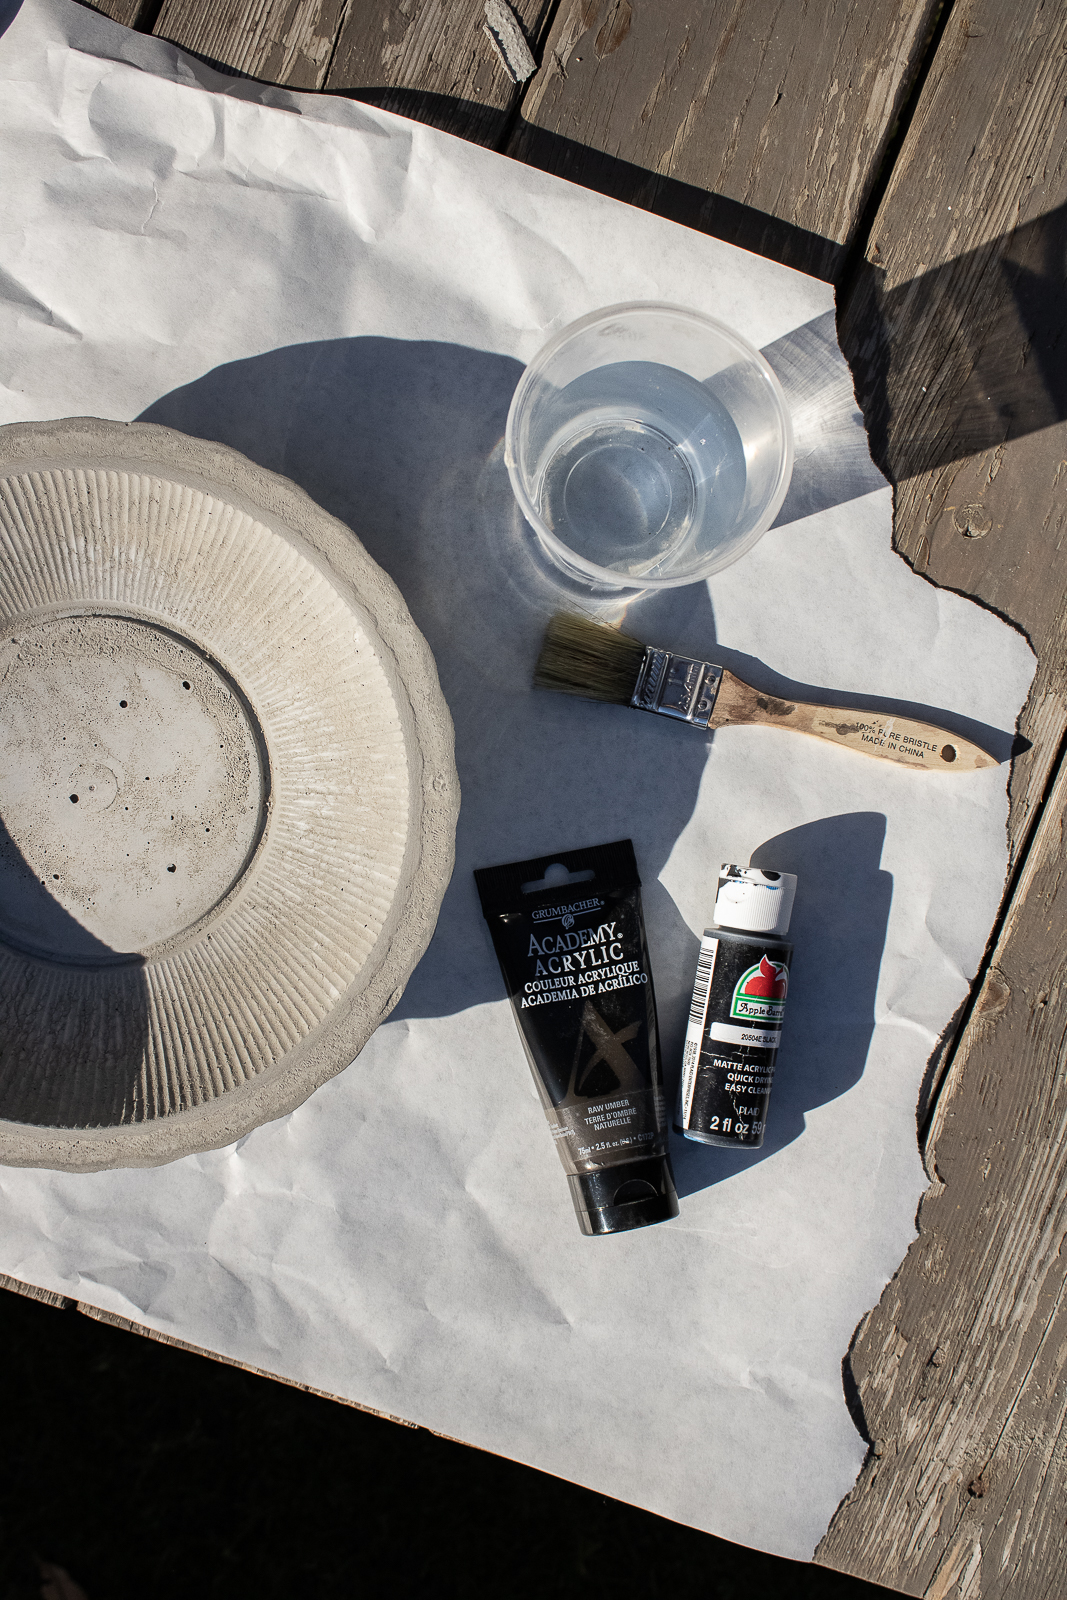
I personally want to keep some of the cement look so I dilute my paint with water to get more of a stained finish. Here I used black crafting paint and dark brown acrylic. To be honest it doesn't matter, just use a dark paint. Wet the cement bowl then quickly paint it in random directions. Use a paper towel or old rag to remove some paint and achieve a patina-like finish.
STEP 5: SEAL IT UP
I always like to seal my cement projects. This will help lock in the paint and make it easier to clean up in the future. Thompson's Water Sealer has worked well for me. Reminder: this bowl is intended for decor only, NOT for food use.
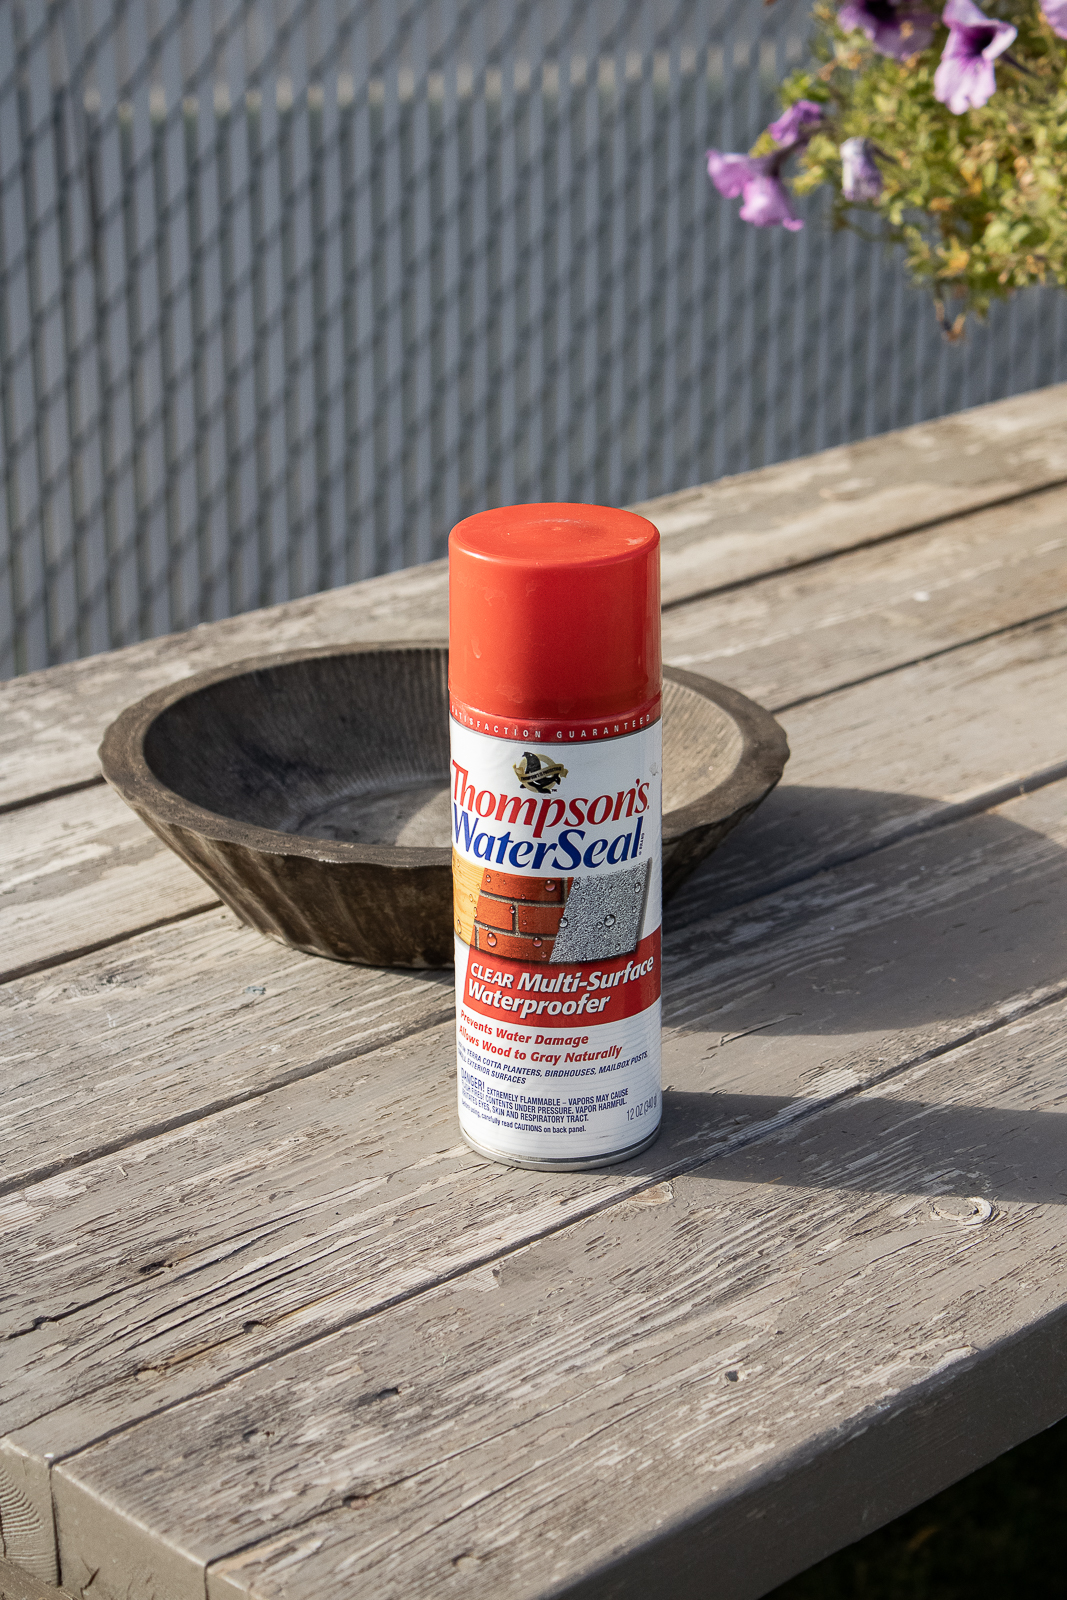

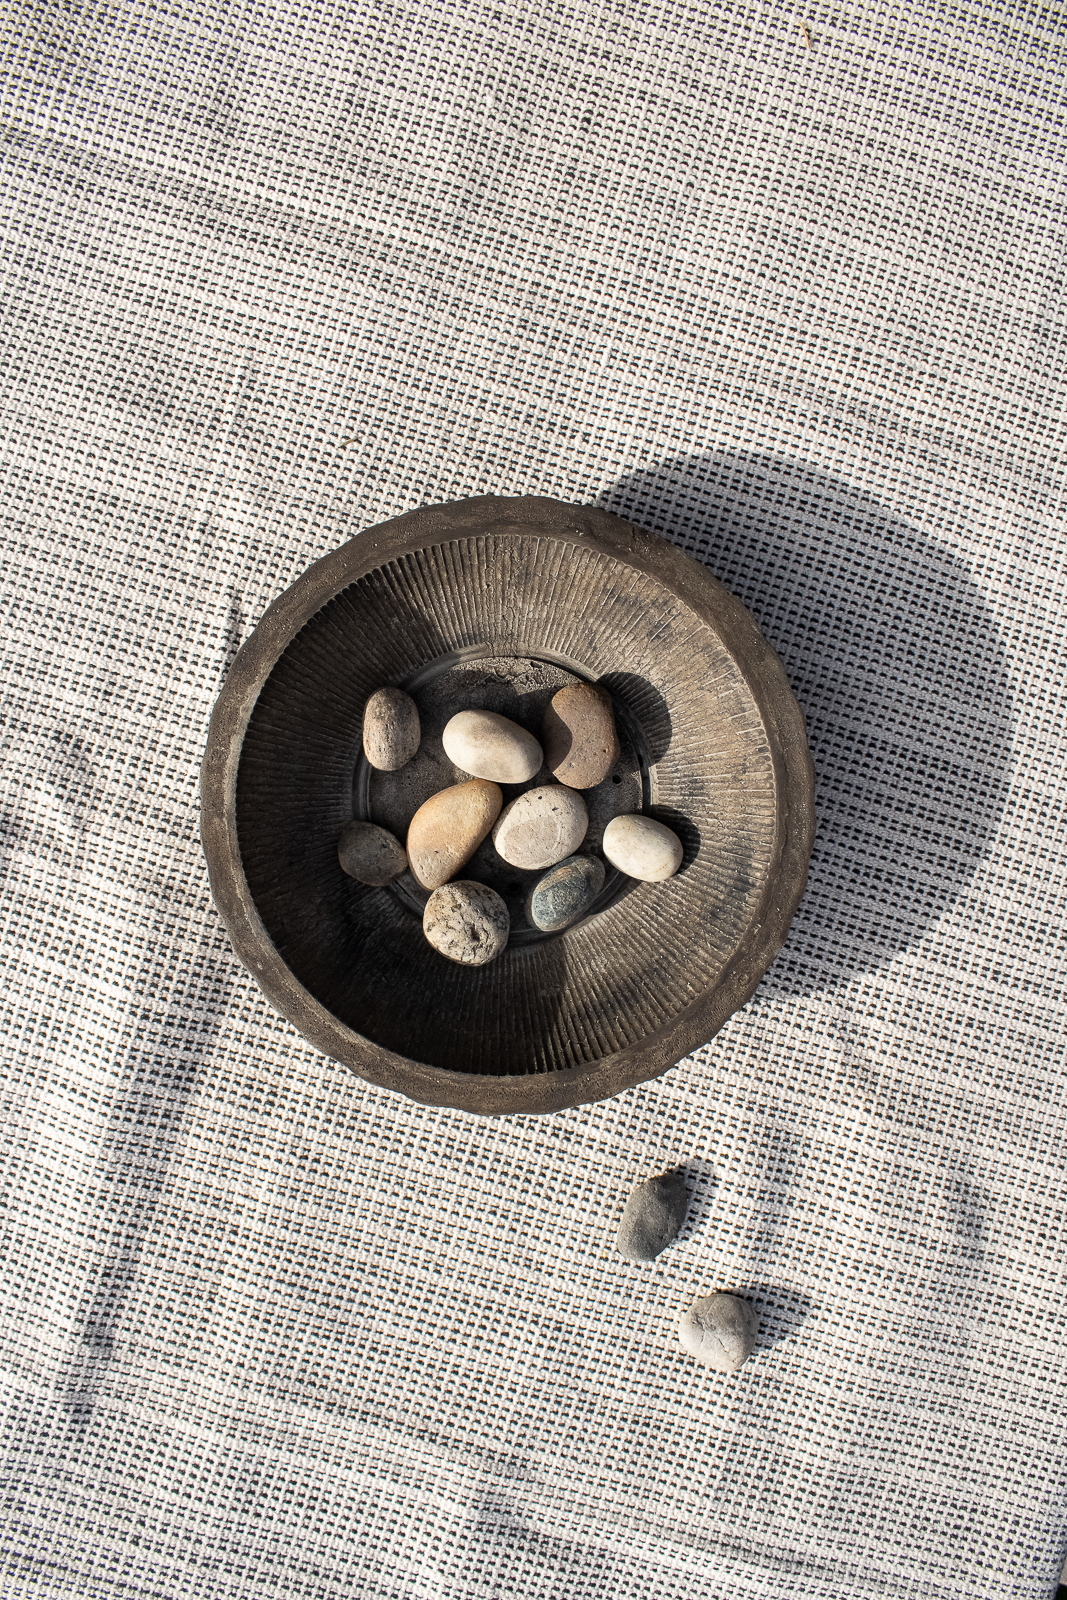
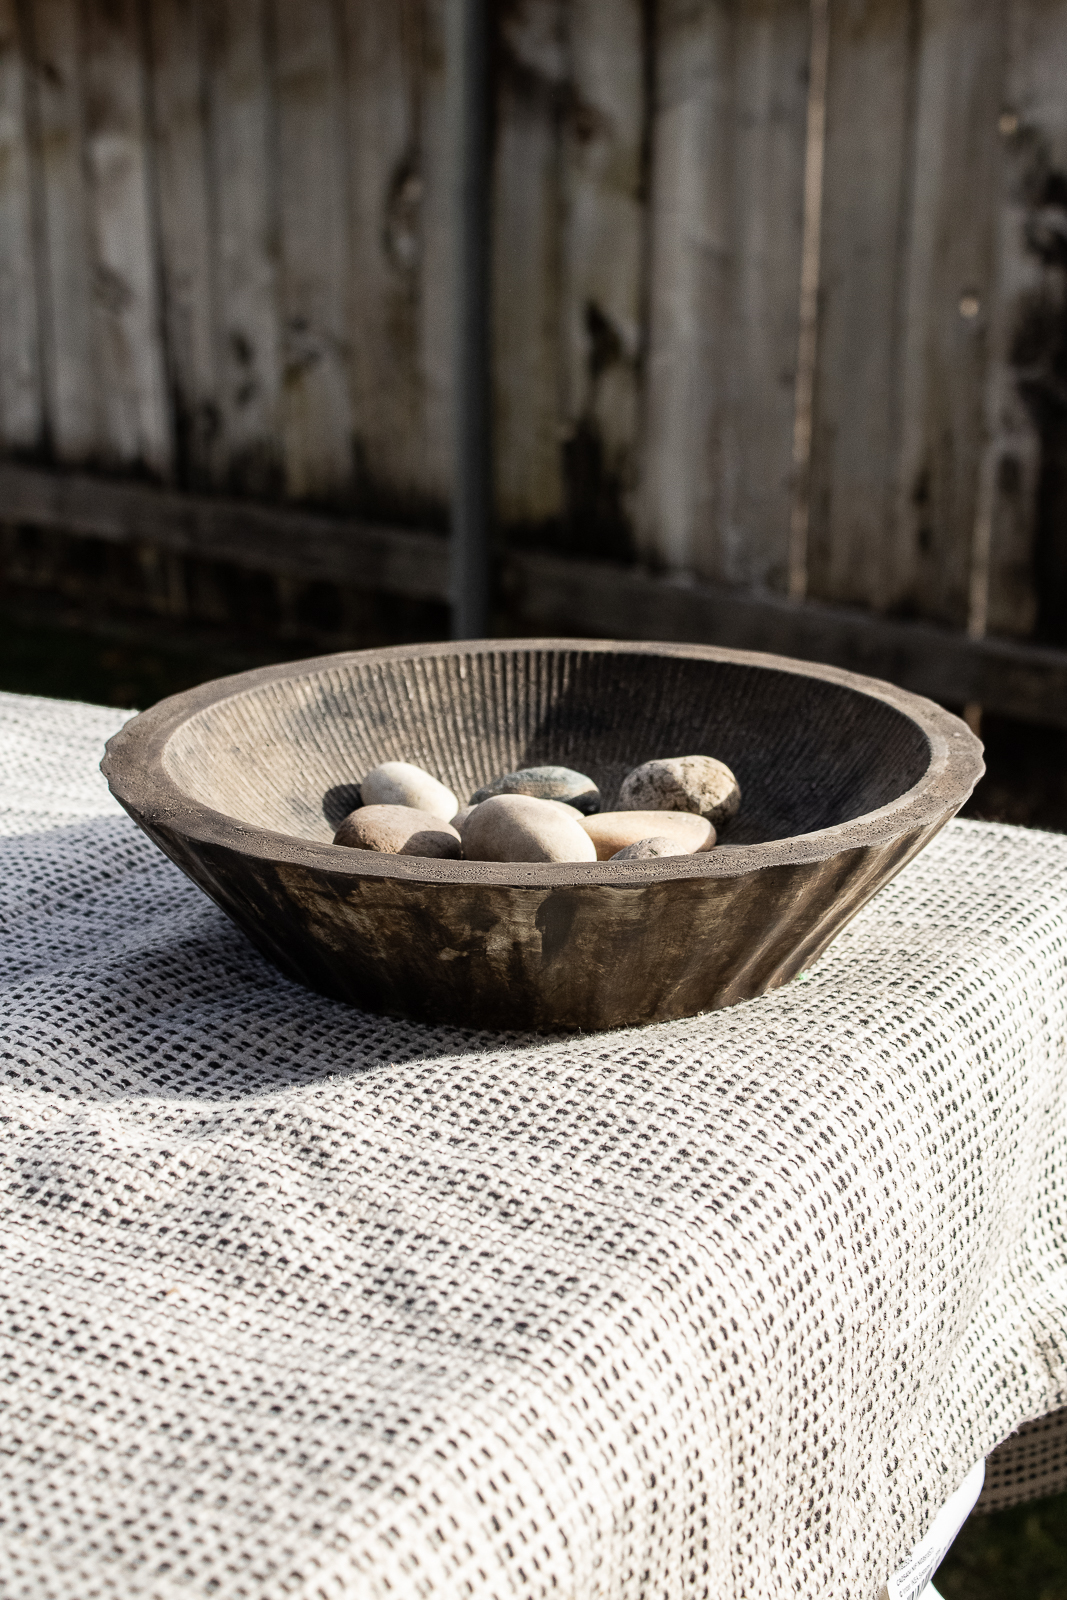
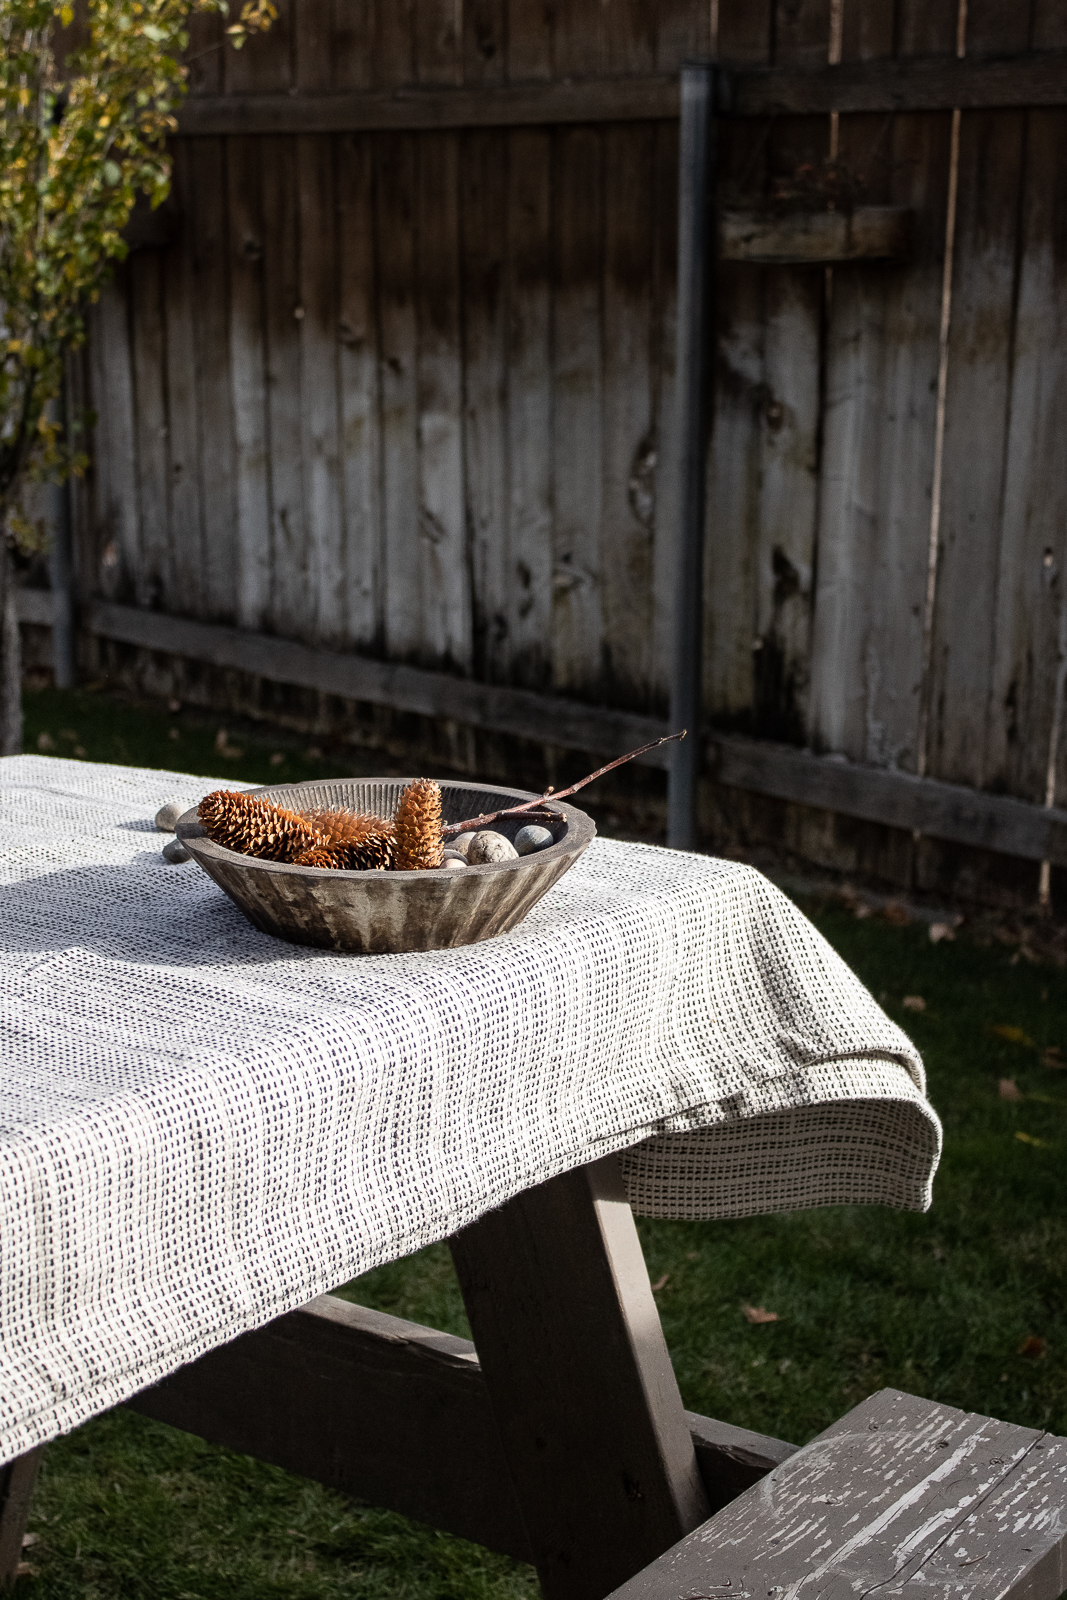
And there we have a nice vintage inspired cement bowl! This ruffled bowl is perfect for decorating your shelves, a coffee table, or bathroom vanity. Let me know if you. have any questions or plan on making this in the comments below!
Leave a Reply