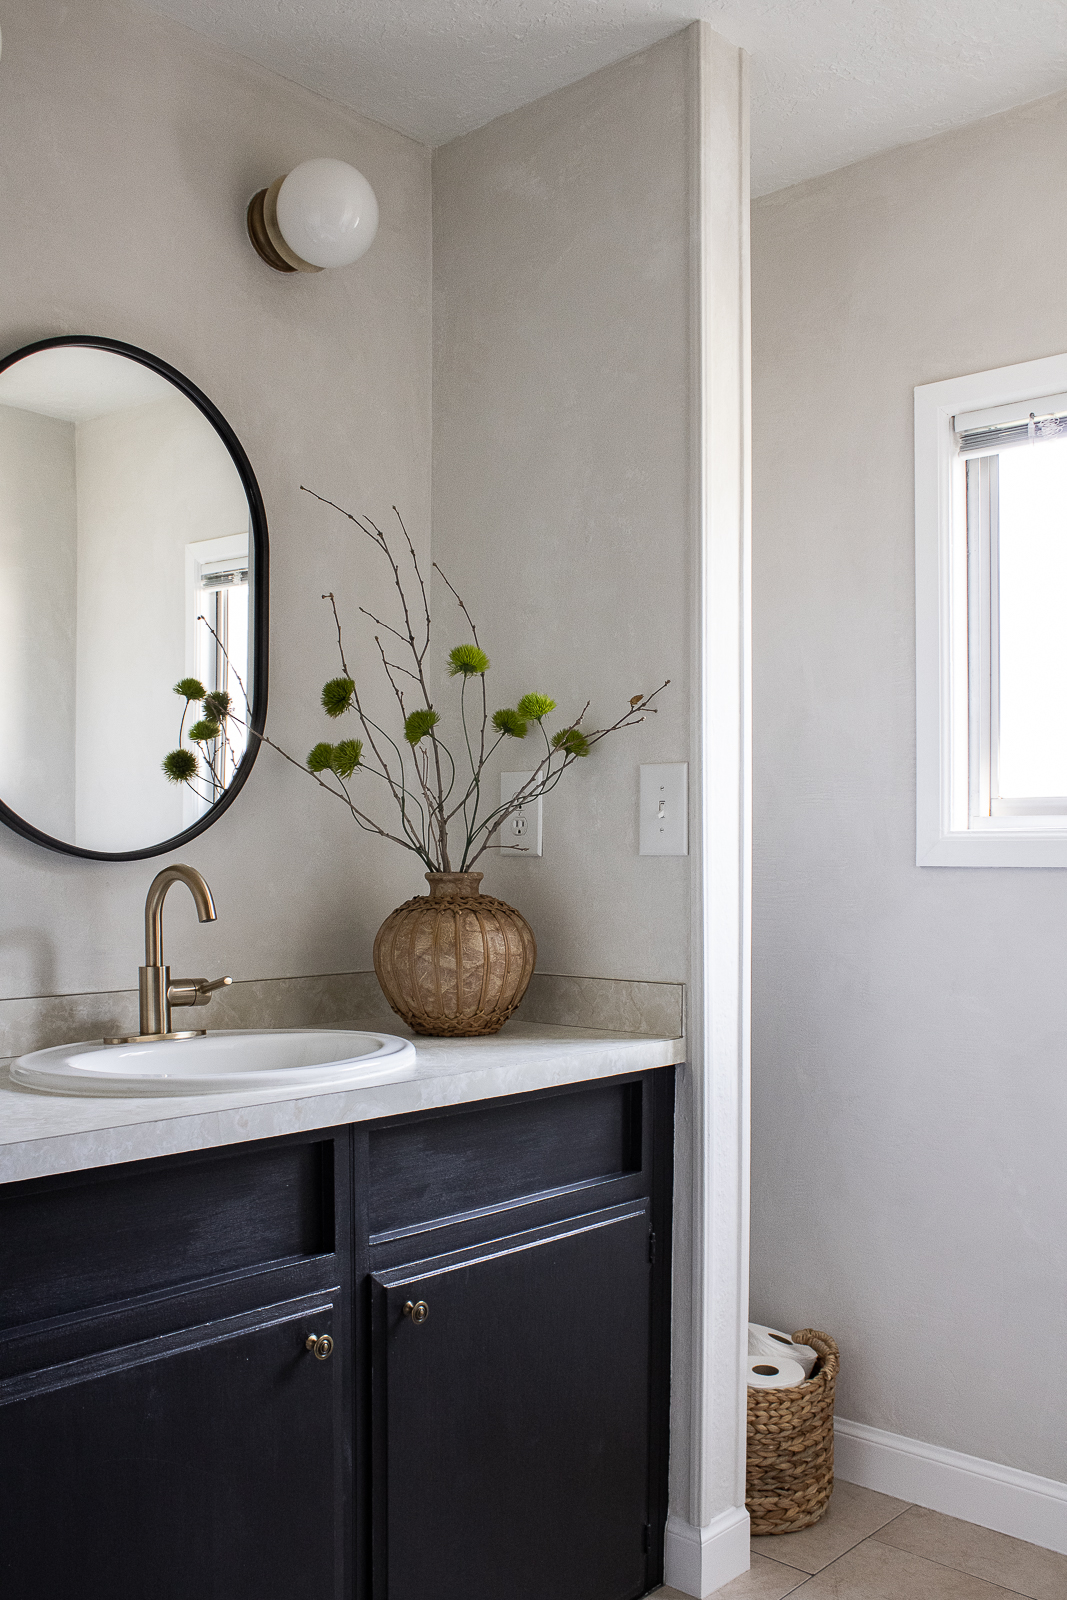
It seems updating my hall bathroom has always been on my to-do list. After finally setting a schedule, I was able to give it an impactful and uncomplicated makeover. This hall bath functions as my primary ritual space and truth of the matter is I'm a wanna-be minimalist. Clutter is out of the picture and decor should be kept minimal here.
Checkout my YouTube episode on the full bath transformation!
Affiliate links may be used in this post, which means I'll receive a small commission if you purchase through my link. There is NO additional cost to you. You can read the full disclosure here. Thank you for supporting Casa Refined!
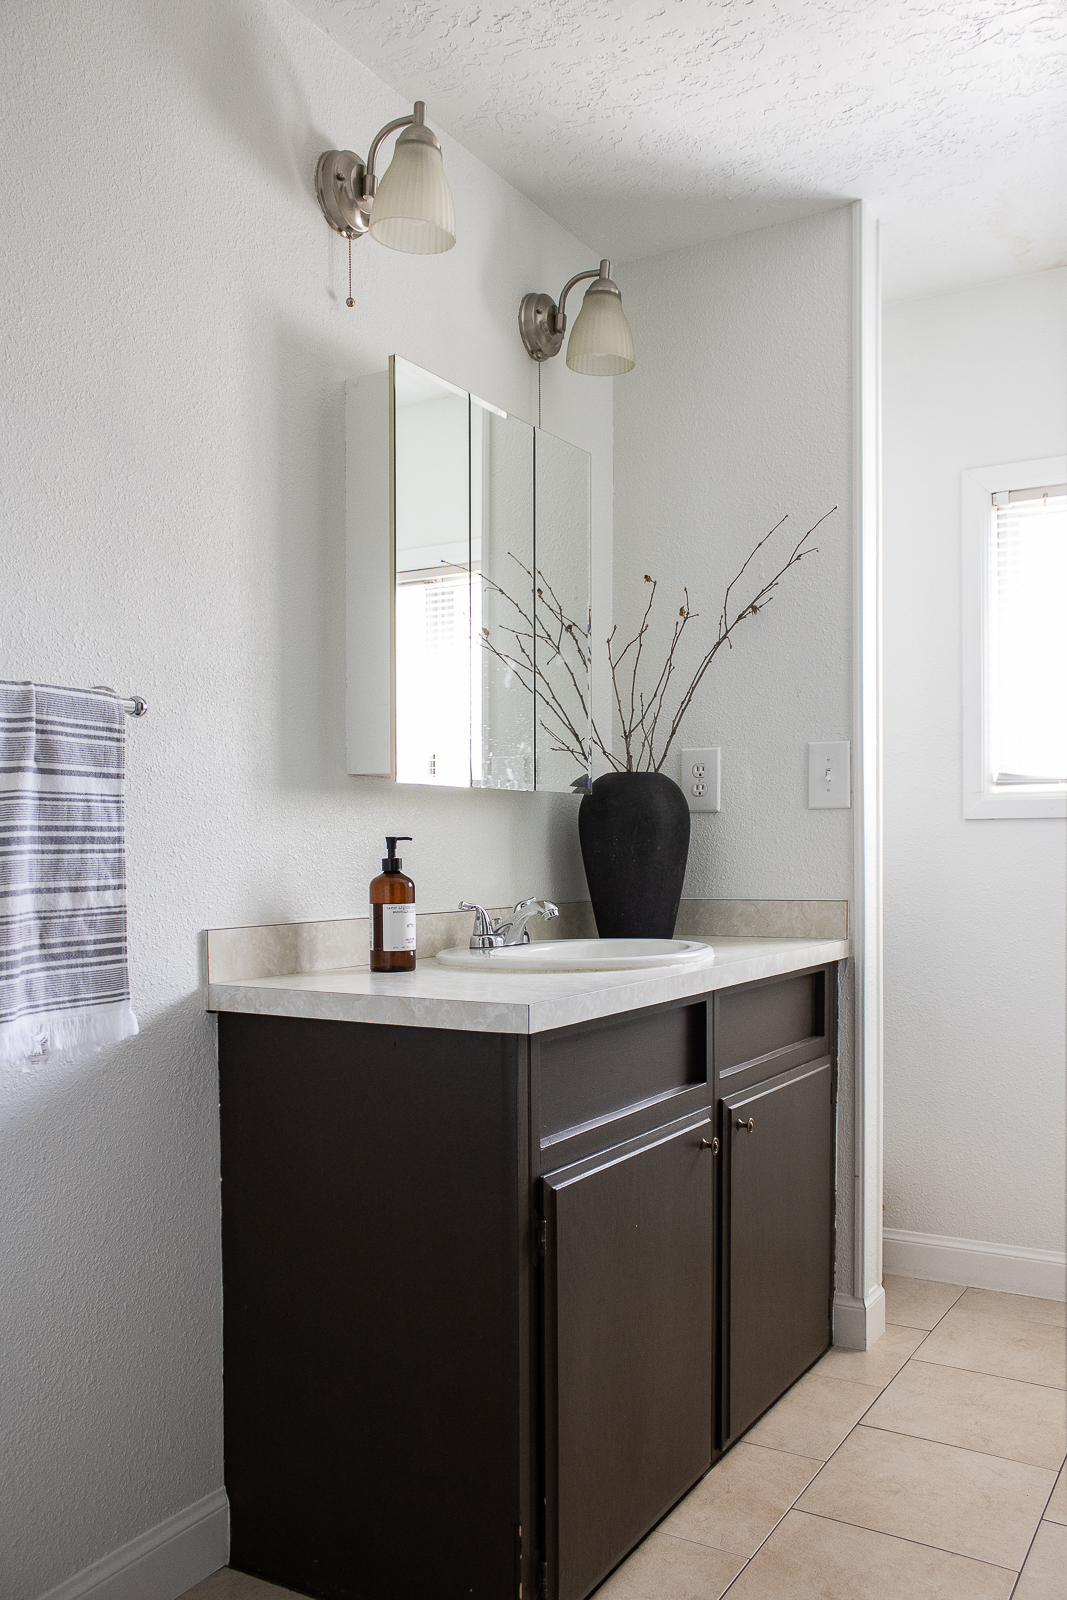
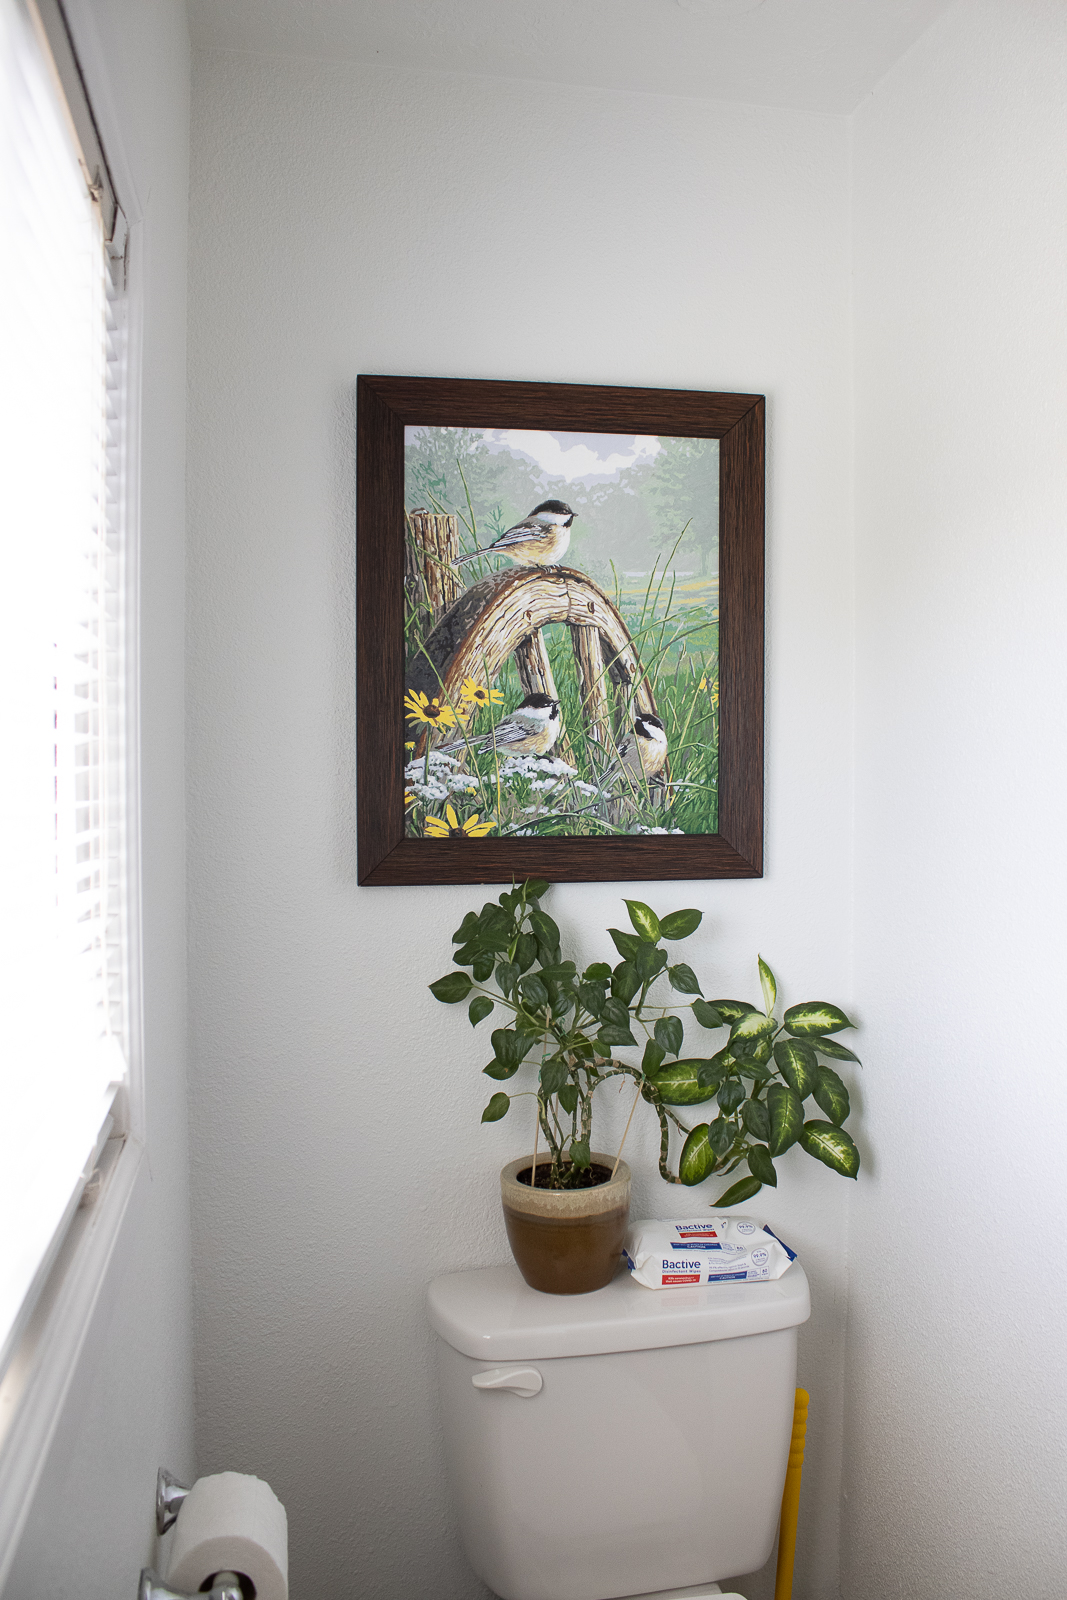
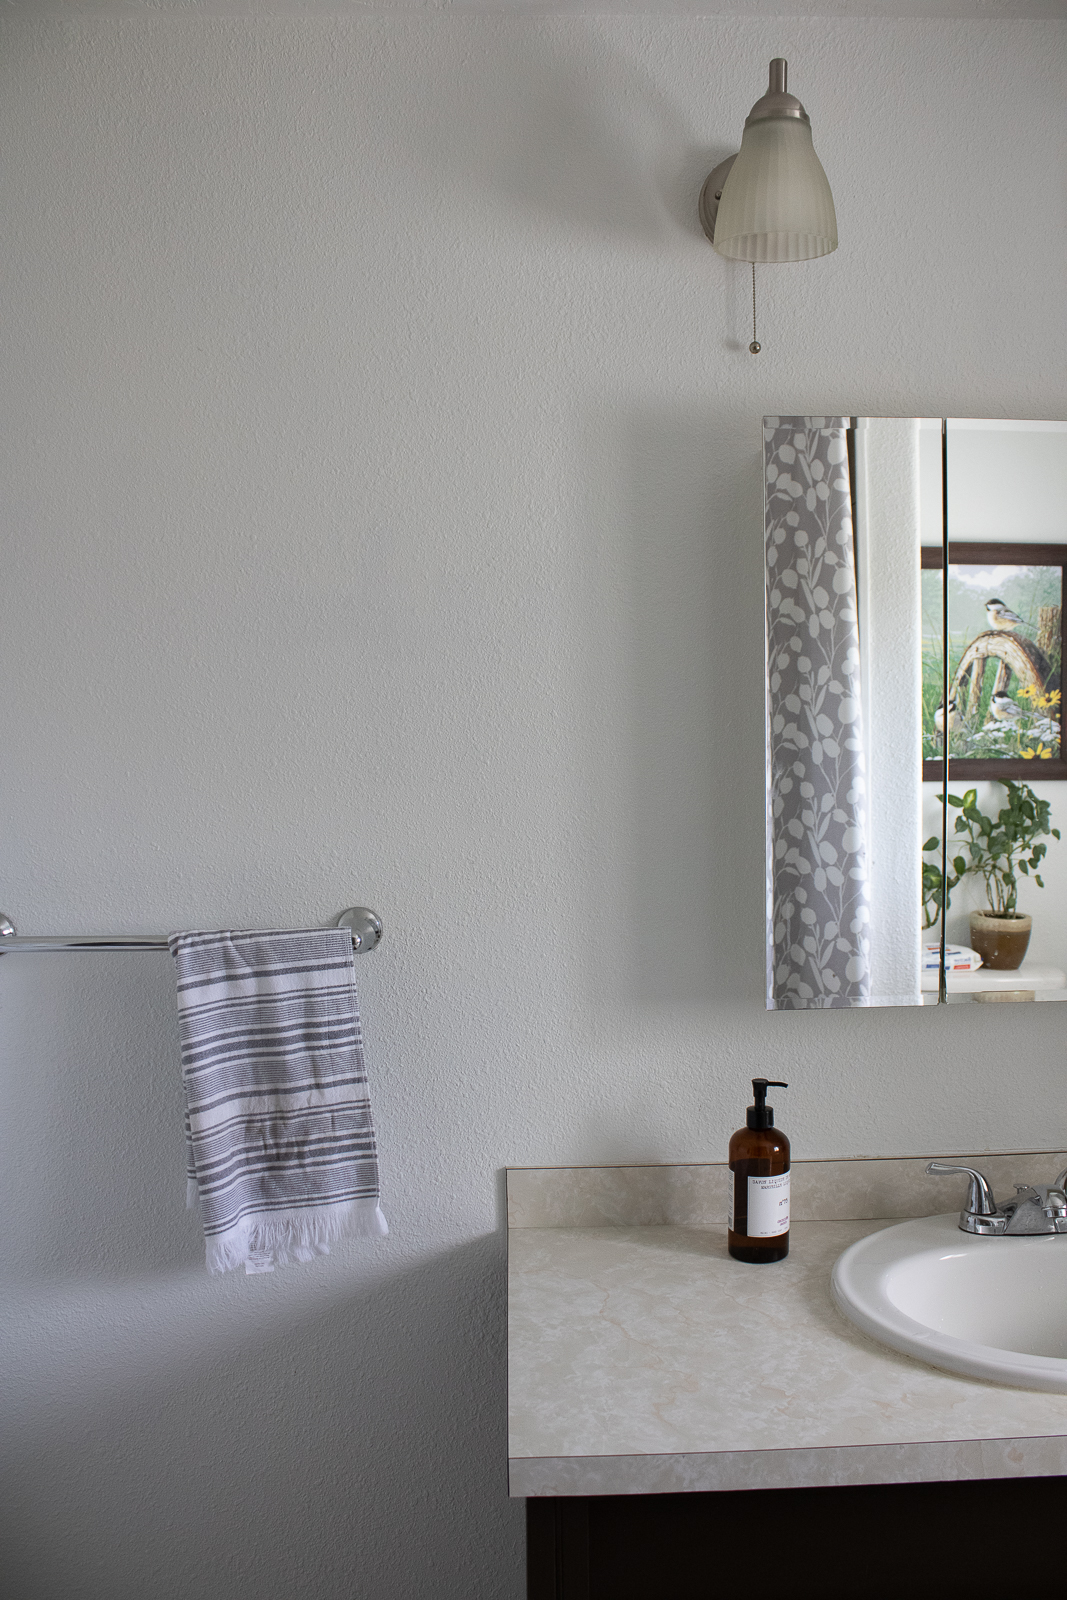
BEFORE: THIS IS WHAT IT LOOKED LIKE FOR A WHILE
BEFORE
BEFORE
BEFORE
The before scene is honestly not terrible, but it's nothing special. The wall texture was more apparent than desired. Getting rid of the chrome accents was a must along with the mirror, lighting, and more!
AFTER: THIS IS WHAT I DID
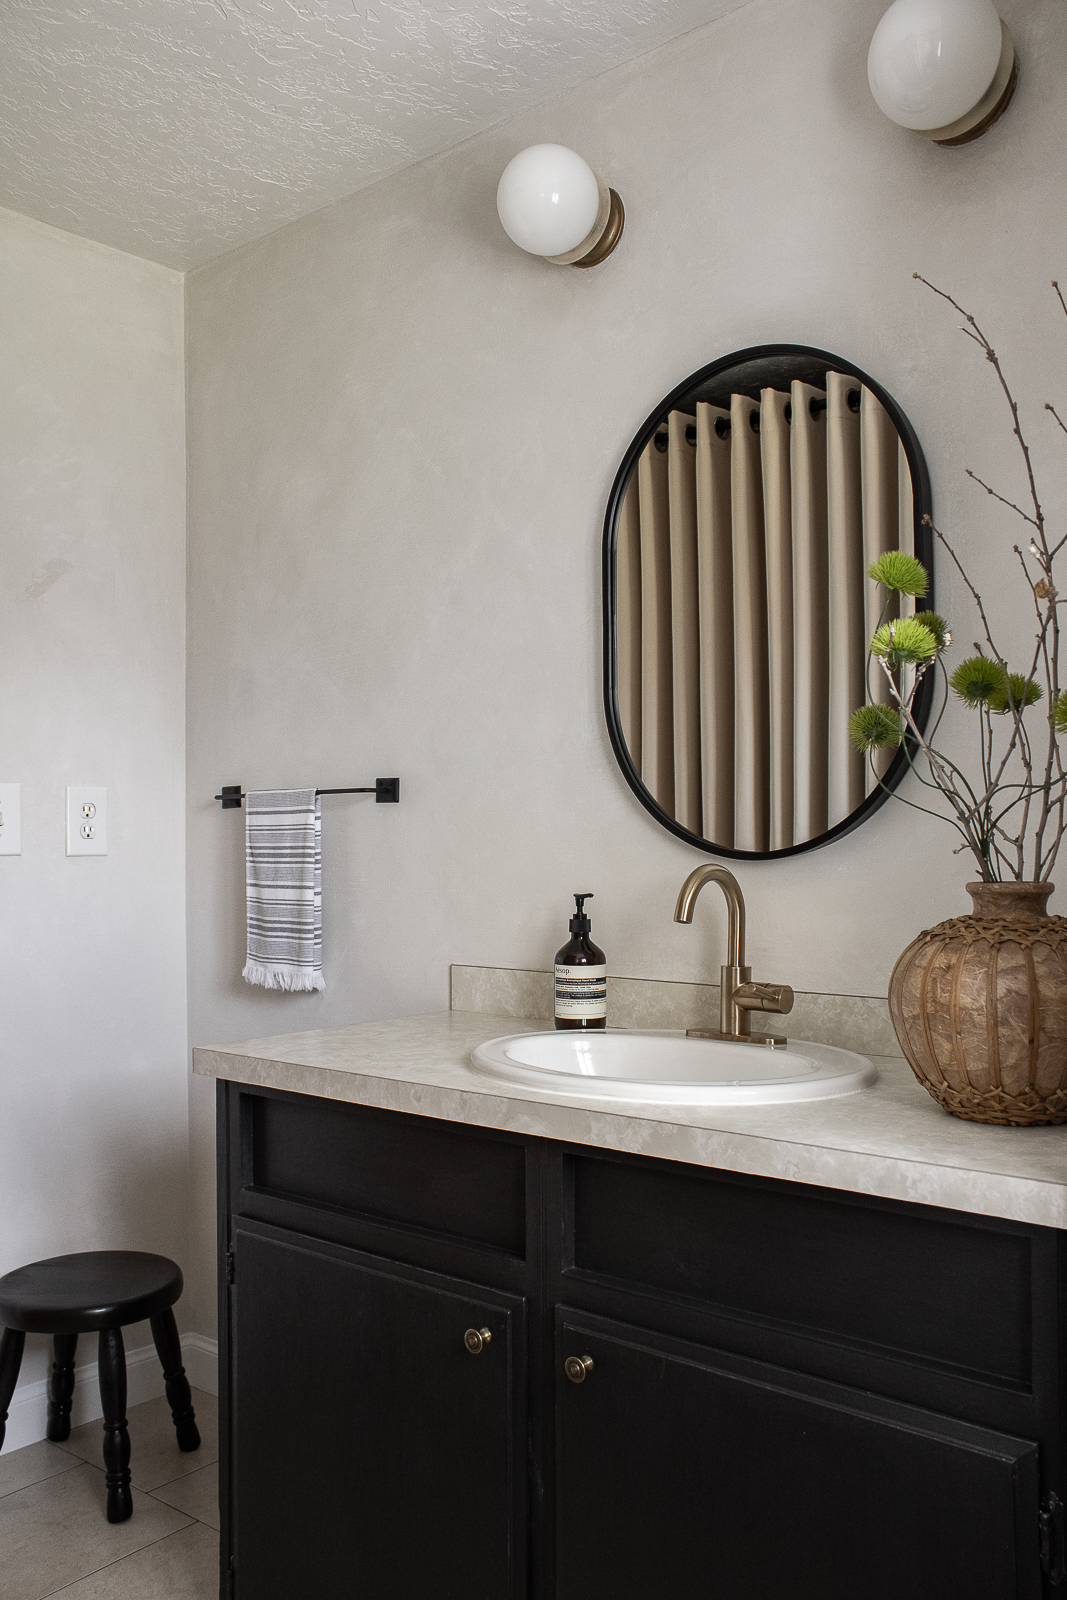
Much better right?! Let's break down what I did. Keep in mind this refresh was done on a small budget. So, tiles were not ripped out, the laminate counter had to stay, and the shower was not touched! The 'less is more' philosophy was steadily in mind.
MOOD BOARD
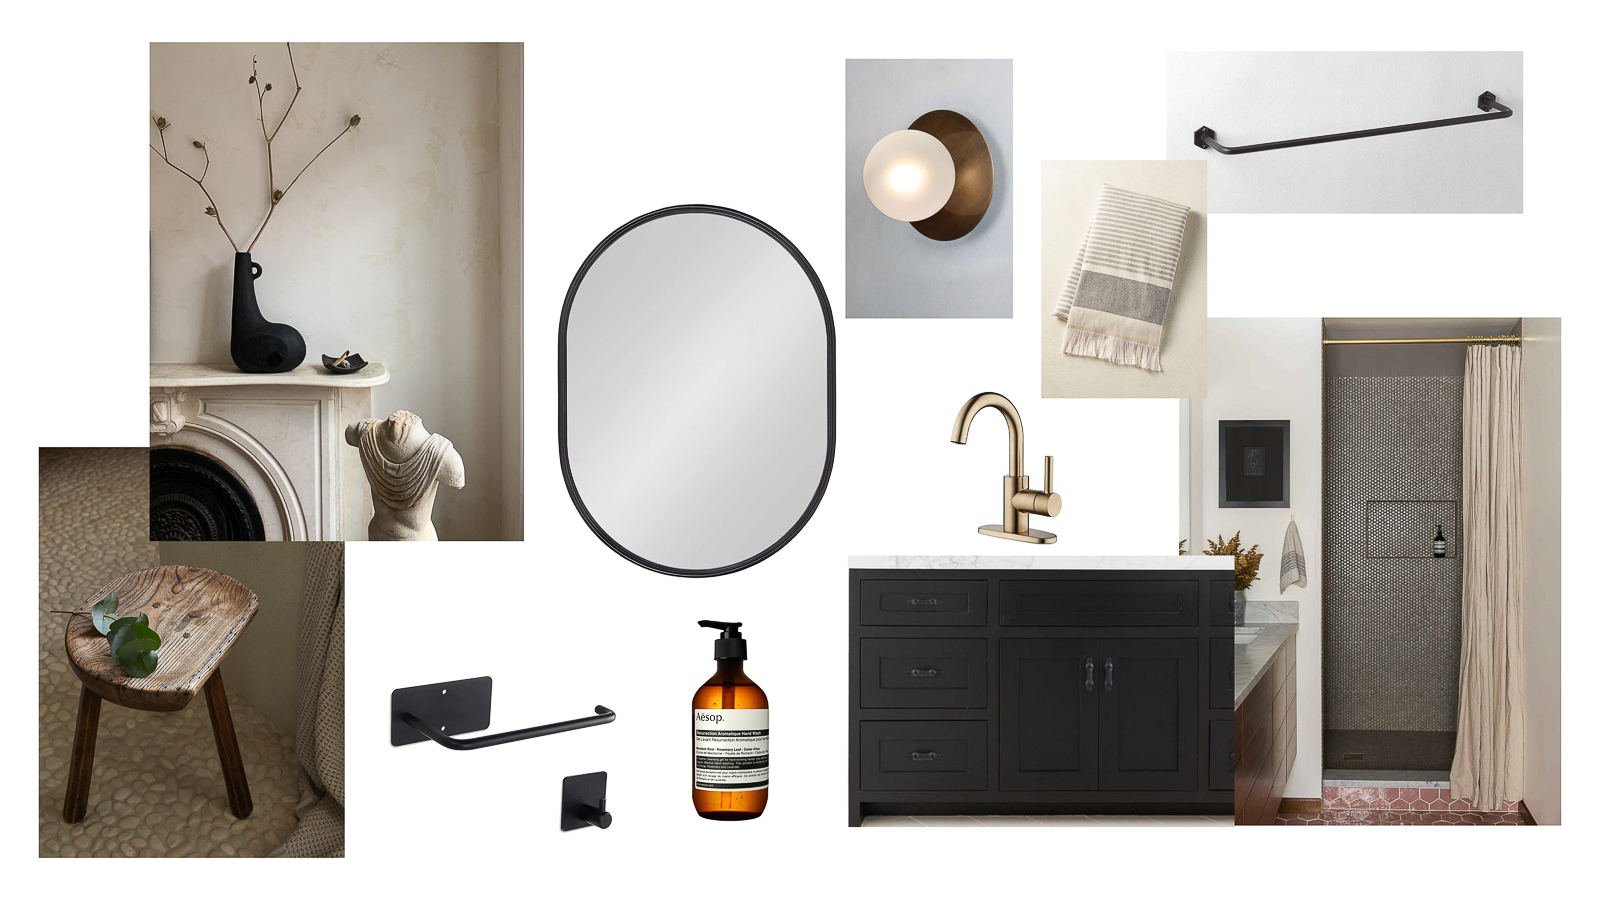
The overall goal of the space is for it to feel like a calming retreat - an expression of minimalism, celebrating earth tones, and a nod to the wabi-sabi lifestyle.
LIMEWASH WALLS
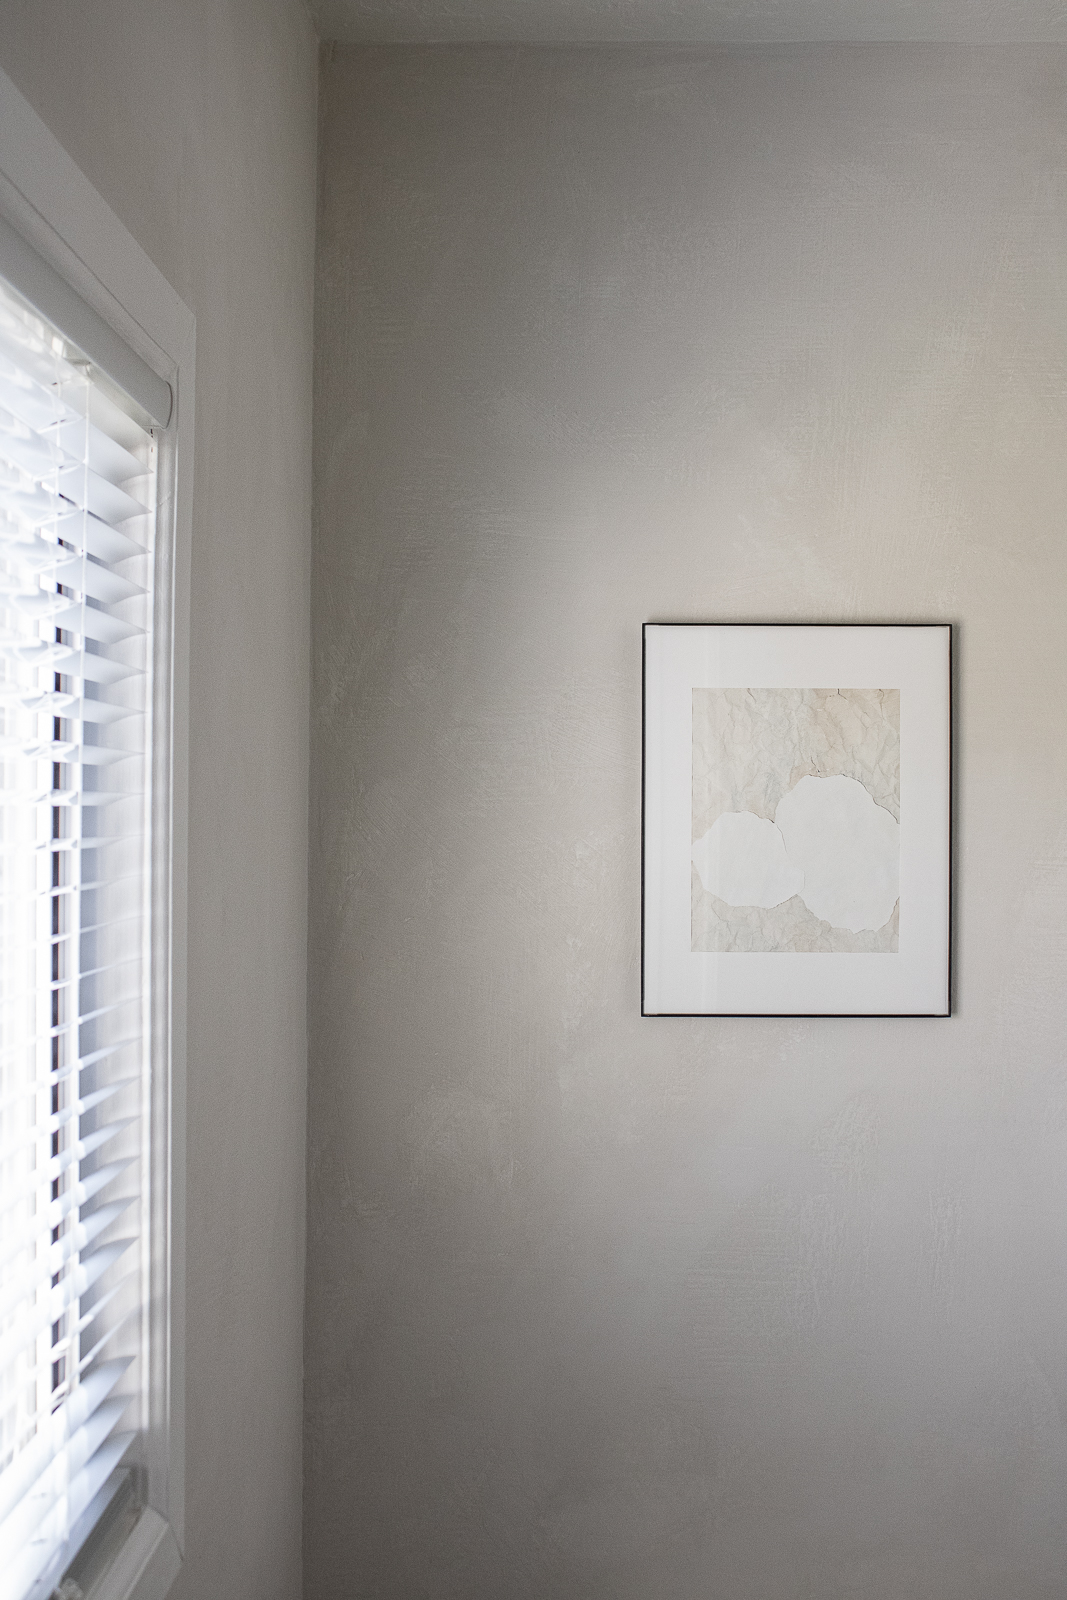
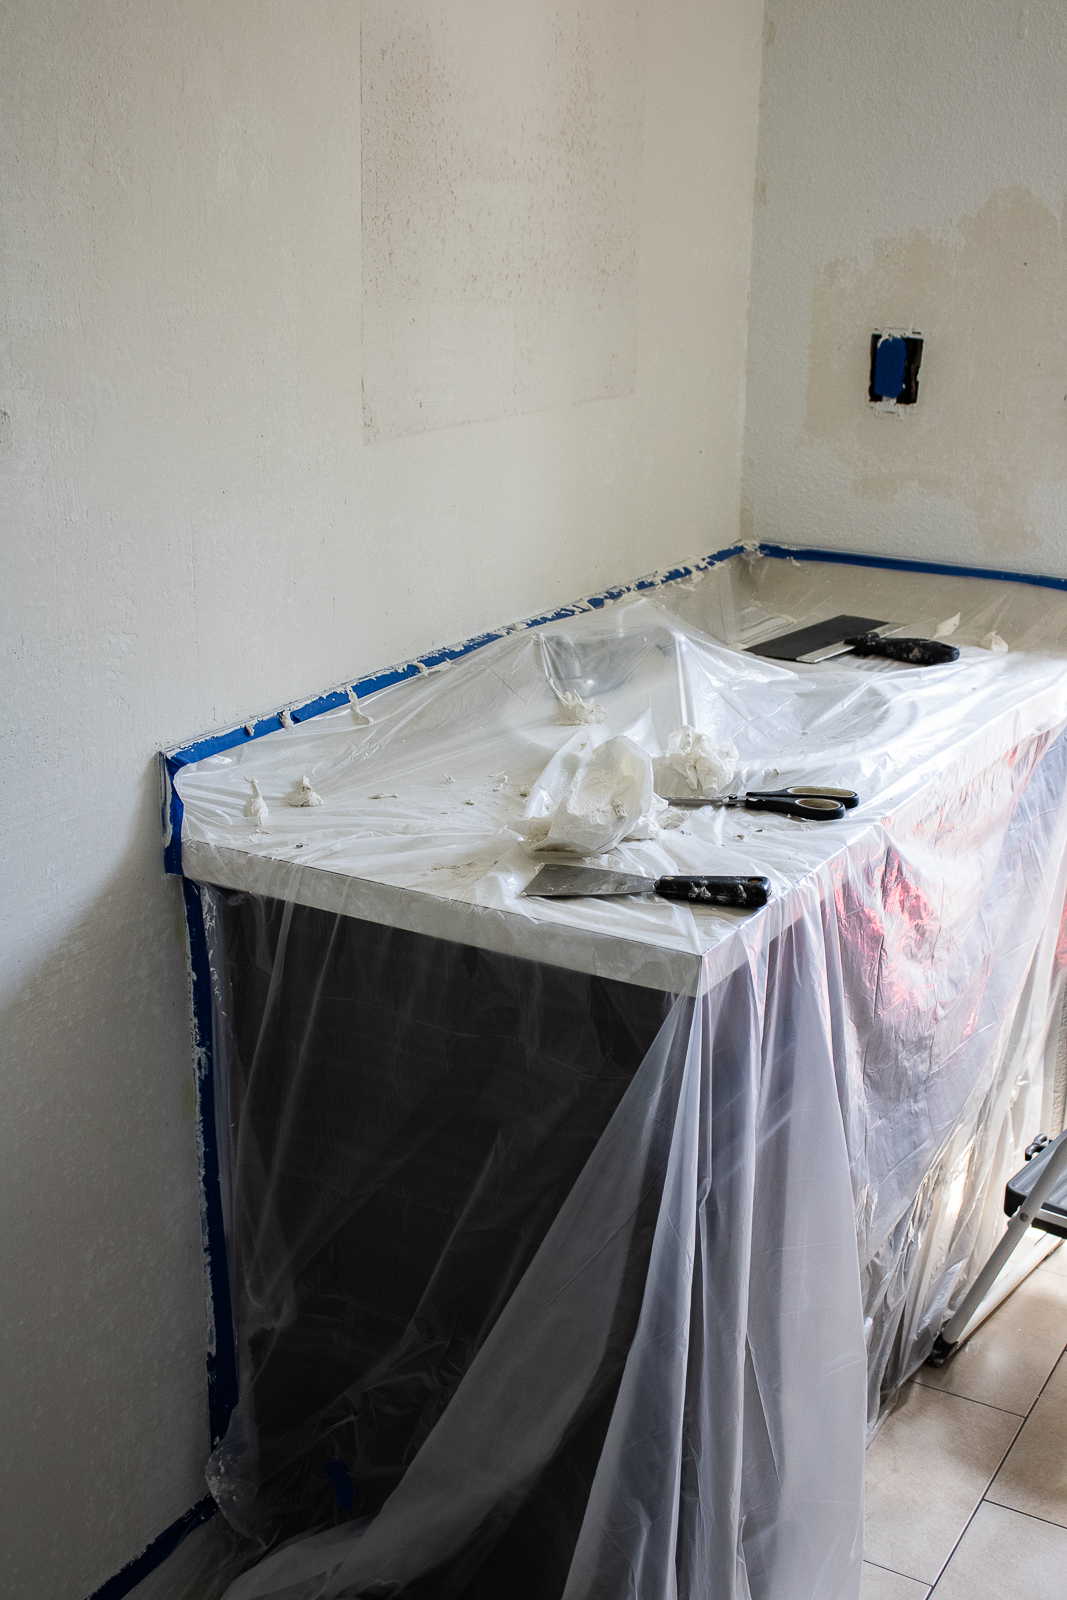
The first thing I tackled, and probably most impactful, was lime washing the walls. What is limewash paint? Lime washed walls have gained much popularity in recent years. This paint (not really paint) is a mixture composed of crushed limestone that has been burnt and slaked with water, resulting in lime putty. It has been used for centuries and is known to be environmentally friendly. The almost-chalky effect only gets better with time and can give a wall a lived-in feel. The visual texture is everything!
The walls in my bathroom had the orange peel texture and that needed to go. Skim coating was the ideal solution to smooth them out. I essentially bought a bucket of joint compound and applied it over the existing texture. This essentially filled in the 'valleys' with the texture being 'mountains'. Perfection was not the goal here. In fact, imperfection was key to celebrate the texture with a lime wash effect.
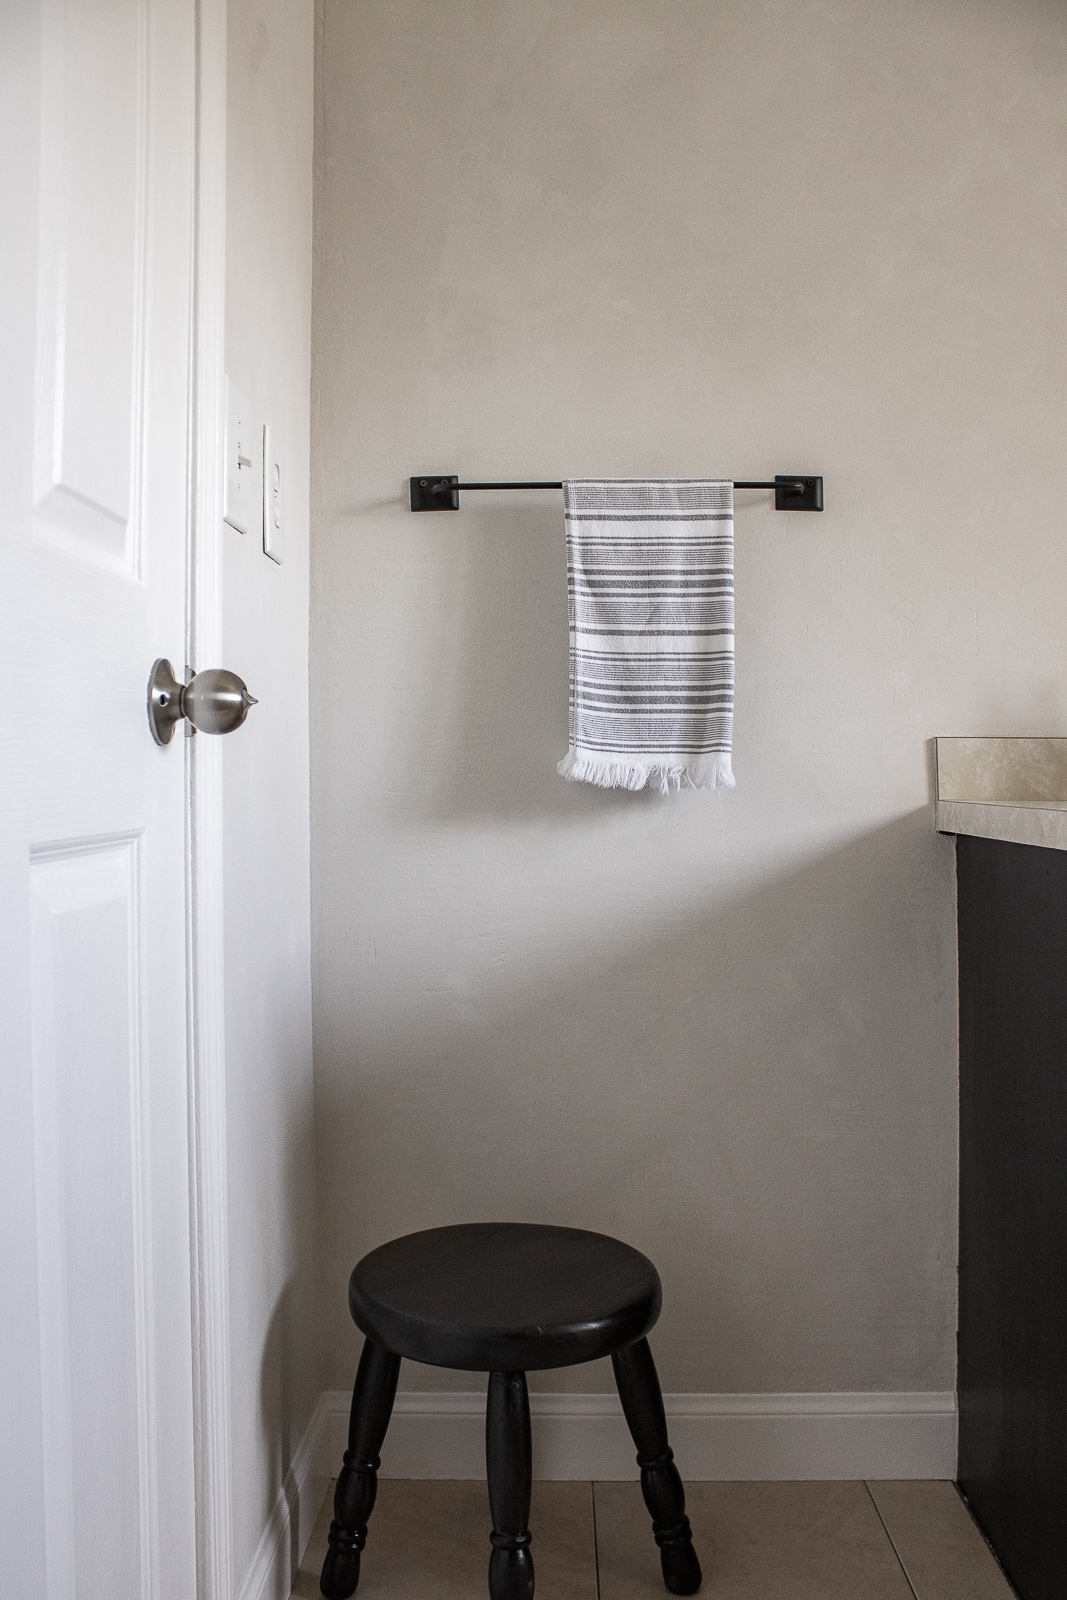
Milking stools are all the rage right now. This cutie was made using a regular stool. I trimmed down the legs and refinished it. Watch the video here!
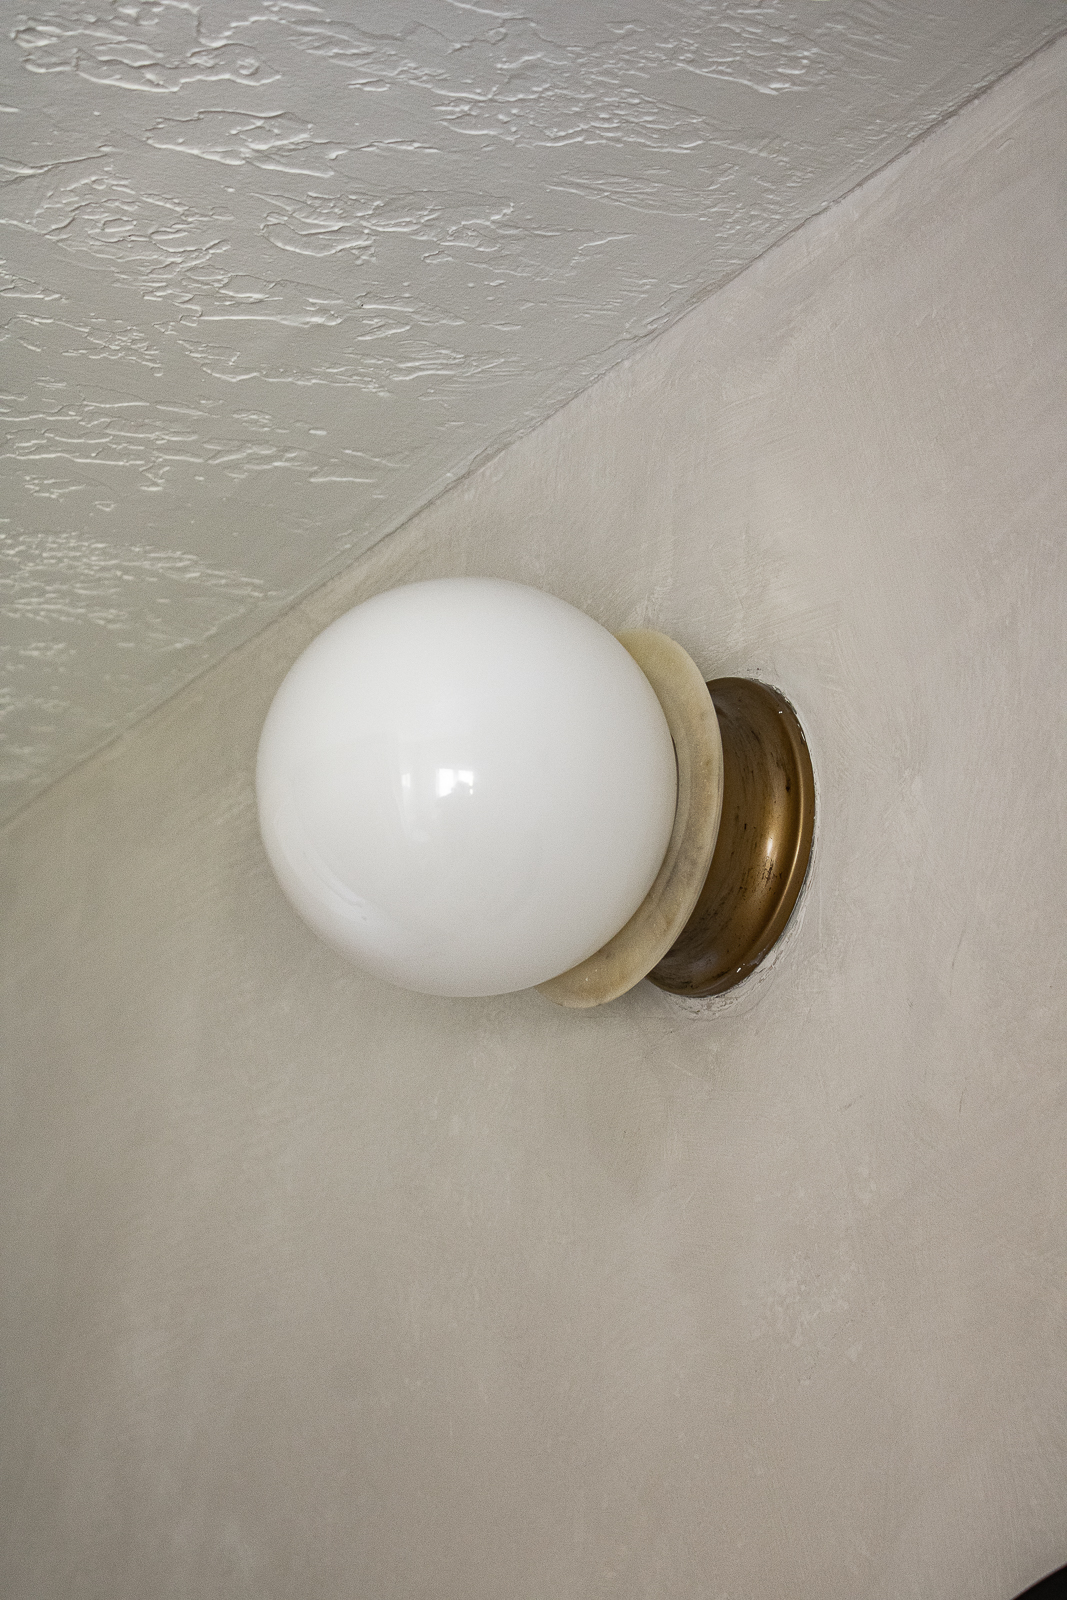
The vanity lights were a DIY! The basic globe lights were transformed with some satin bronze paint. I even made a faux alabaster ring to go around it. It's made out of resin. Watch the tutorial here!
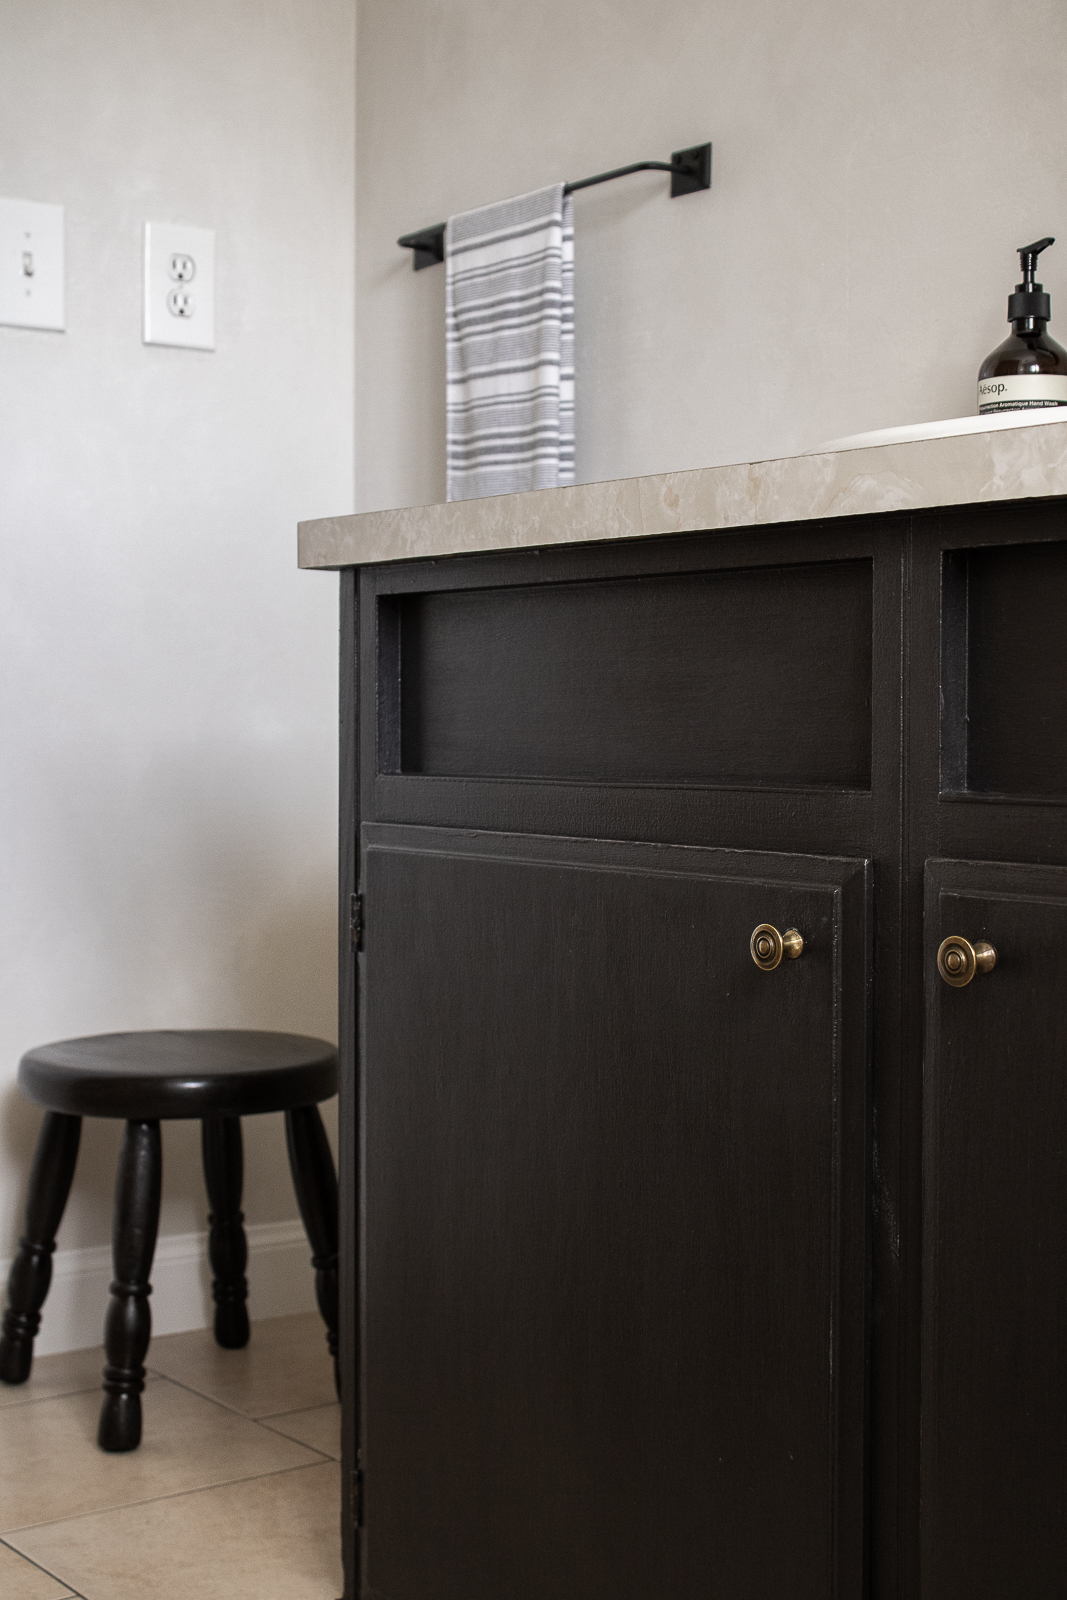
A fresh coat of paint for the cabinet will do the trick. The color is SW Black Magic!
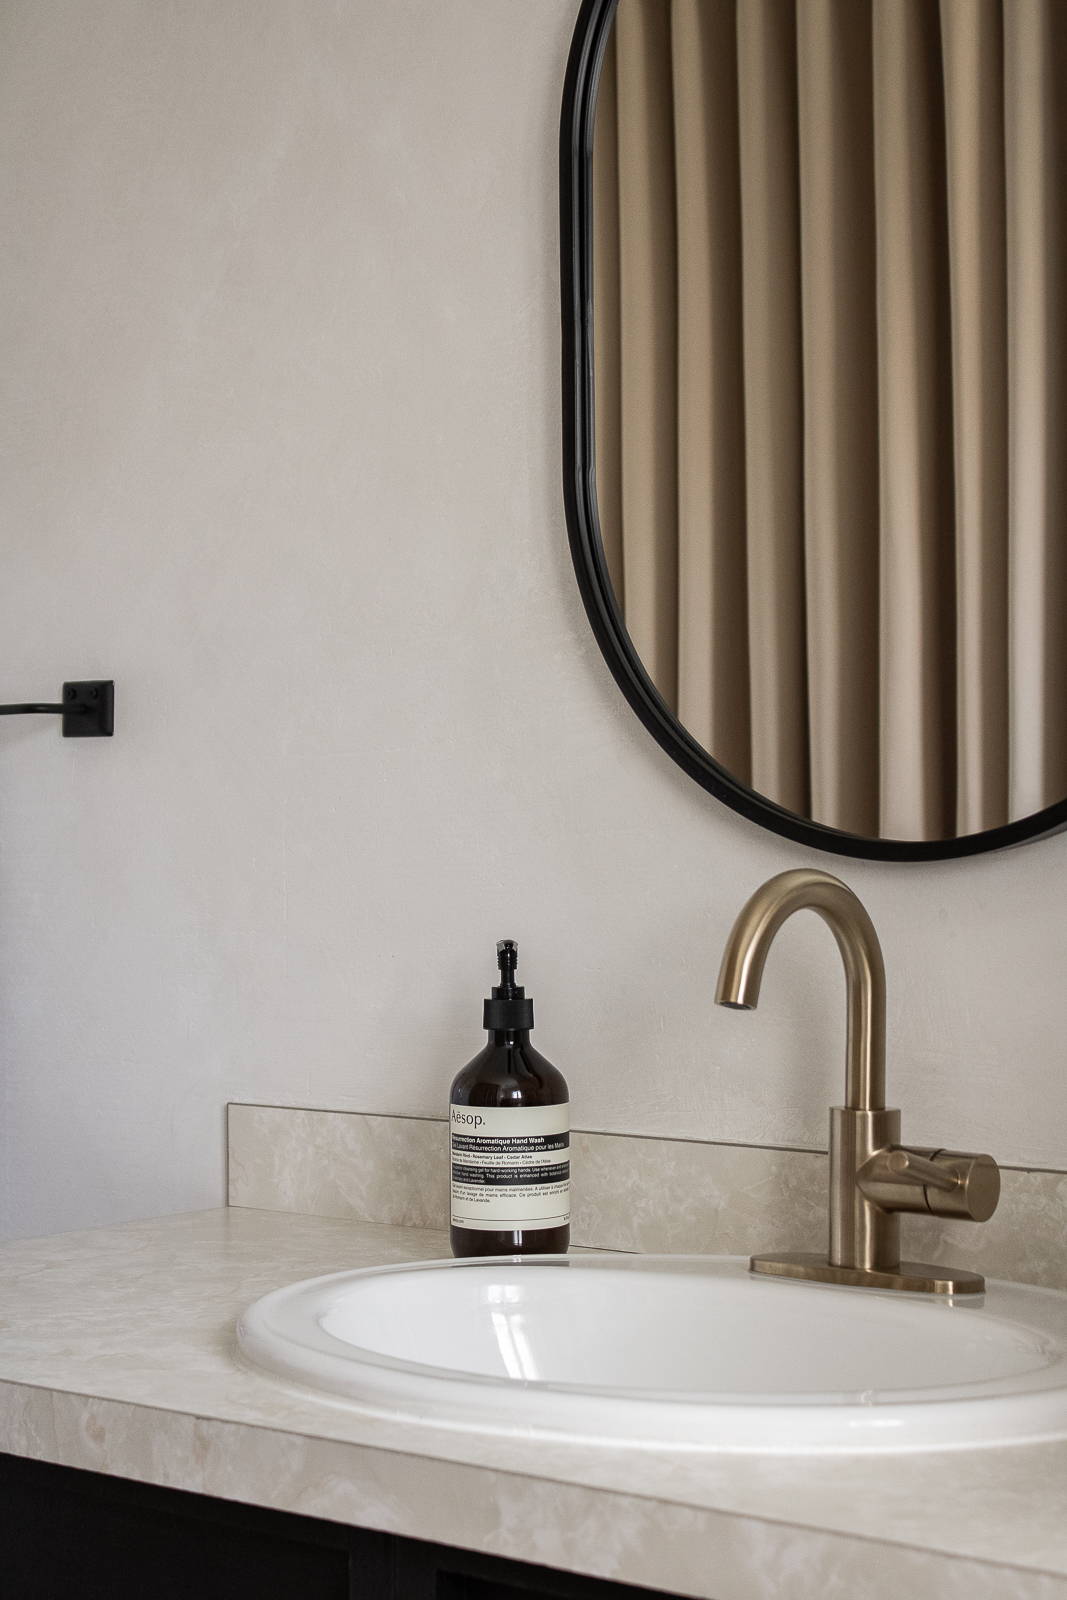
Switching out a faucet is the simplest move to upgrade the feeling of your vanity. I searched high and low for centerset faucets and went this this bronze one.
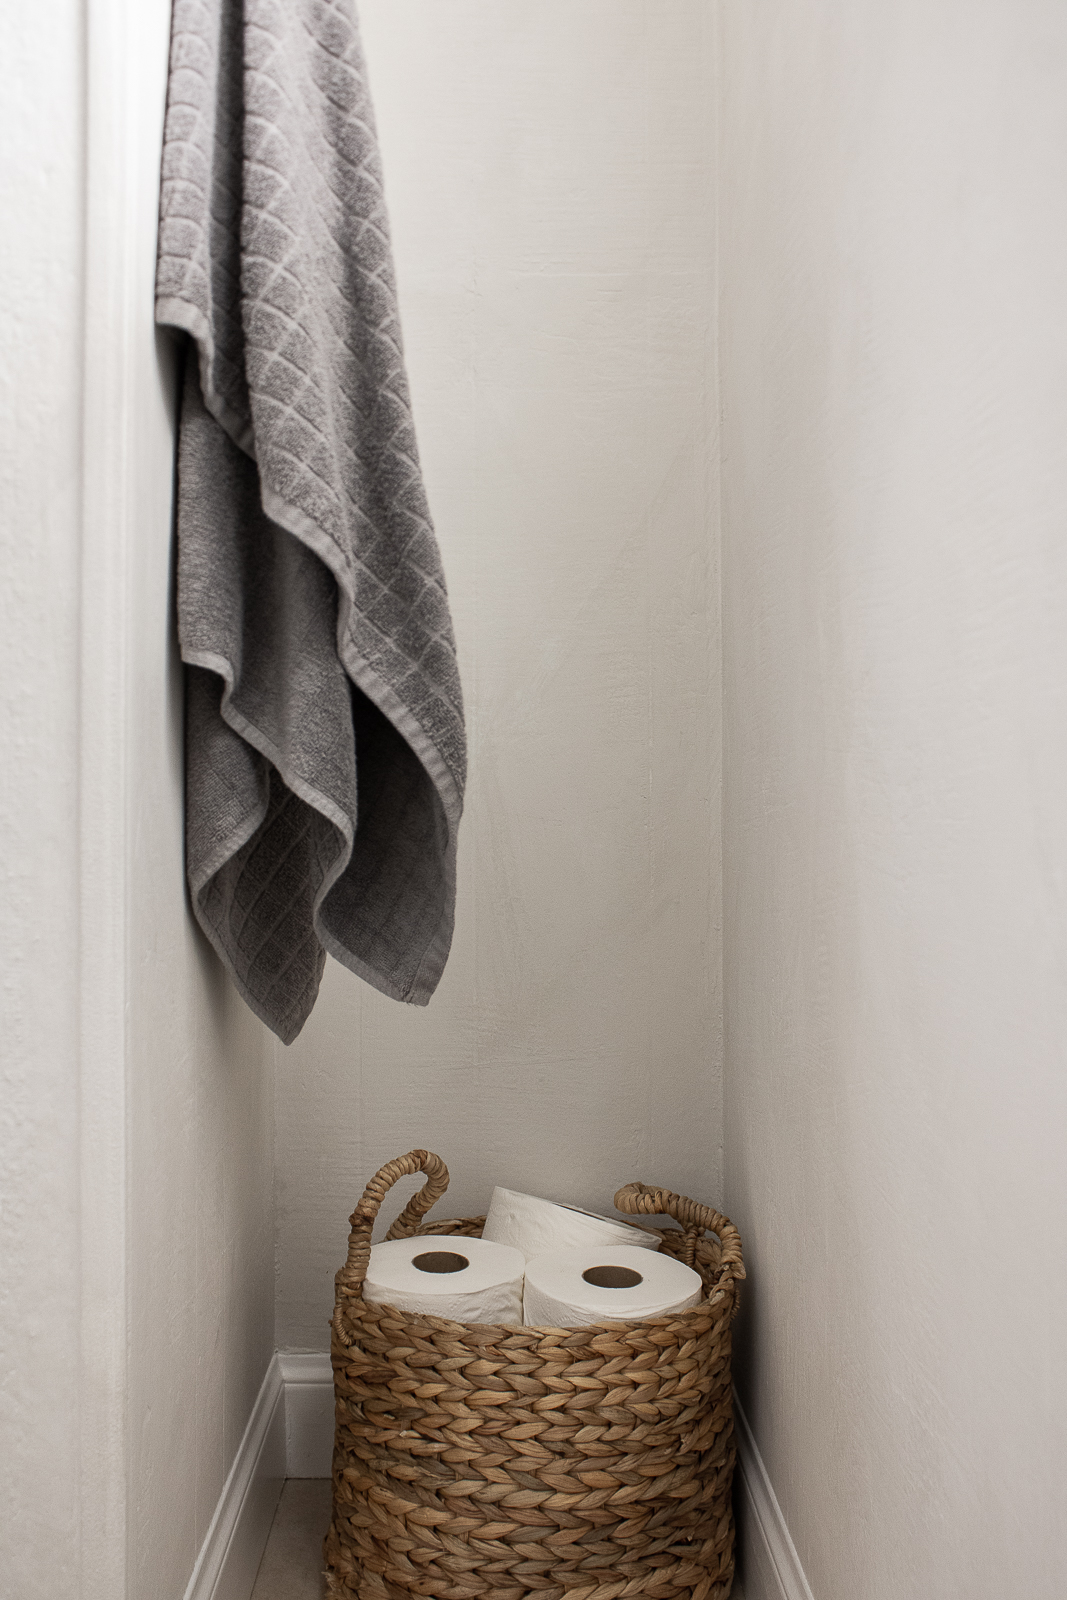
SHOP THE ROOM

PRODUCT LINKS:
- toilet paper holder
- towel holder (similar)
- faucet
- more centerset faucets
- oval mirror
- vanity lights (DIY video)
- hand towel
- hand soap
- beige shower curtains
- wall art (DIY)
LIME WASH PAINT:
Leave a Reply